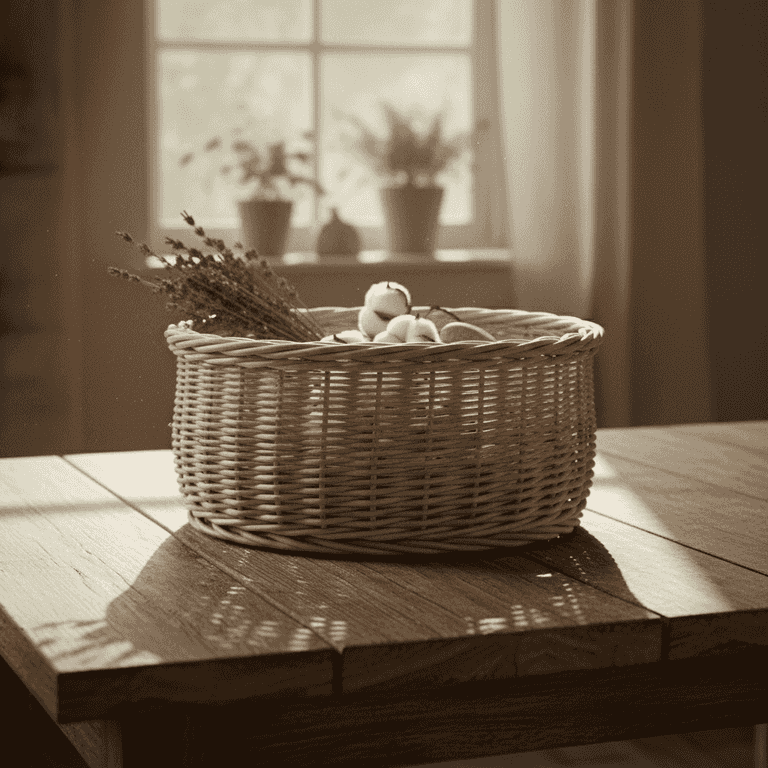
How to Weave a Simple Wicker Basket
Create a functional and beautiful handmade basket using traditional weaving techniques. This guide walks you through the process of creating a base and building up the walls for a classic round wicker basket.
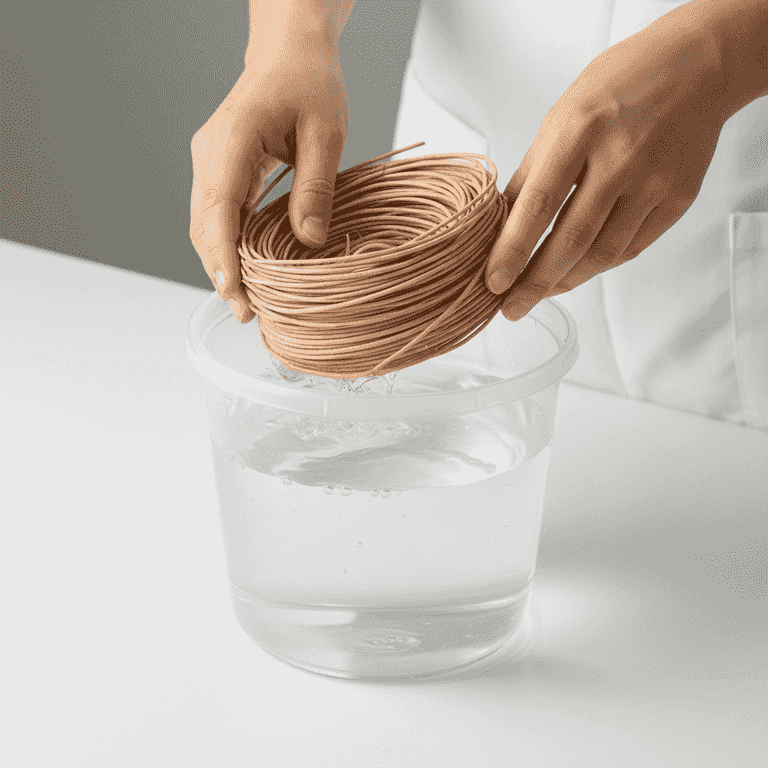
Soak the reed
30 minutesSubmerge your reed coils in a bucket of warm water for 15 to 30 minutes.
Soaking makes the natural fibers flexible and prevents them from cracking or snapping during the bending process. Ensure the entire length of the reed is underwater.
Do not soak for more than an hour, as this can weaken the fibers.
Adding a drop of dish soap to the water can help the reed absorb moisture faster.

Construct the base
45 minutesCross two sets of spokes to form a star shape and weave a center 'twining' pattern.
Lay four spokes horizontally and four vertically, crossing them in the center. Use a thin piece of reed to weave over and under the spokes in a circular motion to lock the base together.
Keep the tension tight during the first few rounds to ensure a flat, solid base.
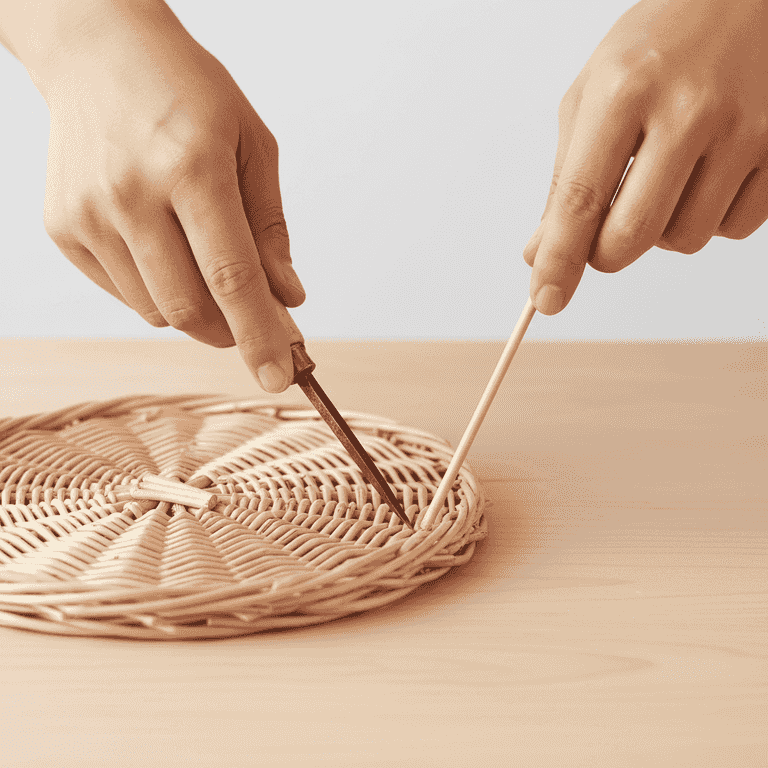
Insert side spokes
30 minutesAdd extra spokes into the base to create the vertical frame for the walls.
Insert sharp-ended spokes into the existing base weave, placing one next to each original base spoke. This doubles the number of spokes, providing the structure needed for the basket walls.
Ensure the spokes are inserted deep enough to remain stable during weaving.
Use your awl to gently pry open a gap in the base weave if the spokes are difficult to insert.
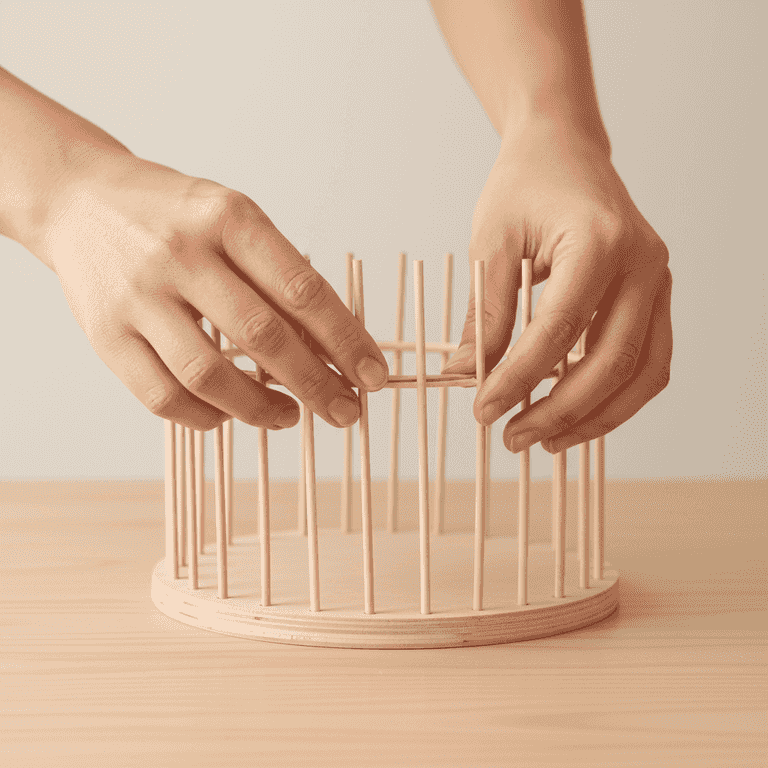
Upturn the spokes
15 minutesBend all the spokes upward to transition from the base to the walls.
Gently fold each spoke upward toward the center of the basket. Use a string or rubber band to temporarily hold the spokes in an upright position while you begin weaving the sides.
Bend the spokes gradually to avoid creating sharp creases that could weaken the reed.

Weave the walls
2-3 hoursWeave a continuous 'over-under' pattern around the upright spokes.
Take a long piece of reed and weave it in and out of the vertical spokes. Continue adding new lengths of reed as needed by overlapping the ends behind a spoke.
Pack down the rows frequently using your fingers or an awl to keep the walls dense and even.

Finish the rim
30 minutesFold the remaining spoke ends over to create a secure, finished rim.
Tuck each vertical spoke down into the weave of the row below it. Trim any excess reed with pruning shears once the rim is locked in place.
Be careful when trimming the ends to avoid fraying the weave.
Make sure your rim is symmetrical by checking the height of the spokes before tucking them.
Pro Tips
- ●Always keep a spray bottle of water nearby to keep the reed moist while you work.
- ●If a reed snaps, you can often hide the break by overlapping a new piece behind a vertical spoke.
- ●Consistent tension is the secret to a professional-looking basket.
- ●Practice with smaller projects like coasters before attempting a large basket.