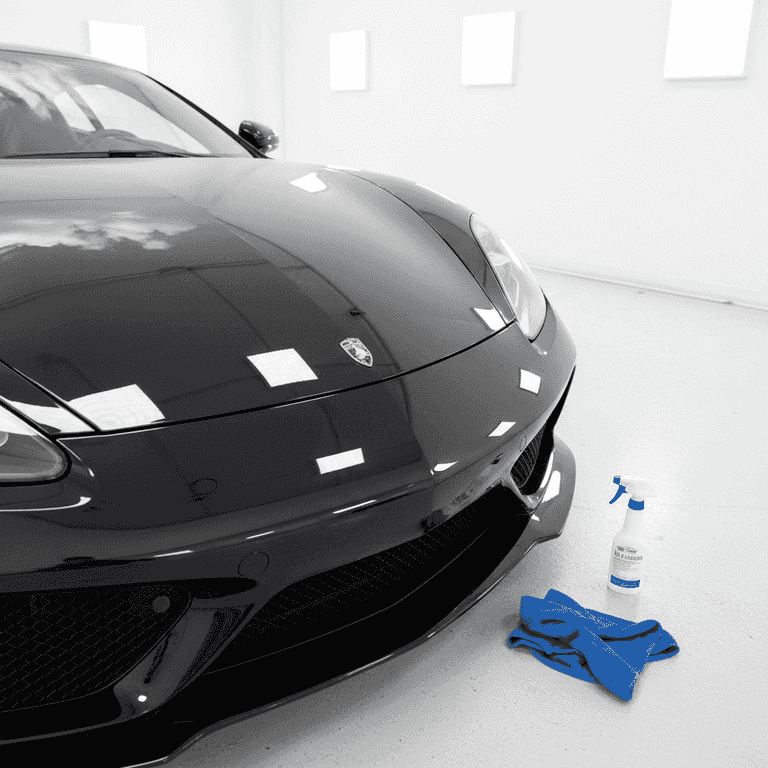
How to Wax a Car for a Professional Shine
Protect your vehicle's paintwork and achieve a deep, showroom-quality gloss by applying a high-quality car wax. This guide covers the essential steps from surface preparation to final buffing to ensure long-lasting results.
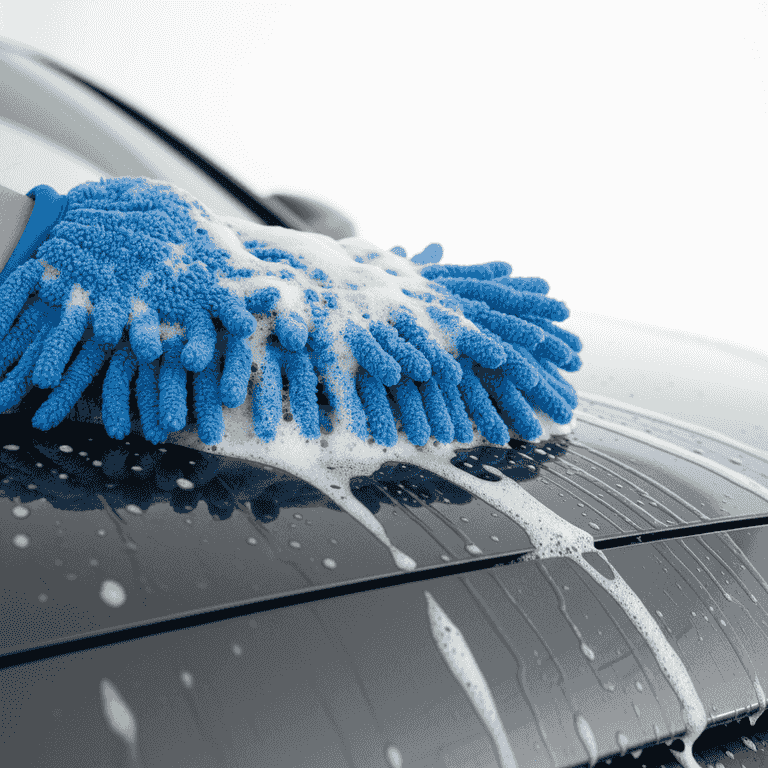
Wash and dry the vehicle
45 minutesThoroughly clean the car's exterior to remove all dirt, grime, and debris.
Use automotive soap and a microfiber mitt, then dry the surface completely. Any remaining dirt can cause scratches when you apply the wax later.
Do not use dish soap, as it strips away existing protective sealants and can dry out rubber seals.
Use the two-bucket method to keep your wash mitt clean and prevent swirl marks.
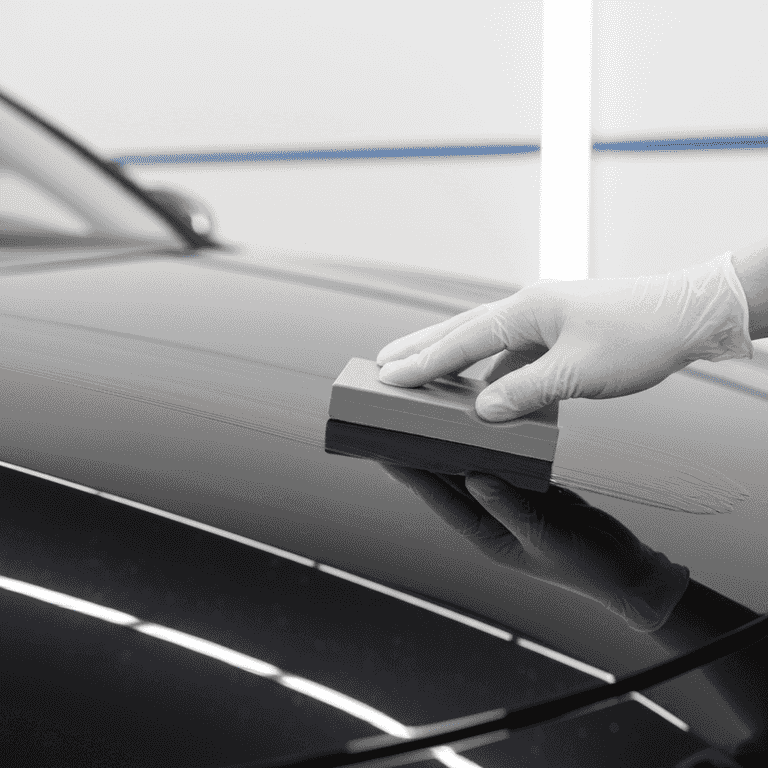
Decontaminate the paint
30 minutesUse a clay bar to lift embedded contaminants from the clear coat.
Glide the clay bar across the surface with a lubricant spray until the paint feels smooth like glass. This step ensures the wax bonds directly to the paint for maximum durability.
If the clay bar drops on the ground, discard it immediately as it will pick up grit that can scratch the paint.
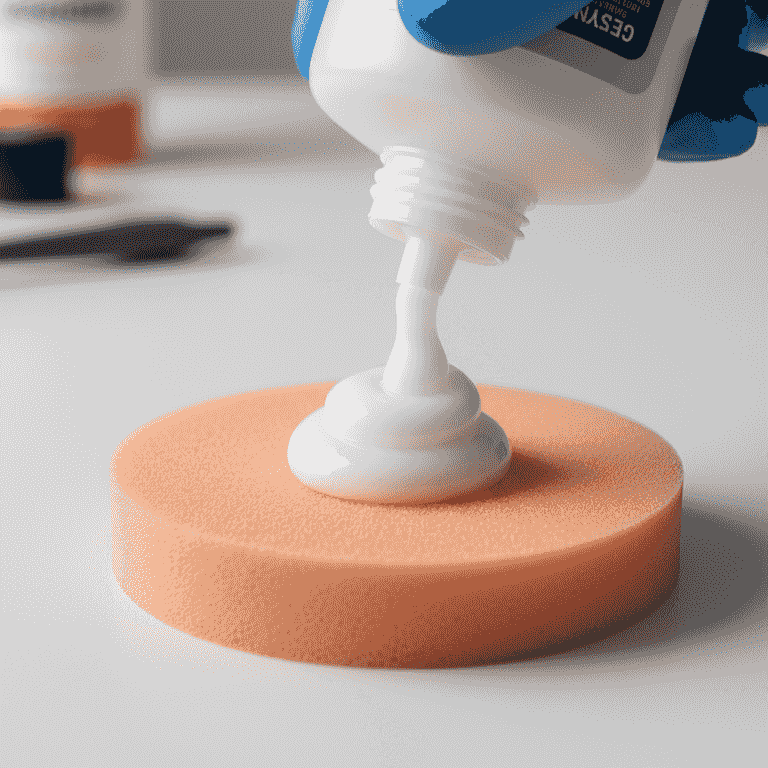
Apply wax to the applicator
1 minutePlace a small, nickel-sized amount of wax onto your foam applicator pad.
Do not overload the pad; a thin, even layer is significantly more effective than a thick glob. If using paste wax, twist the applicator lightly against the surface of the wax.
Slightly dampen the applicator pad with water before applying the wax to make it easier to spread.
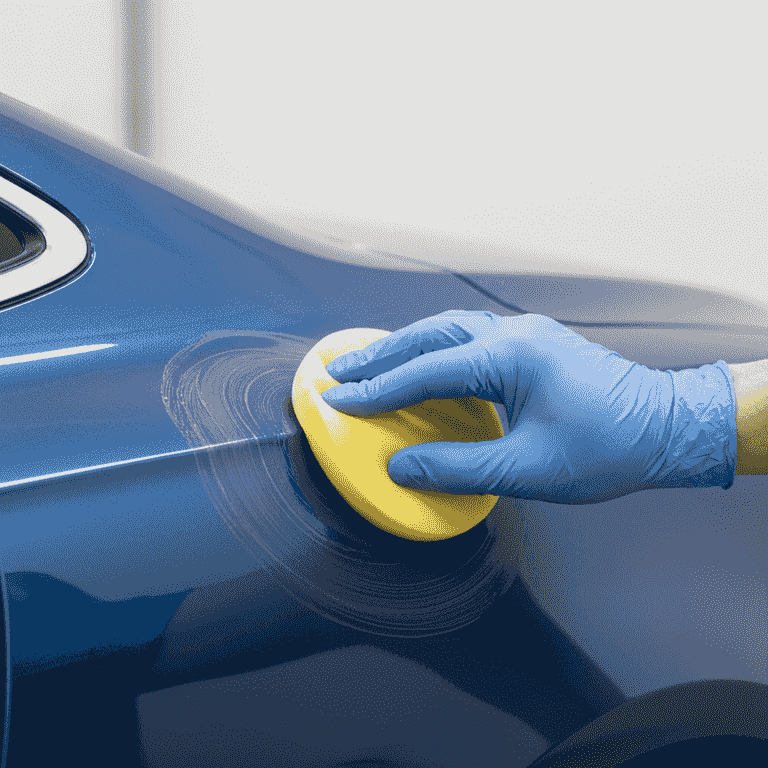
Apply wax in circular motions
20 minutesWork in small sections, applying the wax to the paint using light, overlapping circular motions.
Focus on one panel at a time, such as the hood or a door. Ensure you achieve a thin, uniform haze across the entire surface.
Avoid getting wax on plastic trim or rubber gaskets, as it can leave a white residue that is difficult to remove.
Maintain consistent pressure to ensure an even coating.
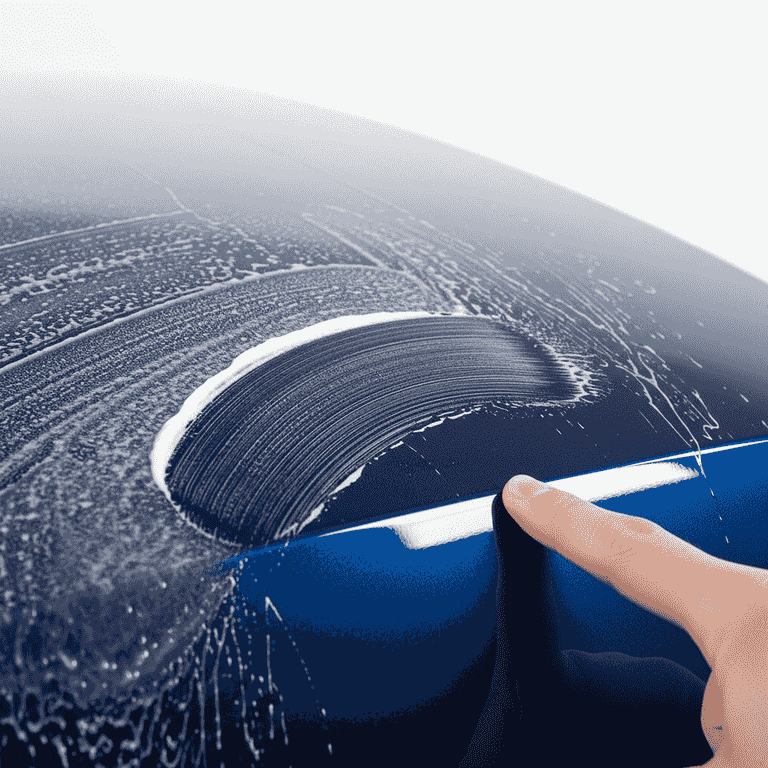
Allow the wax to haze
10 minutesWait for the wax to dry to a dull, hazy finish according to the manufacturer's instructions.
This usually takes 5 to 10 minutes depending on the temperature and humidity. Perform the 'swipe test' by running a finger through the wax; if it wipes away clean and clear, it is ready to be buffed.
Do not let the wax sit for too long, or it will become extremely difficult to buff off.
If the wax is still oily or streaky, wait an additional few minutes before buffing.
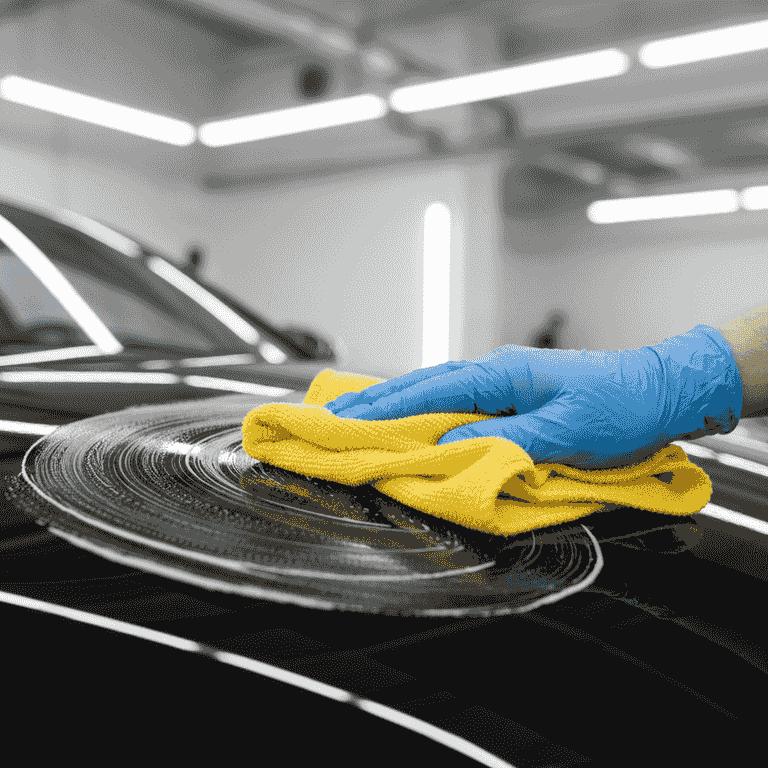
Buff off the residue
15 minutesUse a clean, dry microfiber towel to gently buff away the wax haze.
Fold your towel into quarters and use light pressure to remove the residue. Frequently flip to a clean side of the towel to ensure you are not just spreading wax around.
Use a second clean towel for a final 'final buff' to ensure a streak-free, high-gloss finish.
Pro Tips
- ●Always work in the shade to prevent the wax from drying too quickly.
- ●Apply wax every 3 months to maintain a strong protective barrier against UV rays.
- ●Use a dedicated wax remover if you accidentally get product on black plastic trim.
- ●Store your microfiber towels separately from other laundry to avoid fabric softener residue.