How to Tile a Bathroom Floor
Transform your bathroom with a durable and stylish tile floor. This guide covers the essential steps from surface preparation to final grouting to ensure a professional, long-lasting finish.
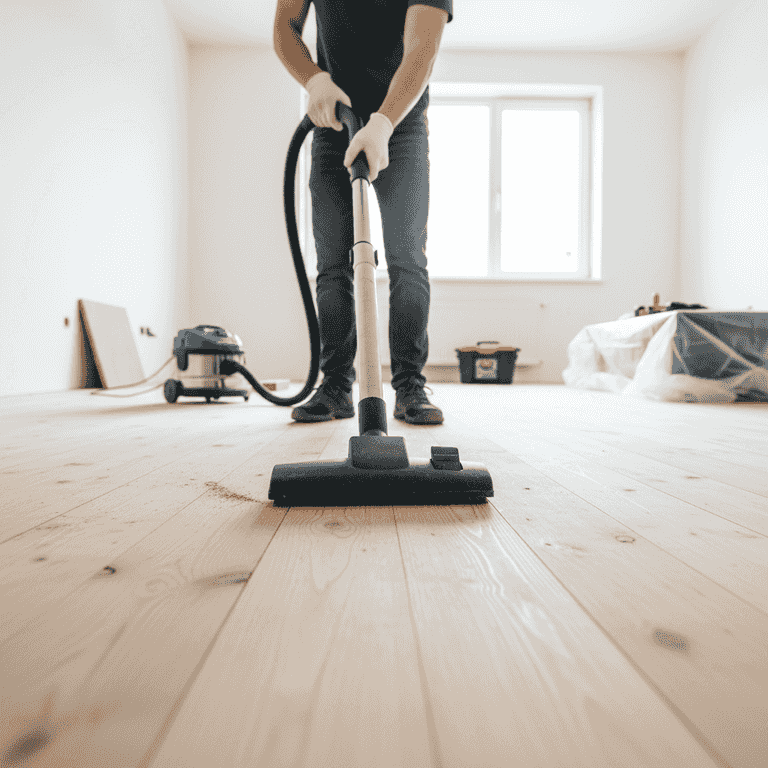
Prepare the subfloor
2-3 hoursRemove the old flooring and clean the subfloor thoroughly.
Ensure the surface is completely flat, dry, and free of debris. Use a level to check for high or low spots that may need patching.
Do not install tile over rot or water-damaged wood.
If the subfloor is wood, install cement backer board to prevent movement and cracking.
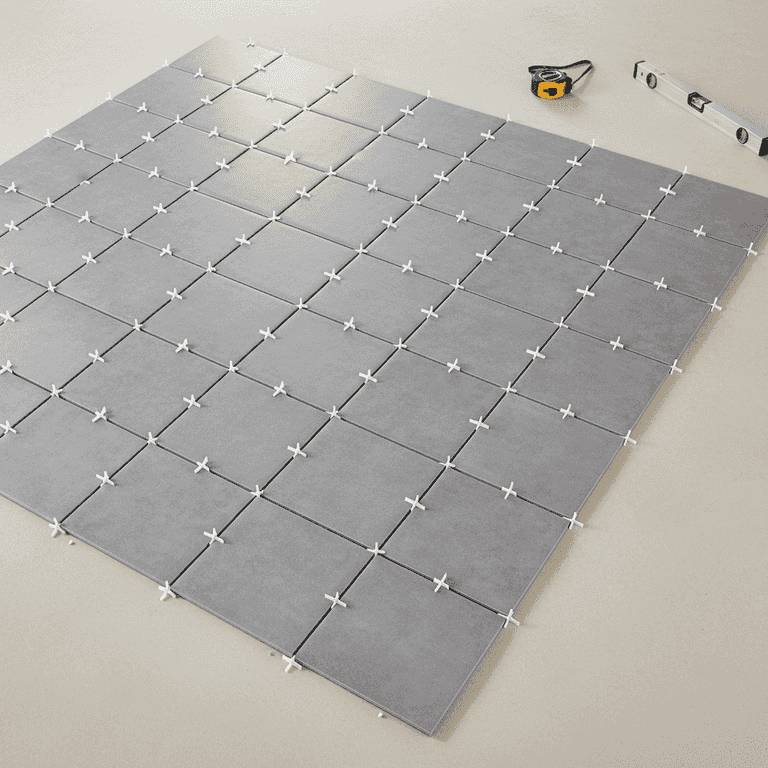
Layout the tile pattern
1 hourDry-lay the tiles to determine the best alignment.
Start from the center of the room and work outward to ensure perimeter cuts are symmetrical. Use tile spacers to account for grout lines.
Avoid thin slivers of tile at the edges by adjusting your starting center point.
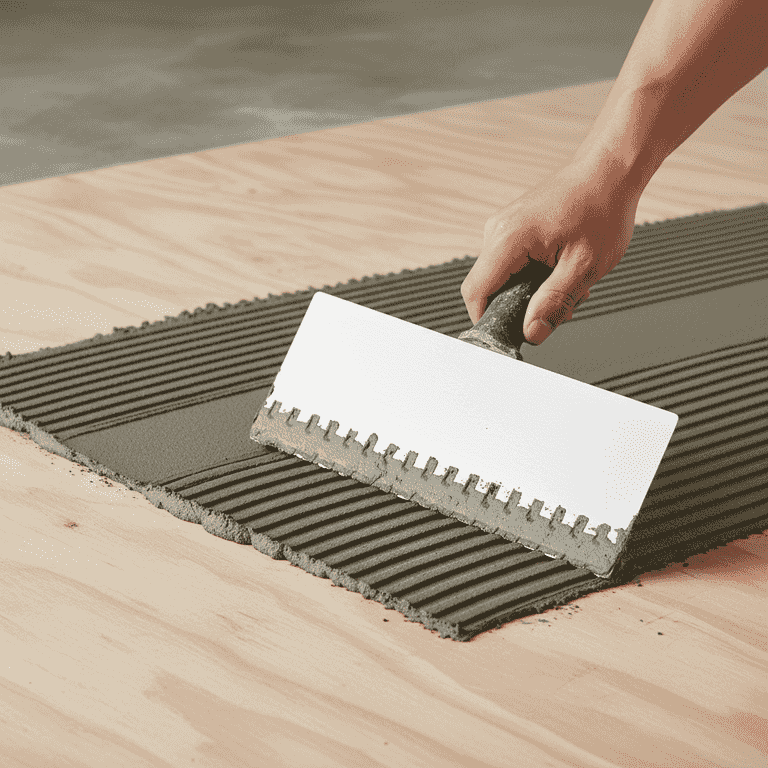
Apply thin-set mortar
2 hoursSpread thin-set mortar onto the subfloor using a notched trowel.
Work in small sections so the mortar does not dry before tiles are placed. Hold the trowel at a 45-degree angle to create consistent ridges.
Do not let the mortar skin over; press tiles into place immediately.
Back-butter large tiles by applying a thin layer of mortar to the back of the tile as well.
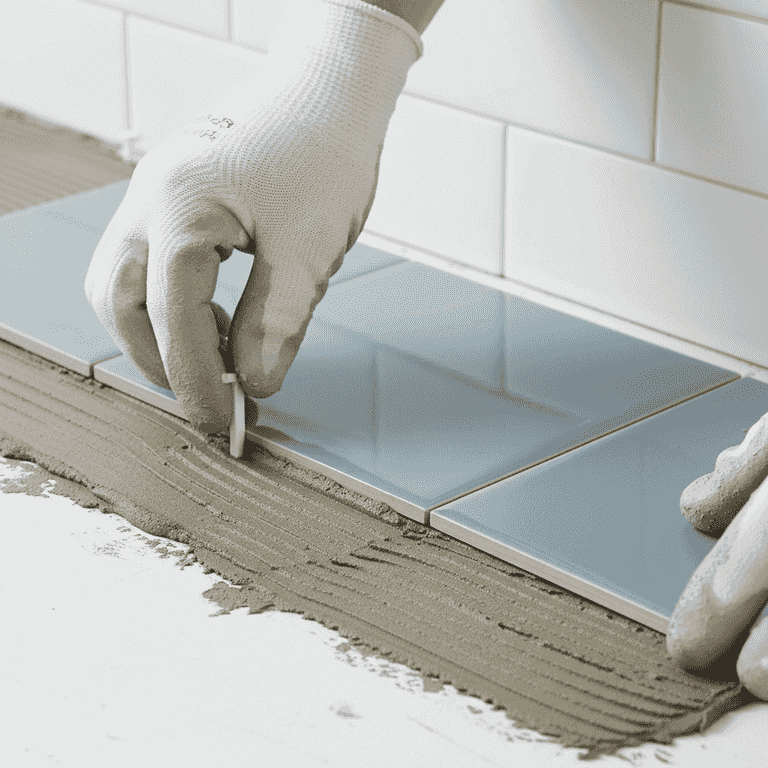
Set the tiles
3-4 hoursPress tiles into the mortar and insert spacers.
Place each tile firmly into the mortar with a slight twist to ensure full contact. Use a level frequently to ensure the tiles are flat and even.
Use a rubber mallet to gently tap tiles into place if they are sitting too high.
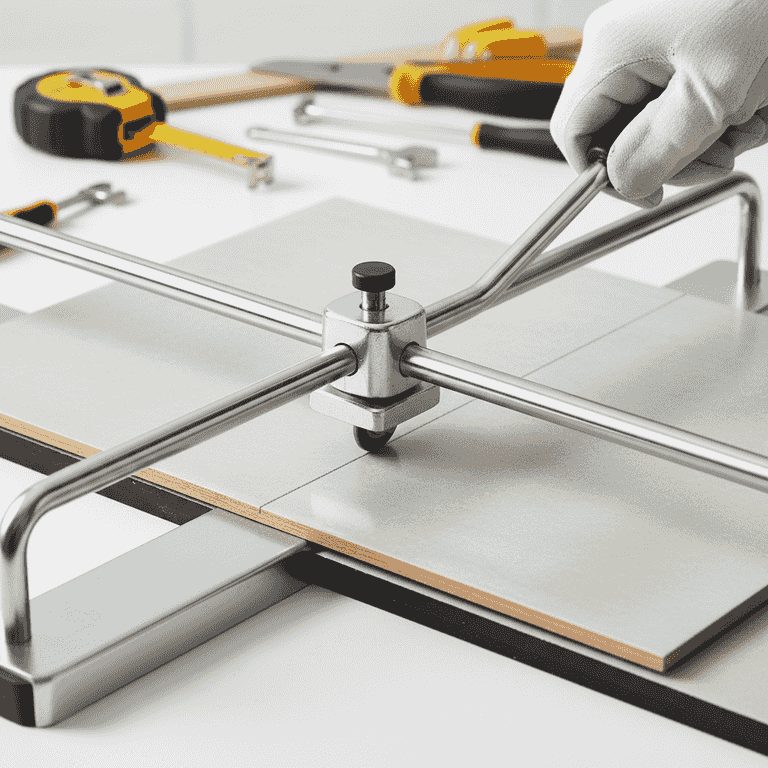
Cut and fit edge tiles
2 hoursMeasure and cut tiles to fit against walls and fixtures.
Mark the tile with a pencil, then use the tile cutter to score and snap the piece to size. Ensure you leave a small gap for expansion at the wall edge.
Wear safety goggles when snapping tiles to avoid flying shards.
Use a tile nipper for irregular shapes around toilets or pipes.

Grout the joints
2-3 hoursFill the gaps between tiles with grout using a rubber float.
Spread grout diagonally across the joints to ensure they are packed full. After 15 minutes, wipe away excess grout with a damp sponge.
Do not use too much water during cleanup, as it can weaken the grout.
Pro Tips
- ●Always buy 10-15% more tile than you need to account for breakage and waste.
- ●Clean the mortar out of the joints before it dries to make grouting easier.
- ●Use a color-matched caulk instead of grout at the corners where the floor meets the wall.
- ●Wait at least 24-48 hours before walking on the new floor to allow the thin-set to cure.