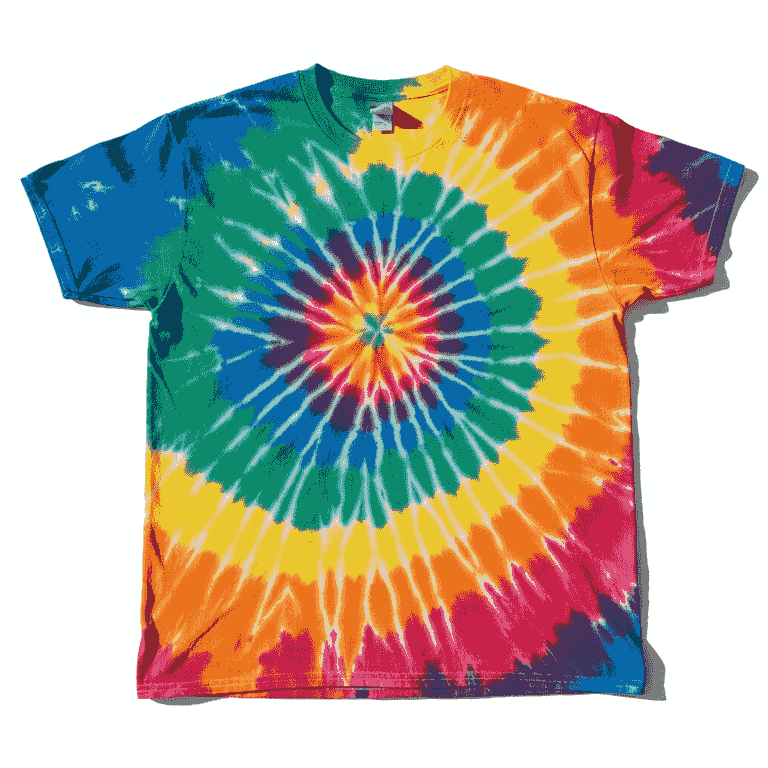
How to Tie Dye a T-Shirt
Transform a plain white cotton t-shirt into a vibrant work of art using colorful fabric dyes and simple folding techniques. This beginner-friendly guide walks you through the process of prepping, binding, and dyeing your garment for professional-looking results.
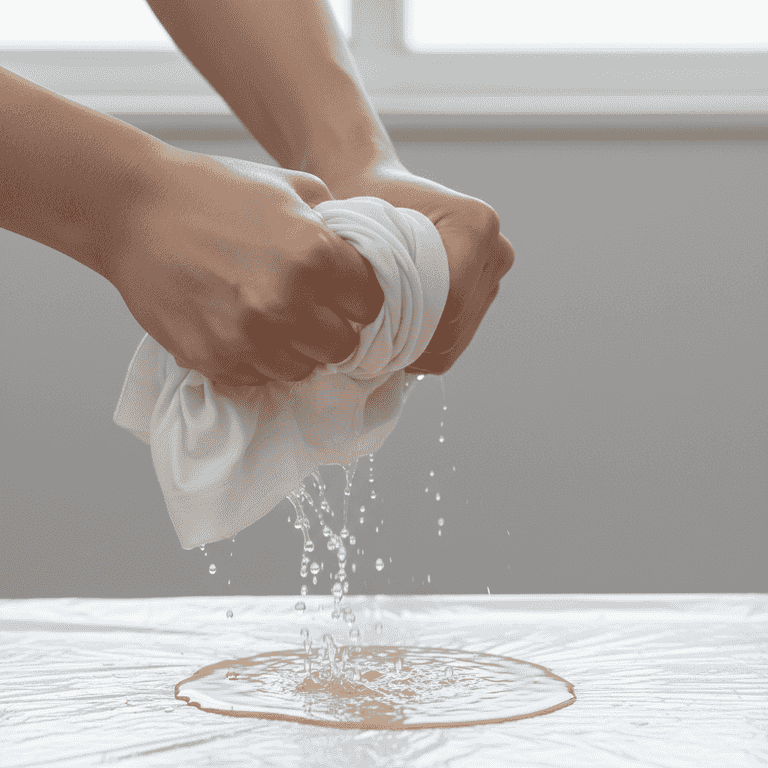
Prepare the workspace and shirt
5 minutesCover your work area with plastic and dampen your pre-washed, clean t-shirt with water.
Ensure the shirt is damp but not dripping wet. Damp fabric helps the dye travel through the fibers more effectively for even saturation.
Ensure the surface is completely covered to avoid permanent stains on furniture or floors.
Do not use fabric softener when washing the shirt beforehand, as it prevents dye absorption.
Fold and bind the fabric
10 minutesLay the shirt flat and fold it into your desired pattern, then secure it tightly with rubber bands.
For a classic spiral pattern, pinch the center of the shirt and twist until it forms a tight disc. Use rubber bands to divide the disc into pie-shaped wedges.
The tighter the rubber bands, the more white space will remain in your final design.
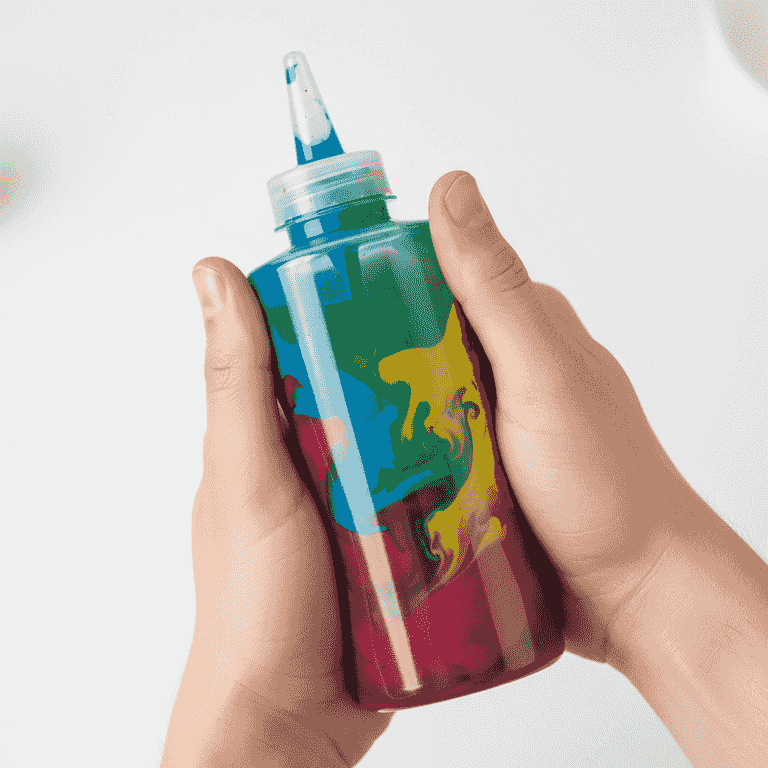
Mix the dye
5 minutesFill your squeeze bottles with water to the indicated line and shake thoroughly until the powder is dissolved.
Double-check that the caps are tightened securely before shaking to prevent spills. Ensure no clumps of powder remain at the bottom of the bottle.
Wear gloves during this step as the concentrated dye powder can easily stain your skin.
Use warm water to help the dye powder dissolve faster.
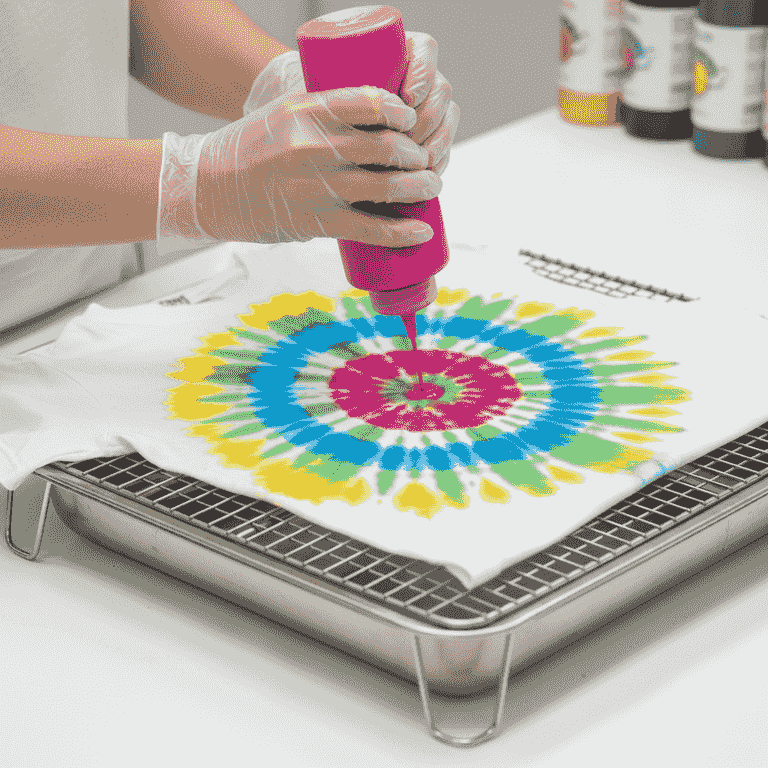
Apply the dye
15 minutesSqueeze the dye onto the different sections of your bound t-shirt.
Apply the dye generously, making sure to push the nozzle into the folds to get deep into the fabric. Flip the shirt over to ensure the bottom side is also saturated.
Use complementary colors next to each other to avoid creating muddy brown sections where colors overlap.
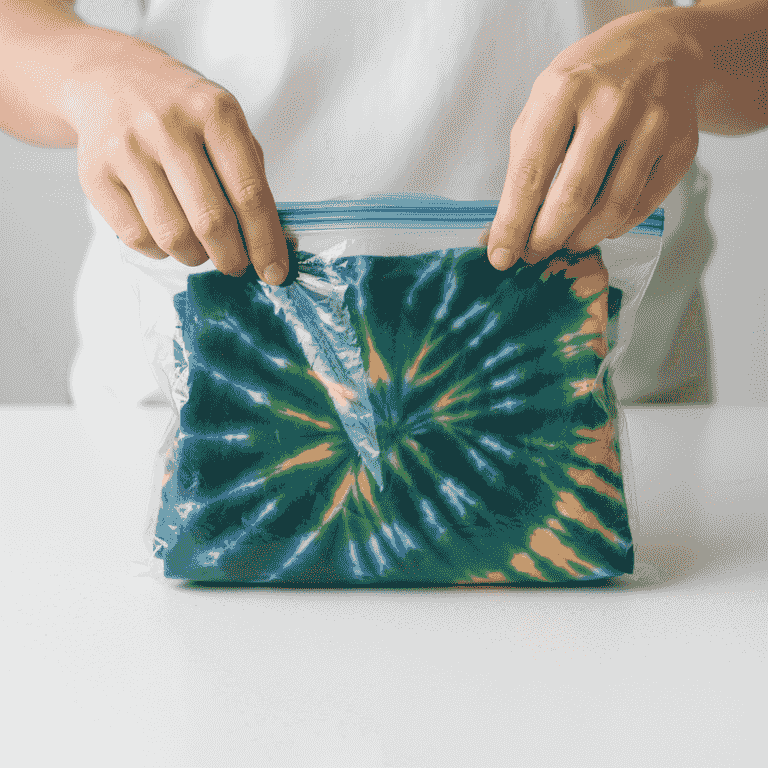
Set the dye
8 hoursPlace the dyed shirt into a plastic bag and let it sit undisturbed for 6 to 8 hours.
The plastic bag keeps the shirt damp, which is necessary for the chemical reaction that bonds the dye to the cotton fibers. Keep the bag in a warm spot for best results.
Leaving the shirt for a full 24 hours can result in even more vibrant, long-lasting colors.
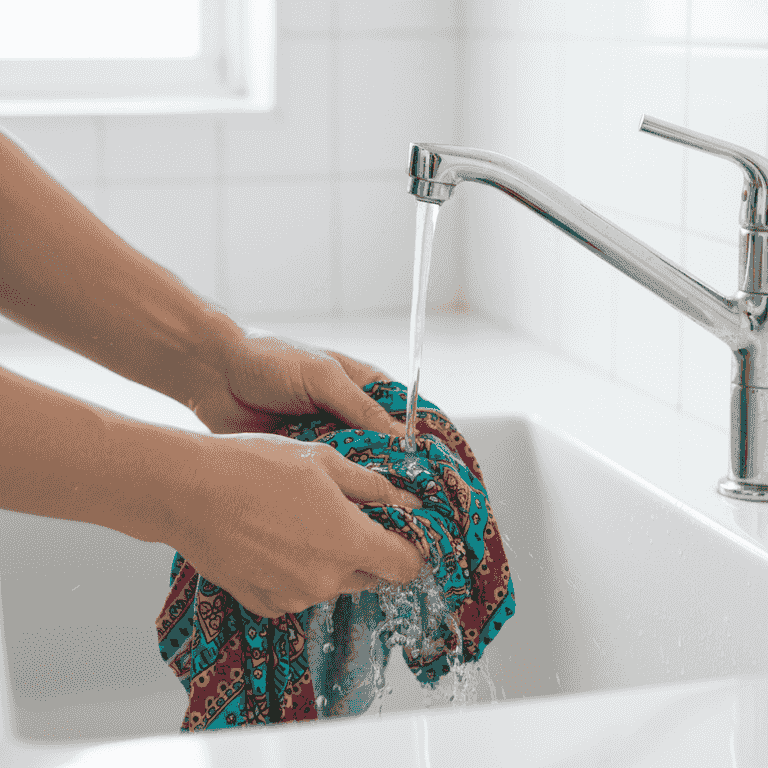
Rinse and wash
10 minutesRemove the rubber bands, rinse the shirt in cold water until it runs clear, and then wash it in the machine.
Rinsing removes the excess loose dye that didn't bond with the fabric. Wash the shirt alone in cold water for the first cycle to prevent color bleeding onto other clothes.
Do not use hot water for the first wash, as it may cause the dye to bleed excessively.
Rinse the shirt while it is still folded to keep the colors from bleeding into the white areas too much.
Pro Tips
- ●Always wash your t-shirt before dyeing to remove factory chemicals that block dye absorption.
- ●Use a wire rack to prevent the shirt from sitting in a pool of excess dye, which prevents muddiness.
- ●Experiment with different folding techniques like 'crumple' or 'bullseye' for unique results.
- ●Wear an apron to protect your clothing from accidental splashes.