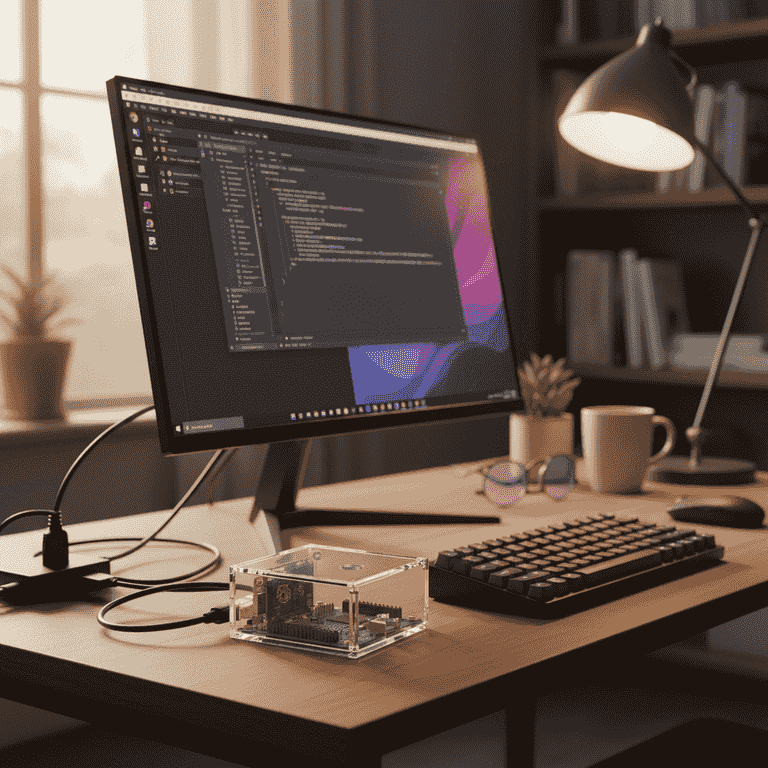
How to Set Up a Raspberry Pi
Learn how to assemble your Raspberry Pi, install the operating system, and perform the initial configuration. This guide walks you through the essential steps to get your credit-card-sized computer up and running.
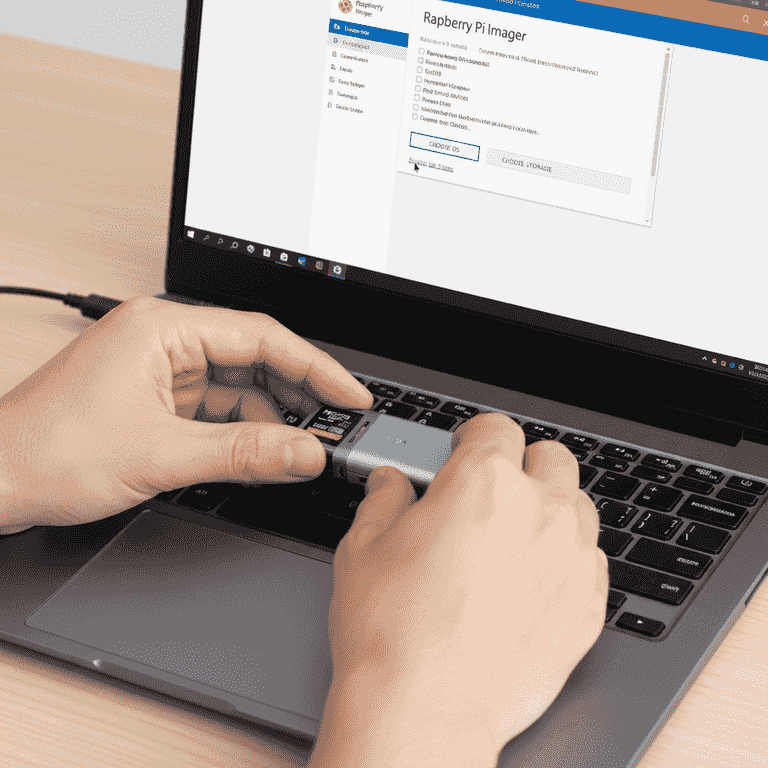
Prepare the MicroSD card
10 minutesDownload the Raspberry Pi Imager tool on your primary computer and use it to flash the Raspberry Pi OS onto your MicroSD card.
The imager tool automates the process of formatting and writing the operating system files. Insert your MicroSD card into your computer's card reader and select the appropriate OS version from the software menu.
Flashing the card will erase all existing data on it; ensure you have backed up any important files.
Use the 'Advanced options' in the imager tool to pre-configure your Wi-Fi settings and username before flashing.

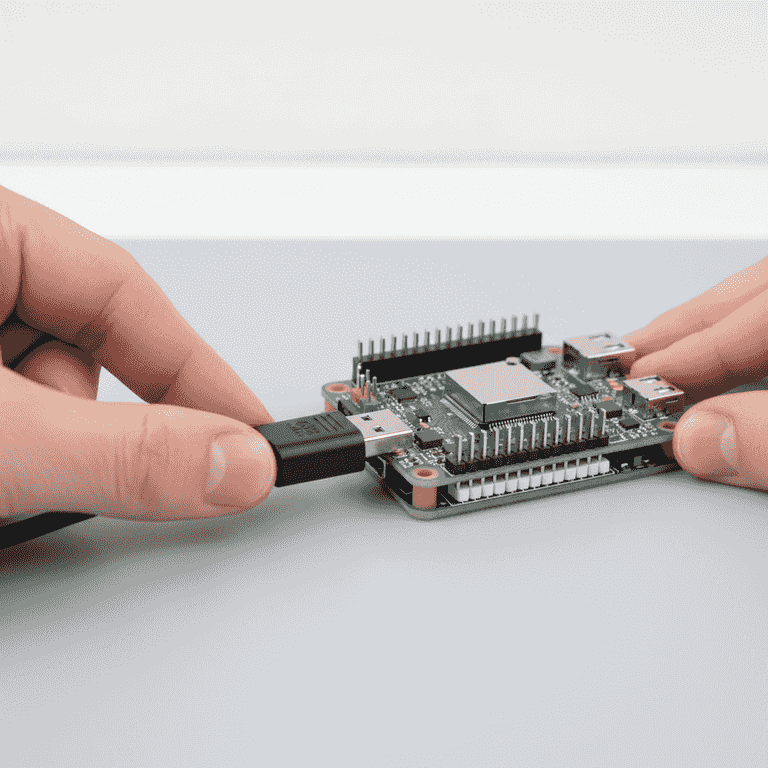
Install the MicroSD card
1 minuteInsert the prepared MicroSD card into the slot located on the underside of the Raspberry Pi board.
Align the card with the pins facing the board. Push it gently until you feel a click or until it sits flush within the slot.
If the card is difficult to insert, check the orientation; it should slide in with minimal resistance.
Connect peripherals
2 minutesPlug your USB keyboard, mouse, and HDMI cable into the corresponding ports on the Raspberry Pi.
The Pi features multiple USB ports for accessories and an HDMI output for video. Ensure all connections are secure to avoid intermittent signal loss during the first boot.
If using a Raspberry Pi 4 or 5, note that it uses Micro-HDMI ports, so you may need an adapter.
Connect the power supply
1 minuteConnect your power adapter to the USB-C port on the Raspberry Pi and plug it into a wall outlet.
The Raspberry Pi does not have a power switch; it will begin booting immediately upon receiving power. Ensure you are using the official power supply to provide stable voltage.
Using an underpowered charger can cause system instability and random reboots.
Wait a few seconds after plugging it in for the red power LED to illuminate steadily.
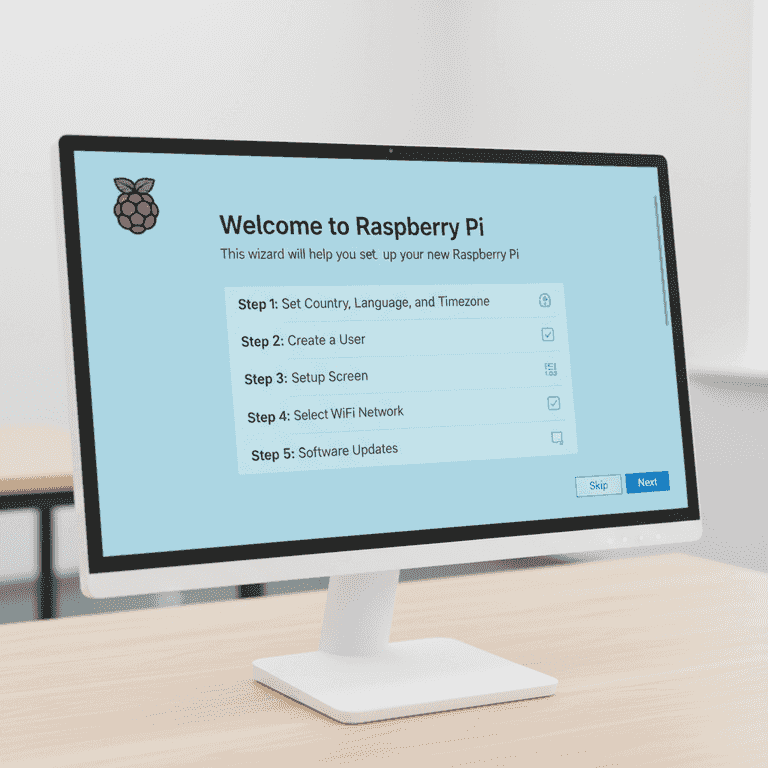
Complete initial configuration
5 minutesFollow the on-screen setup wizard to configure your language, timezone, and password.
Once the system boots to the desktop, a 'Welcome to Raspberry Pi' window will appear. Complete these steps to finalize the installation and ensure your keyboard layout is correct.
Change the default password immediately to keep your device secure.
Pro Tips
- ●Always shut down the Pi via the menu before unplugging the power to prevent SD card corruption.
- ●Keep your system updated by running 'sudo apt update && sudo apt upgrade' in the terminal regularly.
- ●Consider using a case with a built-in fan if you plan to run intensive tasks to prevent thermal throttling.
- ●Learn to use the command line interface (CLI) to unlock the full potential of your Raspberry Pi.