
How to Set Up a Local Kubernetes Cluster with Minikube
Learn how to deploy a single-node Kubernetes cluster on your local machine using Minikube. This guide provides a straightforward path for developers to test and run containerized applications in a production-like environment.
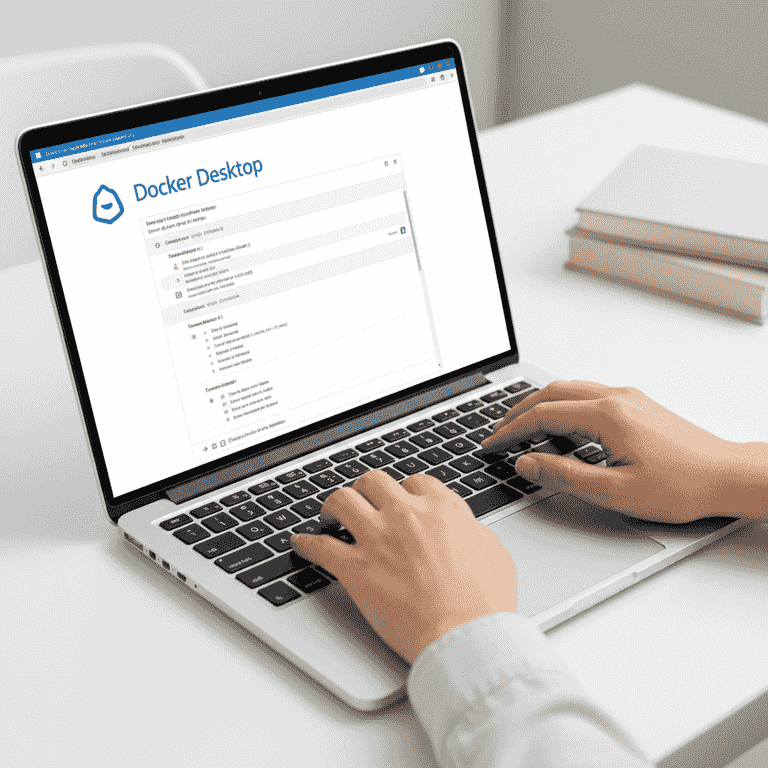
Install Docker Desktop
5 minutesDownload and install Docker Desktop for your operating system.
Minikube requires a container runtime to host the Kubernetes nodes. Ensure the application is running and the Docker engine is initialized before proceeding.
Do not skip the post-installation setup wizard, as it configures necessary system permissions.
Verify Docker is running by typing 'docker --version' in your terminal.

Install Minikube
3 minutesDownload the Minikube binary using your system's package manager or official release page.
Minikube acts as the orchestrator for your local Kubernetes environment. Following the official installation instructions for your specific OS ensures compatibility.
On macOS, use 'brew install minikube' for the fastest installation.
Install kubectl
2 minutesDownload and install the kubectl command-line tool.
Kubectl is essential for sending commands to the Kubernetes cluster. It communicates with the Minikube API server to manage your deployments and services.
Ensure the kubectl binary is added to your system's PATH variable.
Start the Kubernetes Cluster
5 minutesExecute the 'minikube start' command in your terminal.
This command initiates the virtual machine or container that runs the Kubernetes control plane. It automatically configures kubectl to point to your new local cluster.
The first start-up may take several minutes as it pulls necessary container images.
Use the '--driver=docker' flag to explicitly use Docker as your container runtime.

Verify Cluster Status
1 minuteRun 'kubectl cluster-info' to confirm the cluster is running.
Checking the cluster information ensures that the control plane is reachable. If the command returns the address of the Kubernetes master, your setup is successful.
Run 'kubectl get nodes' to see the status of your local node.
Pro Tips
- ●Use 'minikube dashboard' to view your cluster in a web-based UI.
- ●Always stop your cluster with 'minikube stop' when finished to save system resources.
- ●Keep your Minikube version updated to match the latest Kubernetes stable release.
- ●Use namespaces to organize your different projects within the same local cluster.