How to Set Up a Home Wi-Fi Router
Establish a reliable high-speed wireless network in your home by correctly connecting your hardware and configuring your network settings. This guide walks you through the physical installation and the software setup process for a standard home router.
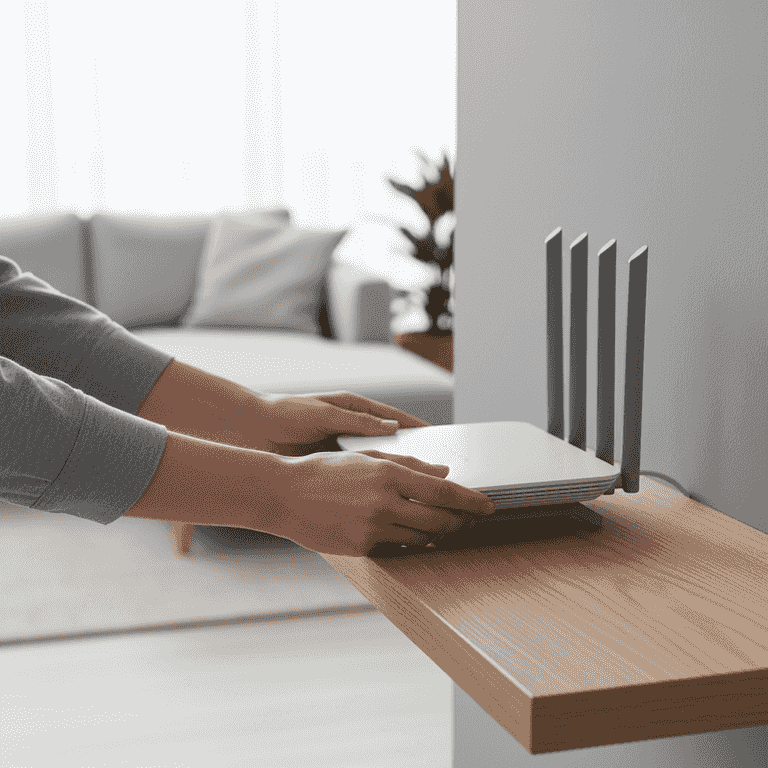
Position the router
2 minutesPlace the router in a central, open location away from walls and large metal objects.
Central placement ensures the Wi-Fi signal covers your home evenly. Avoid placing it inside cabinets or near other electronics that might cause interference.
Elevating the router on a shelf improves signal broadcast range.
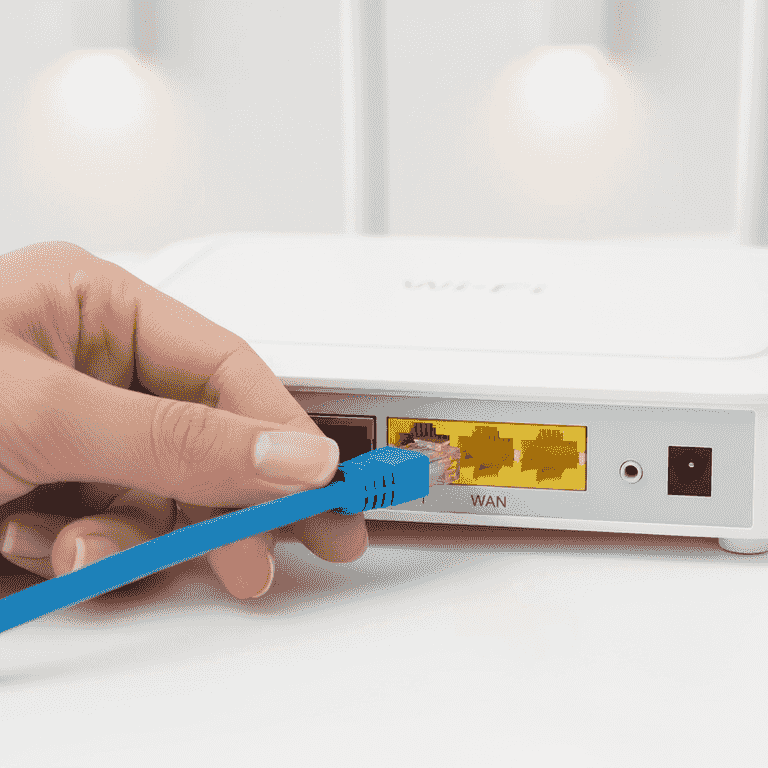
Connect the modem to the router
3 minutesPlug one end of the Ethernet cable into the modem's LAN port and the other into the router's WAN or Internet port.
The WAN port is typically a different color than the LAN ports, often labeled 'Internet' or marked with a globe icon. This creates the bridge between your service provider's signal and your home network.
Do not connect the Ethernet cable to a standard LAN port on the router, or the internet will not function.
Ensure the Ethernet cable clicks firmly into place on both ends.
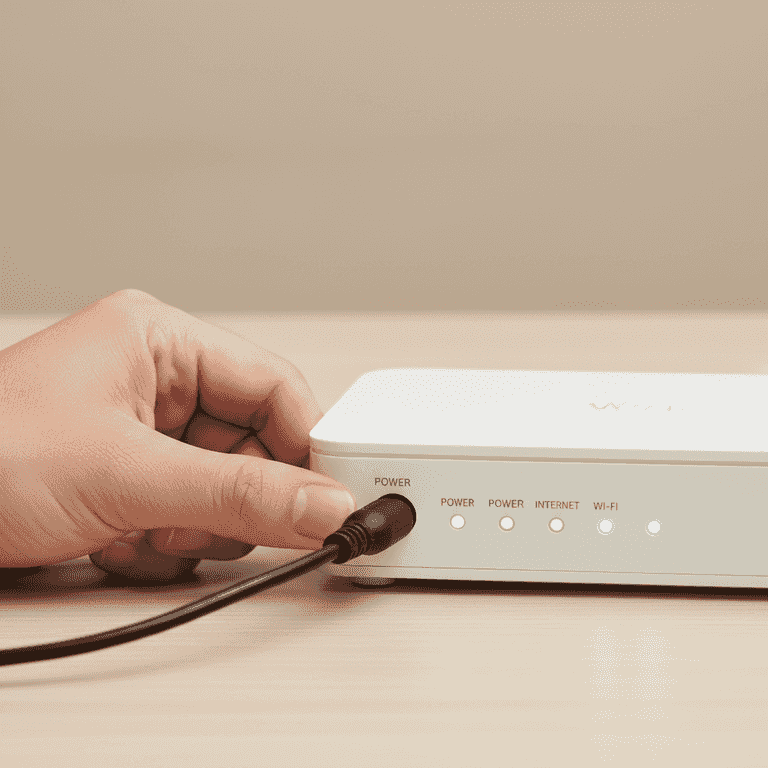
Power on the devices
5 minutesConnect the power adapter to the router and plug it into a wall outlet.
Wait for the status lights on the front of the router to stabilize, usually indicating a solid power and internet connection light.
If the modem was already on, you may need to power cycle it by unplugging and plugging it back in after the router is connected.
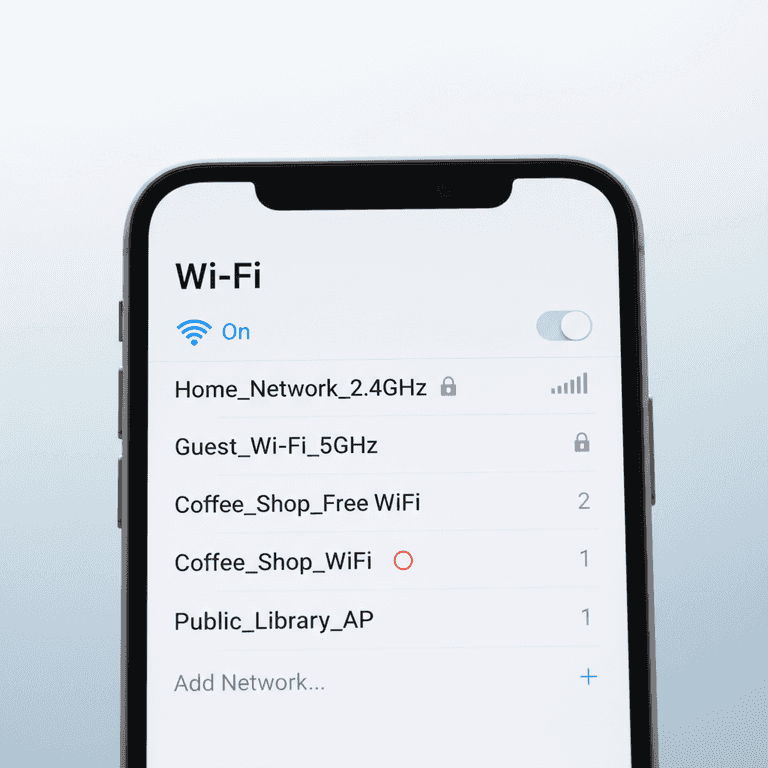
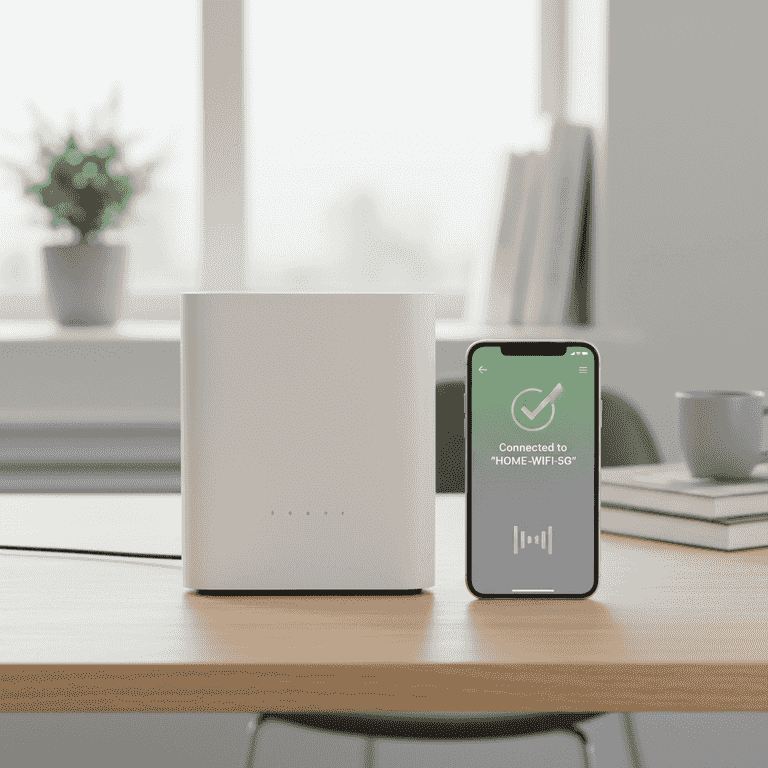
Connect to the default network
3 minutesUse your smartphone or computer to scan for available Wi-Fi networks.
Look for the default network name (SSID) printed on the sticker on the bottom or back of your router. Select this network and enter the default password provided on the same sticker.
If you don't see the network, ensure the router lights indicate that the wireless radio is active.
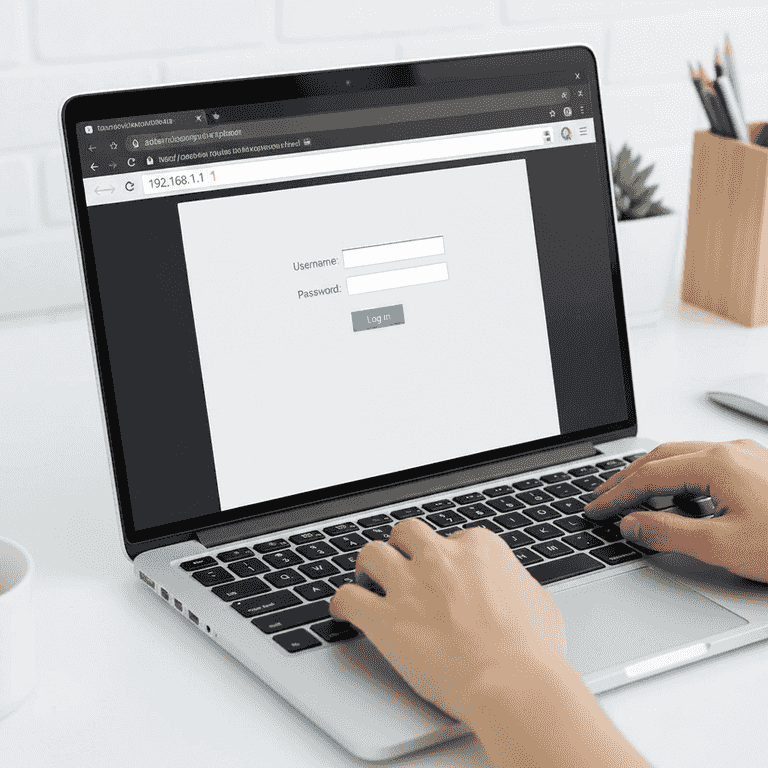
Access the configuration interface
2 minutesOpen a web browser and type the router's IP address into the address bar.
The IP address is usually something like 192.168.1.1 or 192.168.0.1, which is also listed on the router's sticker. This opens the admin panel where you can customize your network settings.
Check the router manual if the sticker does not list a specific URL or IP address.
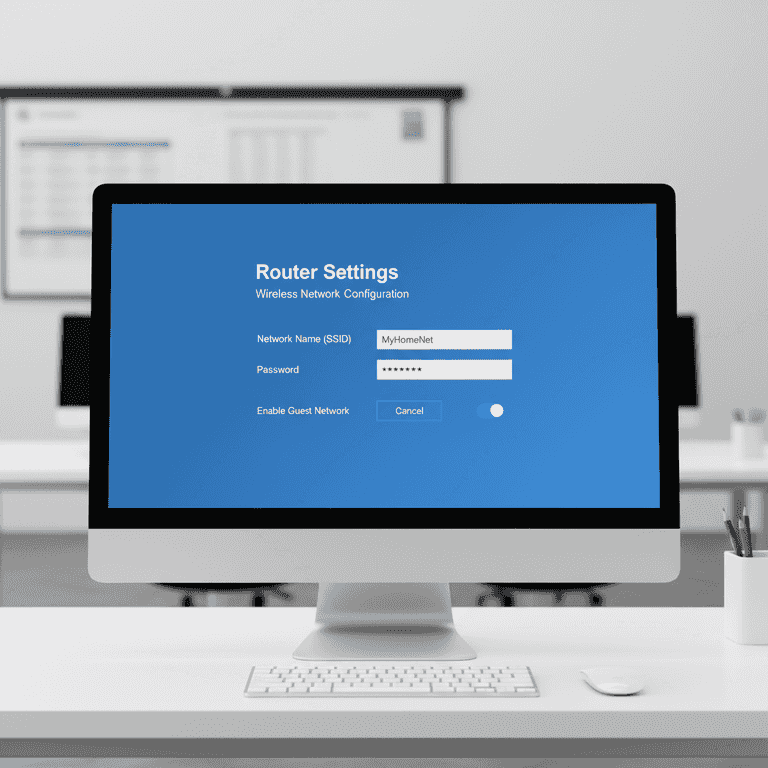
Configure security settings
5 minutesChange the default Wi-Fi network name and create a strong, unique password.
Updating these settings prevents unauthorized users from accessing your network. Choose WPA3 or WPA2-AES encryption for the highest security level.
Never use the default factory-set admin password, as it is a significant security vulnerability.
Use a password manager to store your new network credentials securely.
Pro Tips
- ●Update your router's firmware immediately after setup to ensure you have the latest security patches.
- ●Disable 'WPS' (Wi-Fi Protected Setup) in the settings to prevent brute-force attacks.
- ●If your router supports dual-band, use the 5GHz band for high-speed devices and 2.4GHz for smart home devices.
- ●Guest networks are useful for visitors so they cannot access your primary devices or local files.