How to Set Up a Home Server
Transform an old computer or dedicated hardware into a powerful home server to manage your files, media, and smart home devices. This guide walks you through the hardware preparation and software installation process to get your network hub running efficiently.

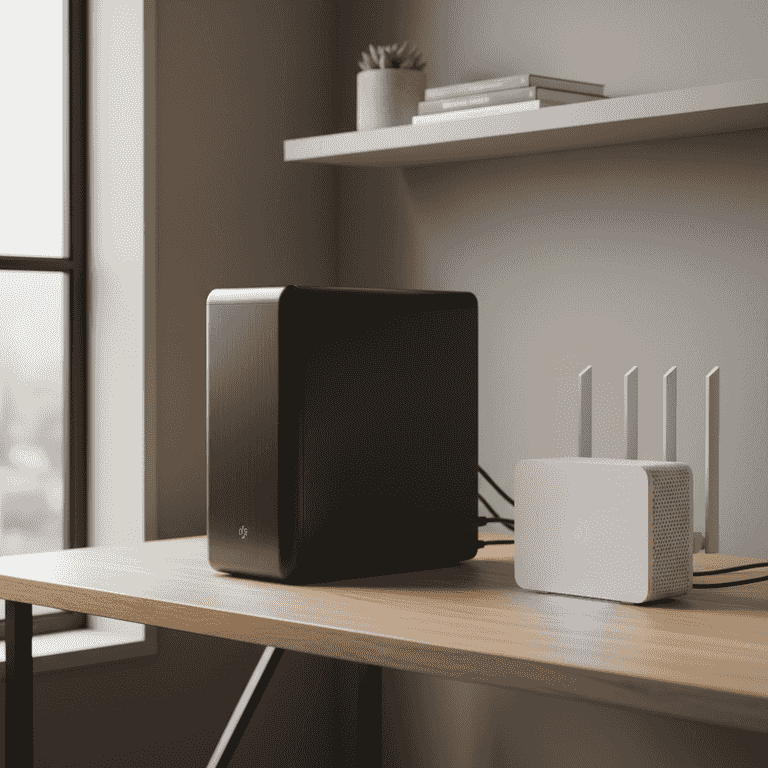
Prepare the hardware
15 minutesClear your workspace and secure your server hardware, ensuring all internal components are properly seated.
Use your Phillips head screwdriver to open the case. Verify that your RAM and hard drives are firmly clicked into their respective slots to prevent connection issues during operation.
Touch a metal part of the chassis to discharge static electricity before touching internal components.
Clean out any dust with compressed air while the case is open to improve airflow and longevity.
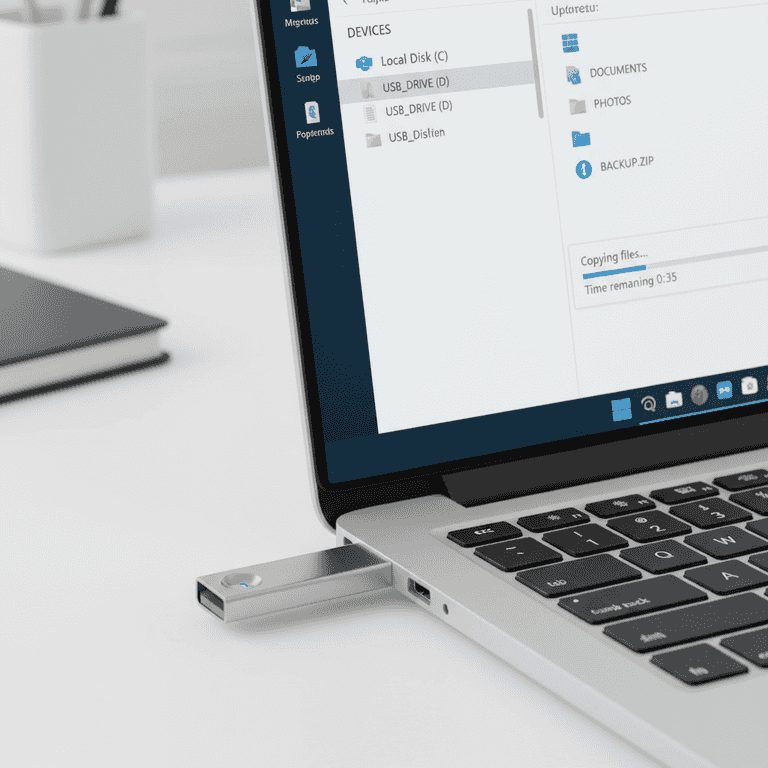
Create bootable installation media
10 minutesDownload your chosen server operating system and flash it onto the USB drive.
Use software like BalenaEtcher to write the ISO image of your preferred OS (such as Ubuntu Server or TrueNAS) to the USB flash drive. This turns the drive into a bootable installer.
Verify the checksum of the downloaded ISO file to ensure it is not corrupted.
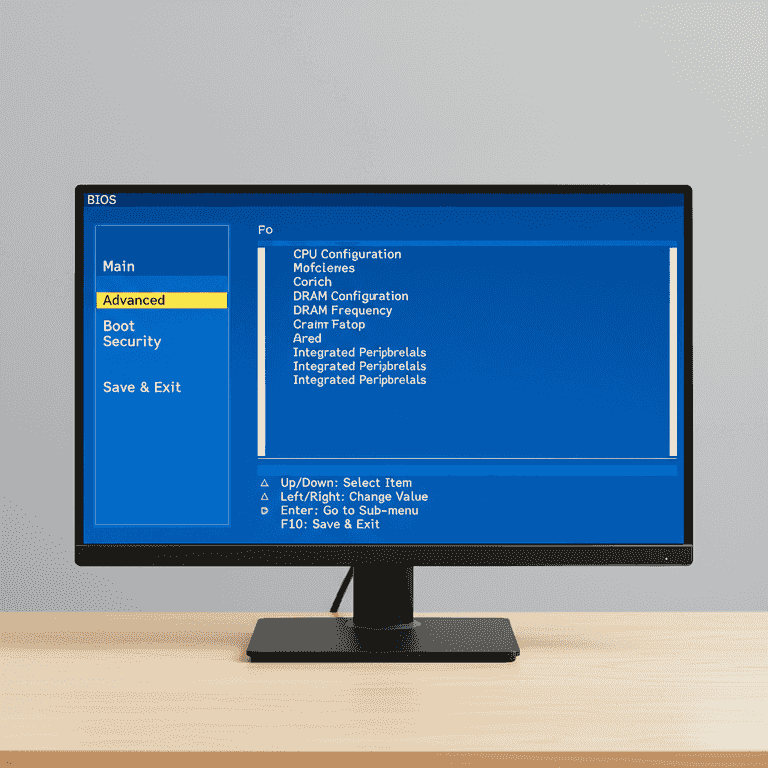
Configure BIOS settings
10 minutesPlug in your monitor and keyboard, then enter the BIOS to set the boot priority.
Power on the server and press the designated key (usually F2, F12, or Delete) to enter the BIOS. Change the boot order so that the USB flash drive is the primary boot device.
Disable 'Secure Boot' if you encounter issues booting into Linux-based server installers.
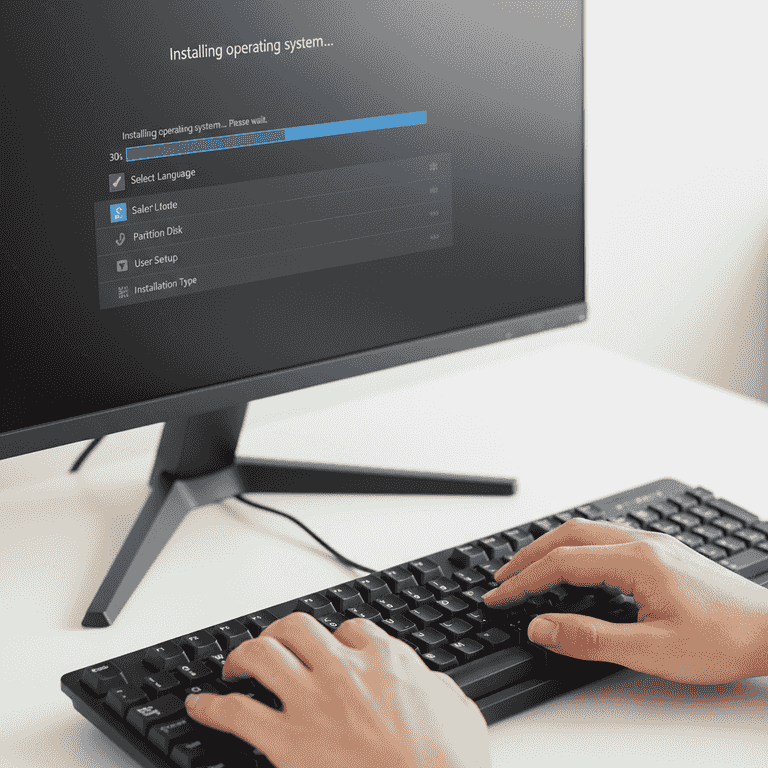
Install the operating system
30 minutesFollow the on-screen prompts to install the OS onto your server's primary storage drive.
Select your language, keyboard layout, and network configuration. Choose the primary hard drive for installation and create a strong administrative user password.
Double-check that you are selecting the correct drive for installation, as this process will wipe all existing data on that drive.
Set a static IP address during installation to ensure your server's address remains consistent on your network.
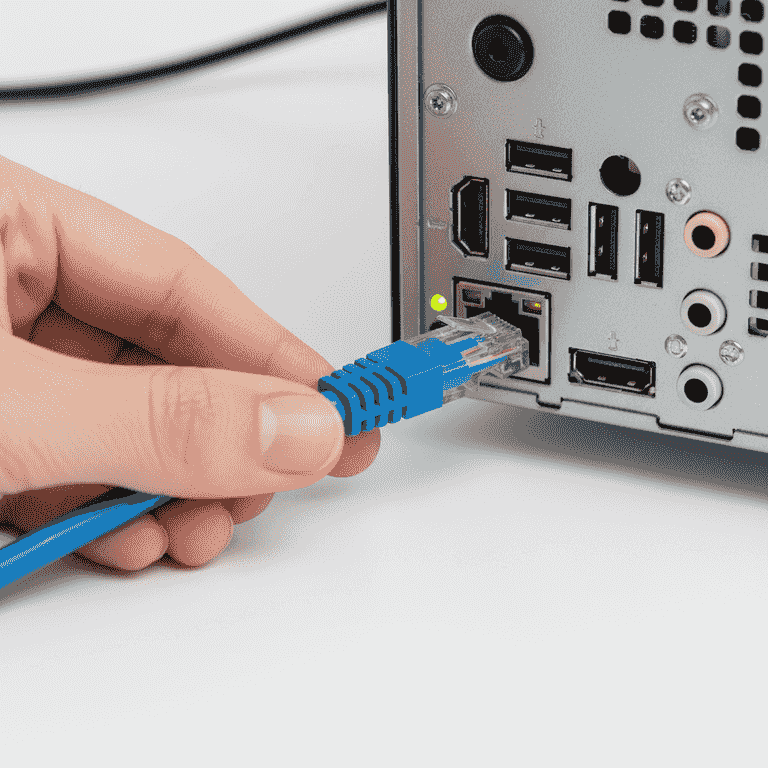
Connect to the network
5 minutesPlug the Ethernet cable into the server and your router to establish a wired connection.
A wired connection is significantly more stable than Wi-Fi for server tasks. Ensure the cable is securely clicked into the RJ45 port on the back of the server.
Use a dedicated port on your router if it has one specifically marked for high-priority traffic.
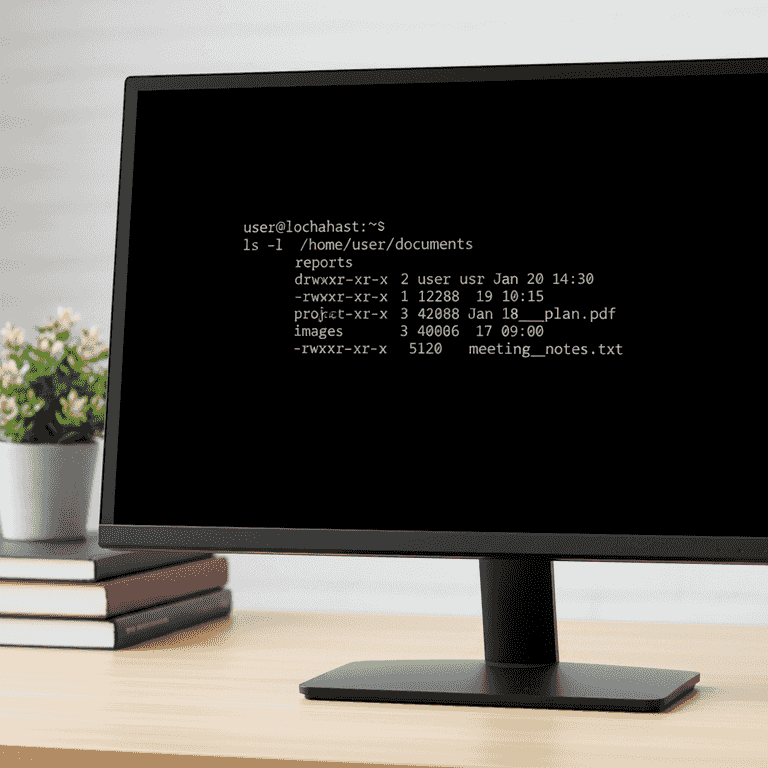
Perform initial updates
15 minutesUpdate the operating system packages to ensure the latest security patches are applied.
Access the command line interface and run the system update commands (e.g., 'sudo apt update && sudo apt upgrade'). This secures the server against known vulnerabilities.
Enable automatic security updates to keep your server protected without manual intervention.
Pro Tips
- ●Use Docker containers to run applications; this keeps your system clean and makes managing services much easier.
- ●Set up SSH keys for secure remote access instead of relying solely on passwords.
- ●Implement a regular backup schedule to an external drive or cloud storage to prevent data loss.
- ●Monitor your server's health using tools like Netdata or Glances to track CPU and memory usage.
- ●Consider using a Uninterruptible Power Supply (UPS) to protect your server from sudden power outages.