How to Safely Jumpstart a Car Battery
Learn the correct and safe procedure to revive a dead car battery using jumper cables and a functioning vehicle. This guide ensures you connect the terminals properly to prevent electrical damage or injury.

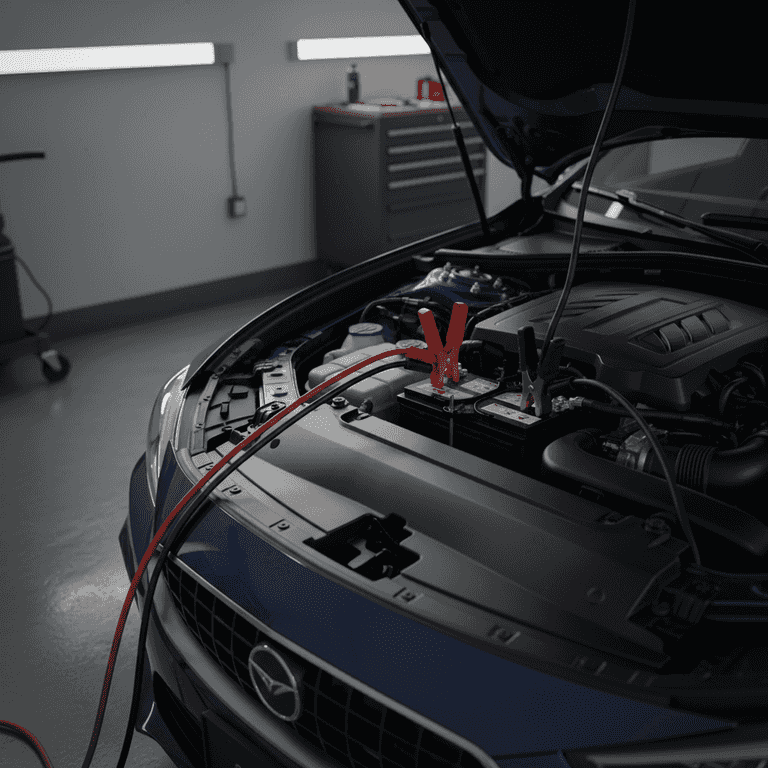
Position the vehicles
2 minutesPark the working vehicle close enough to the dead car so the cables can reach both batteries comfortably.
Ensure the vehicles are close but not touching. Turn off both ignitions, engage the parking brakes, and open the hoods to locate the batteries.
Ensure the vehicles are not touching, as this can cause a short circuit.
If the batteries are in the trunk or under a seat, check your owner's manual for designated jump-start terminals in the engine bay.

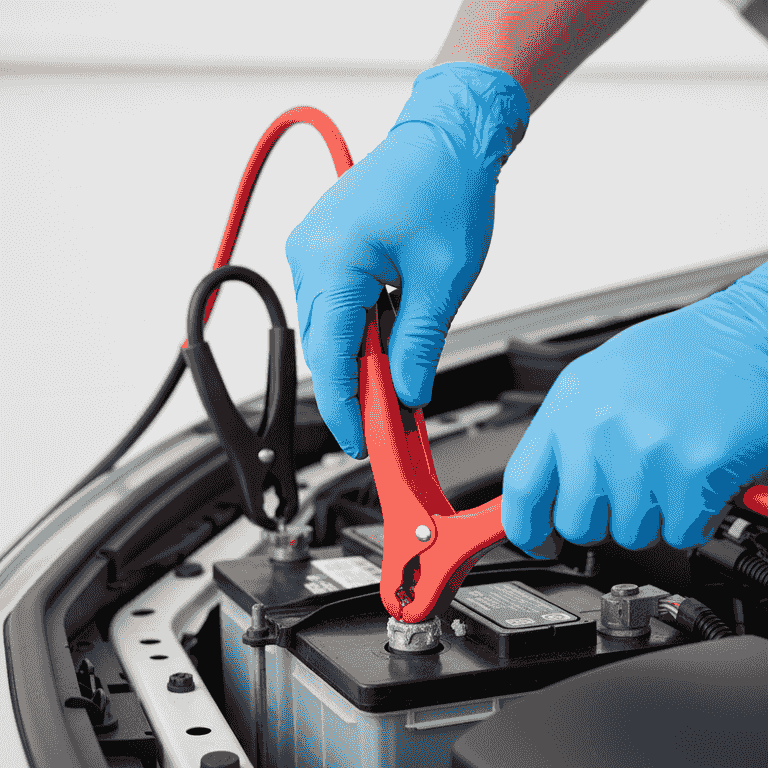
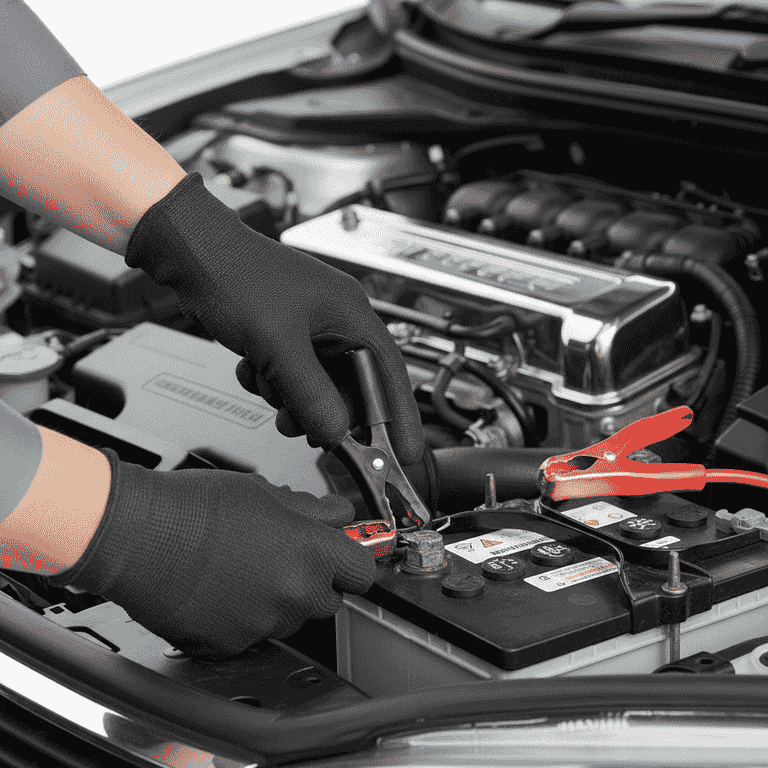
Connect the positive cable
1 minuteAttach one red clamp to the positive (+) terminal of the dead battery.
The positive terminal is usually marked with a plus sign or a red plastic cover. Ensure the clamp has a firm grip on the metal terminal.
Do not let the other end of the cable touch any metal part of the car while the first clamp is connected.
Wiggle the clamp slightly to ensure a solid metal-to-metal connection.
Connect the other positive end
1 minuteAttach the other red clamp to the positive (+) terminal of the working vehicle's battery.
This establishes the power bridge between the two batteries. Make sure the connection is secure and stable.
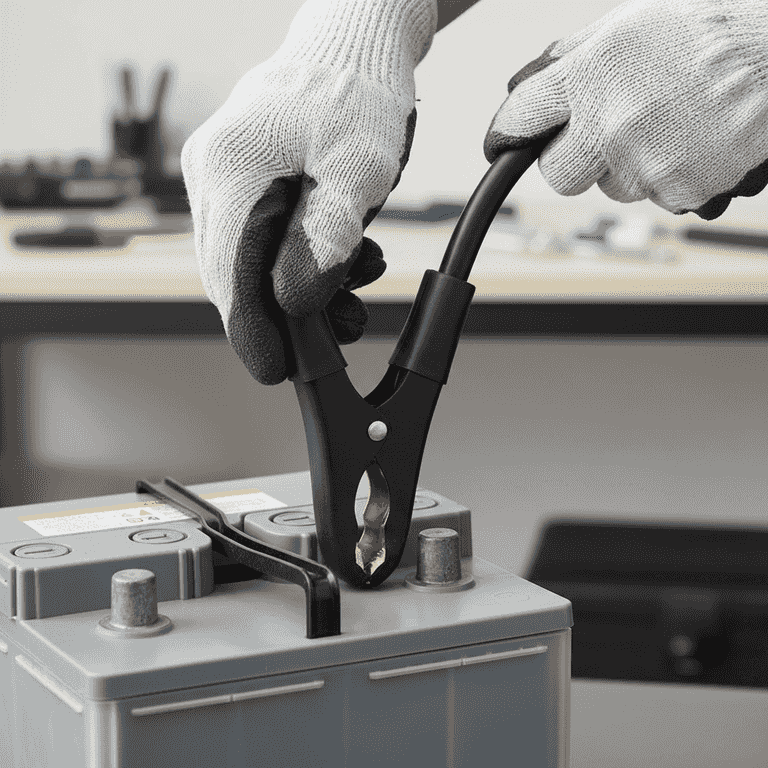
Connect the negative cable
1 minuteAttach one black clamp to the negative (-) terminal of the working vehicle's battery.
The negative terminal is typically marked with a minus sign or a black cover. This completes the circuit for the donor vehicle.
Never connect the negative cable to the negative terminal of the dead battery, as this can cause a spark and potential battery explosion.
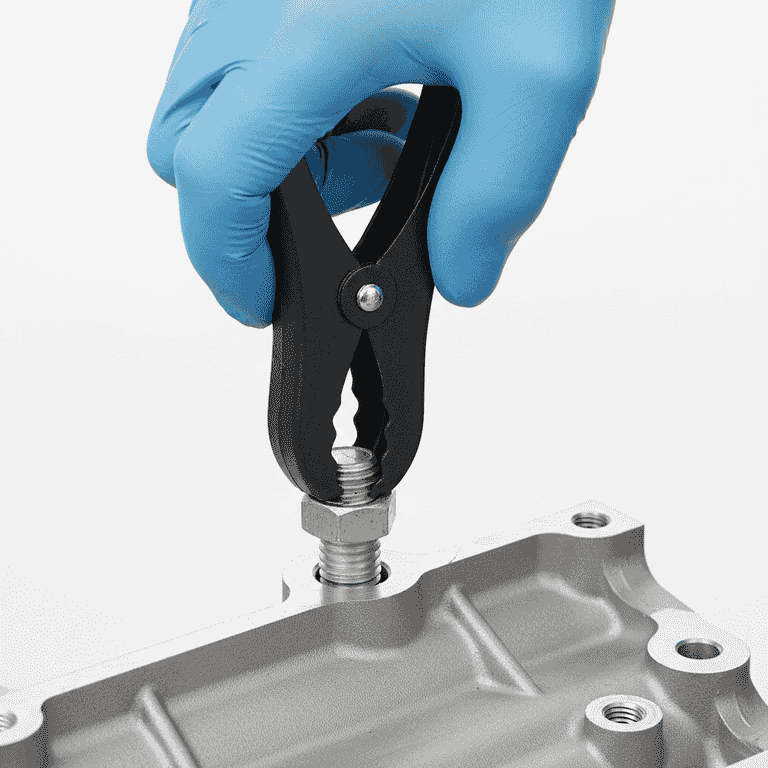
Ground the final clamp
1 minuteAttach the final black clamp to an unpainted metal surface on the engine block of the dead car.
A sturdy bolt or bracket on the engine block serves as a safe ground. This prevents sparks from occurring near the dead battery's potentially explosive gases.
Do not attach the clamp to a fuel line or a painted surface.
Avoid moving parts like belts or fans when choosing a grounding point.

Start the engines
5 minutesStart the working vehicle and let it run for a few minutes, then attempt to start the dead car.
Allowing the donor car to run for 2-5 minutes helps charge the dead battery slightly. Once the dead car starts, let it run for several minutes before disconnecting.
If the dead car doesn't start immediately, wait a few more minutes and try again.
Disconnect the cables
2 minutesRemove the cables in the exact reverse order of how you connected them.
Start by removing the ground clamp from the dead car, then the negative clamp from the donor car, followed by the positive clamps. Keep them from touching each other.
Be careful not to let the clamps touch any metal surfaces while removing them.
Ensure the engine stays running for at least 20 minutes after disconnecting to allow the alternator to recharge the battery.
Pro Tips
- ●Always keep a set of high-quality jumper cables in your trunk for emergencies.
- ●If your battery is more than 3-5 years old, it may be time for a replacement if it fails to hold a charge.
- ●Check your battery terminals for white, crusty corrosion; cleaning them with a wire brush can improve connectivity.
- ●If the car still won't start after a jump, the issue may be the starter or alternator rather than the battery.