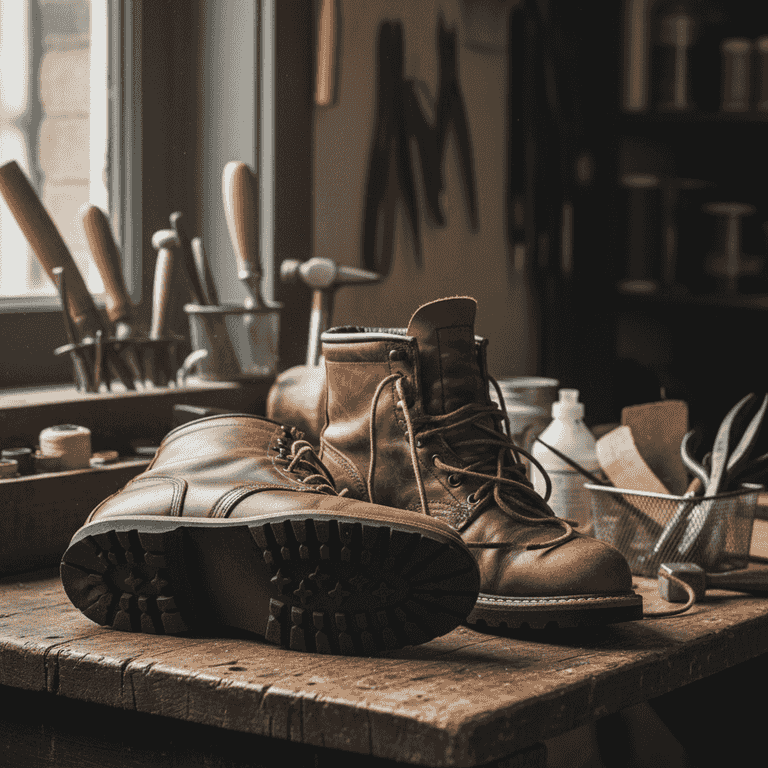
How to Resole Shoes
Extend the life of your favorite footwear by replacing worn-out soles. This guide walks you through the professional-grade process of removing old rubber and bonding a new, durable sole.

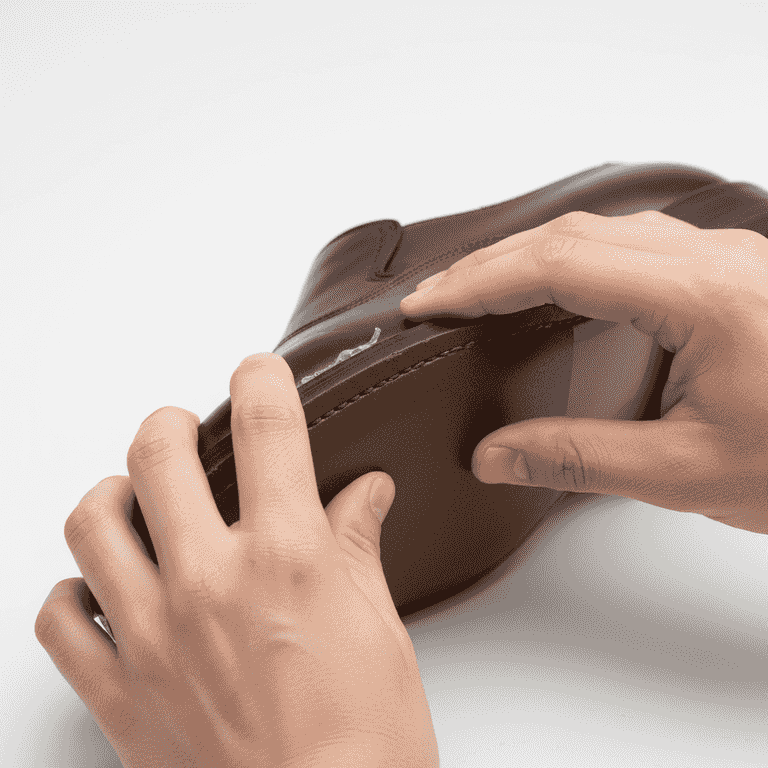
Remove the old sole
30 minutesUse a utility knife to carefully pry the old rubber sole away from the shoe base.
Insert the blade between the sole and the midsole, moving slowly to avoid cutting into the shoe upper. Work in small sections until the entire sole is detached.
Keep fingers behind the blade at all times to prevent deep cuts.
Heat the sole with a hairdryer for a few minutes to soften the glue, making it easier to peel.
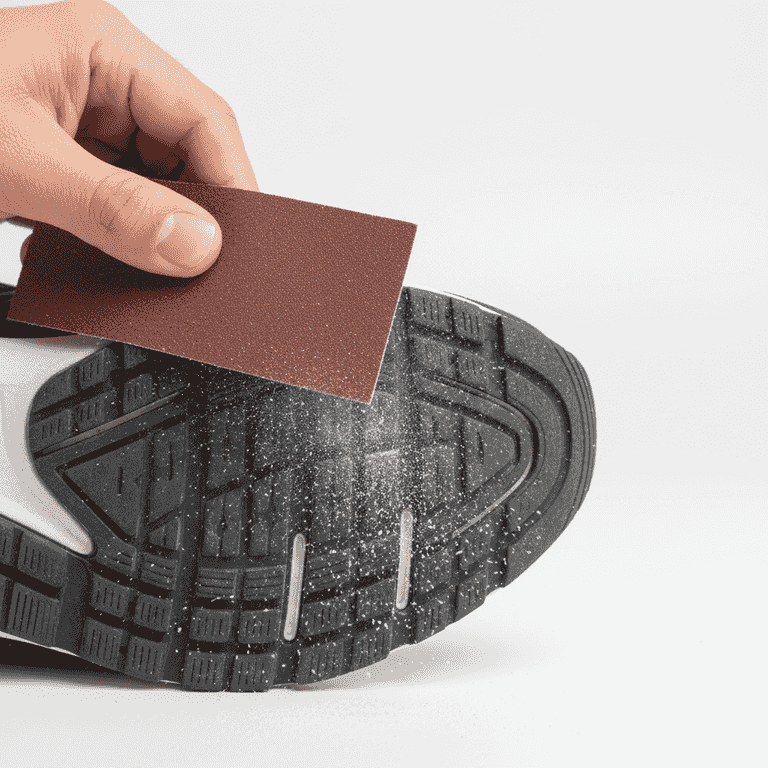
Prepare the surfaces
20 minutesSand the bottom of the shoe and the top of the new sole sheet using coarse sandpaper.
Roughening the surfaces creates a mechanical bond that allows the contact cement to grip more effectively. Ensure you remove all old glue residue during this process.
Do not sand too aggressively as you may damage the structure of the shoe midsole.
Use a stiff brush to remove all dust after sanding to ensure a clean bonding surface.
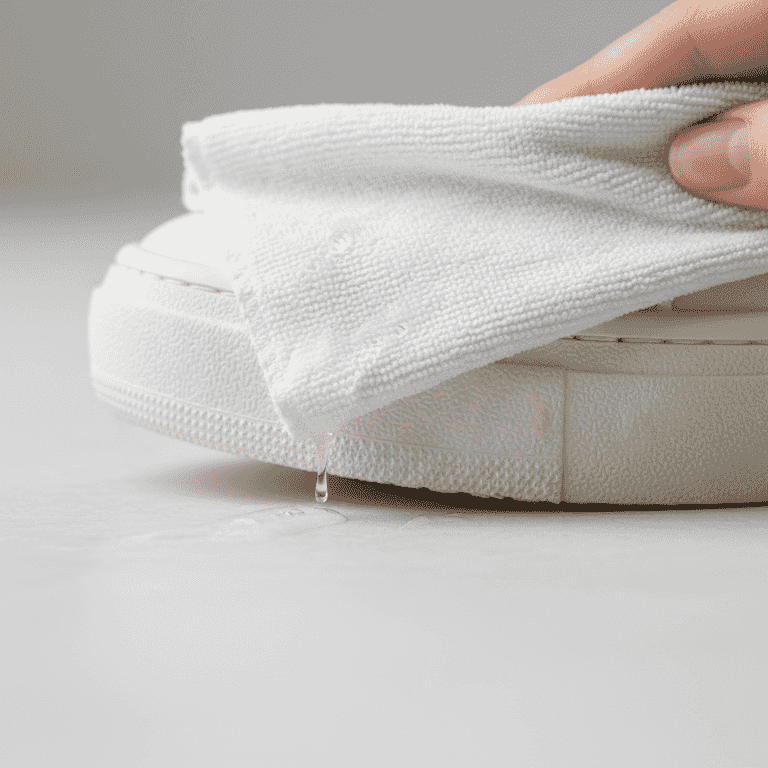
Clean with acetone
5 minutesWipe both the bottom of the shoe and the new sole with a cloth dampened in acetone.
Acetone removes oils, dust, and microscopic debris that could prevent the glue from setting correctly. Allow the surfaces to dry completely for a few minutes.
Acetone is flammable and should be used away from open flames.
Work quickly as acetone evaporates rapidly.
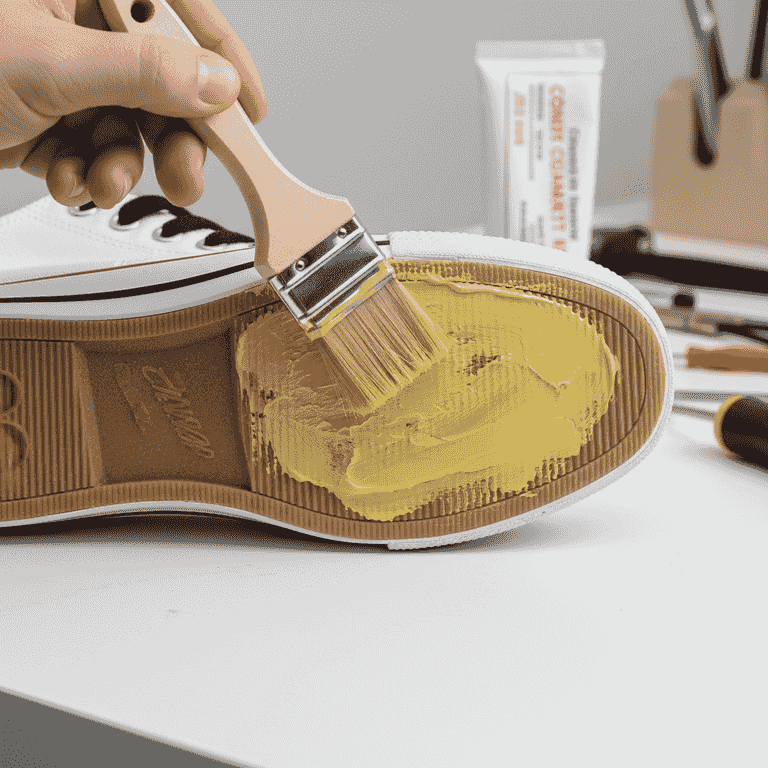
Apply contact cement
15 minutesSpread a thin, even layer of contact cement onto both the shoe and the new sole sheet.
Use a small brush or spreader to ensure full coverage. Apply the glue to the entire surface area, reaching all the way to the edges.
Ensure the area is well-ventilated to avoid inhaling strong chemical fumes.
Apply two thin coats instead of one thick one for a stronger bond.
Bond the sole
10 minutesWait for the glue to become tacky, then firmly press the sole onto the shoe.
The glue should feel dry to the touch but tacky. Align the sole carefully before pressing, as contact cement bonds instantly upon contact.
You only get one chance to align the sole, so be precise.
Start from the heel and roll the sole forward to the toe to prevent air bubbles.
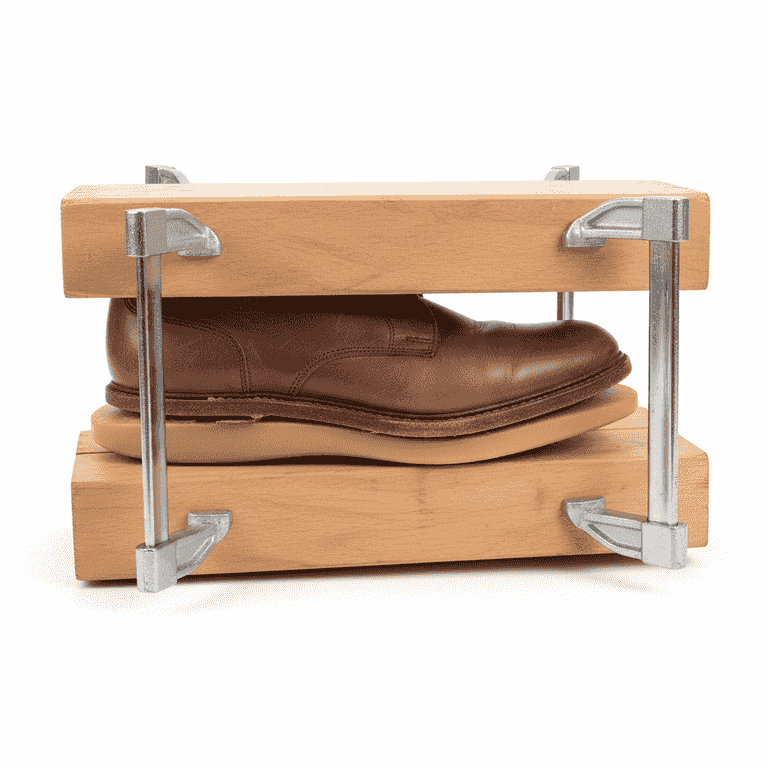
Clamp and cure
24 hoursApply heavy pressure to the sole and allow it to cure for 24 hours.
Use clamps or heavy objects to ensure a tight bond across the entire surface. Do not attempt to wear the shoes before the full curing time has passed.
Moving the sole before the glue has cured will permanently weaken the bond.
Place a flat board between the weights and the shoe to distribute pressure evenly.
Pro Tips
- ●Always choose a high-quality, flexible rubber sheet designed specifically for footwear.
- ●If your shoe has a welt, make sure to tuck the sole edges cleanly against it for a professional finish.
- ●Use a rotary tool with a sanding drum to trim excess rubber from the edges after the glue has cured.
- ●Store remaining contact cement in a cool, dry place to prevent it from thickening.