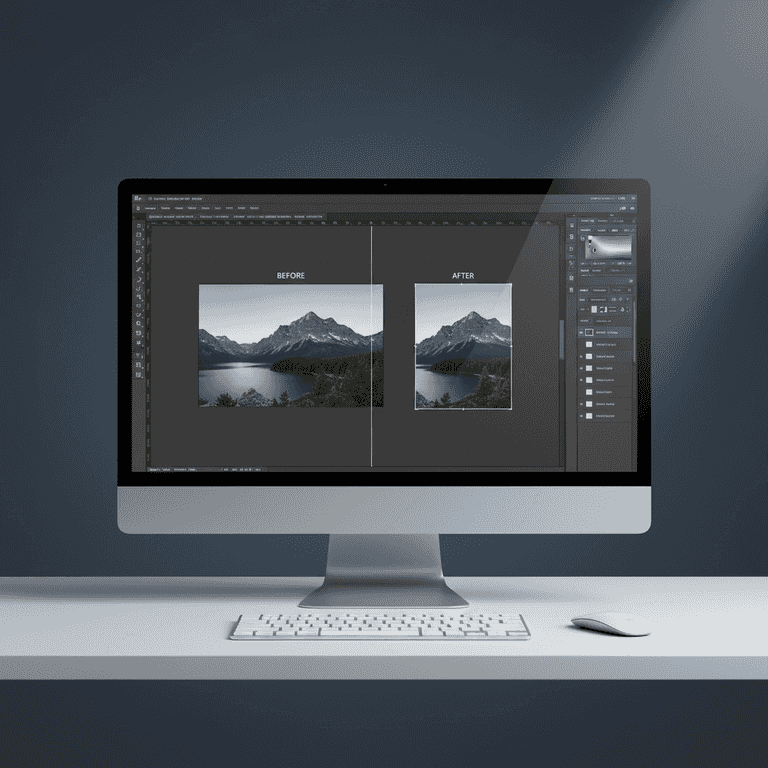
How to Resize an Image in Photoshop
Learn how to professionally scale and resize your images in Adobe Photoshop while maintaining optimal quality. This guide covers the essential steps to adjust dimensions for web or print projects without causing pixelation.
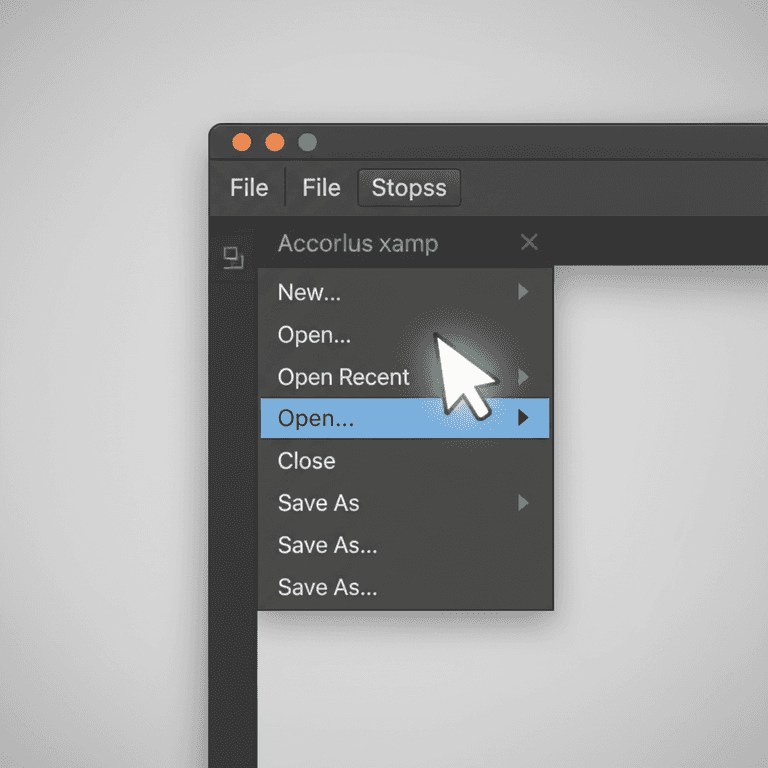
Open your image file
30 secondsLaunch Photoshop and open the image you wish to resize by navigating to File > Open.
Selecting the correct file ensures you are working on the original high-resolution master copy before applying changes.
You can also drag and drop the image file directly onto the Photoshop icon or workspace.
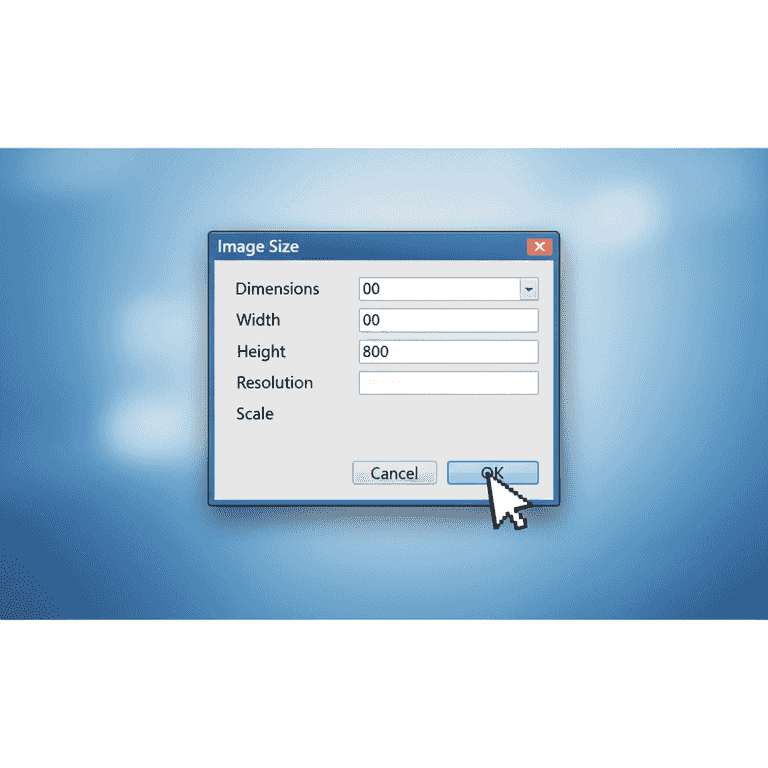
Access the Image Size dialog
15 secondsNavigate to the top menu bar and select Image > Image Size, or press Alt+Ctrl+I (Windows) / Option+Command+I (Mac).
This dialog box is the central hub for all resizing operations, providing real-time data on pixel dimensions and file size.
Using the keyboard shortcut is significantly faster for professional workflows.
Enable the Constrain Aspect Ratio icon
15 secondsEnsure the chain-link icon between the Width and Height fields is toggled on.
This feature prevents image distortion by automatically adjusting the height proportionally when you change the width, or vice versa.
Failing to constrain proportions will result in a distorted, non-professional looking image.
If the chain icon is not highlighted, your image will stretch or squash unnaturally when resized.

Enter new dimensions
1 minuteInput your desired values into the Width or Height fields, ensuring the units are set correctly (e.g., Pixels for web, Inches for print).
Photoshop will calculate the new file size at the bottom of the dialog box based on your inputs, helping you manage storage requirements.
Set the resolution to 72 pixels/inch for web use or 300 pixels/inch for high-quality printing.

Select Resampling method
30 secondsChoose a resampling method from the dropdown menu, typically 'Automatic' or 'Preserve Details 2.0' for enlargements.
Resampling determines how Photoshop adds or removes pixels during the resize process to maintain image sharpness.
Use 'Bicubic Sharper' when reducing the size of an image to maintain crisp edges.
Apply and save changes
1 minuteClick the OK button to apply the resize, then go to File > Save As to save your new version.
Saving as a new file prevents overwriting your original high-resolution master image, which is a best practice in non-destructive editing.
Always save your work as a new file to avoid losing the original high-resolution data.
Use 'Export As' if you need to optimize the image specifically for web display.
Pro Tips
- ●Always work on a copy of your image to keep the original file safe.
- ●Avoid enlarging small images significantly, as this will lead to visible pixelation and loss of quality.
- ●Use 'Smart Objects' before resizing layers to keep the transformation non-destructive.
- ●Check the 'Resample' box only when you want to change the actual number of pixels in the file.