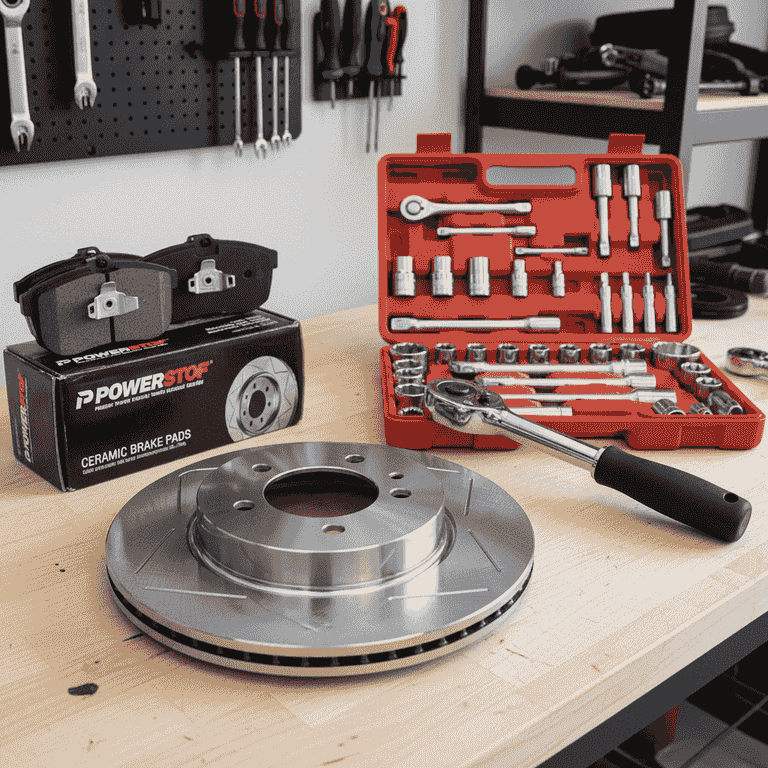
How to Replace Rotors and Brake Pads
Maintain your vehicle's stopping power by learning to replace worn brake pads and rotors. This guide walks you through the essential mechanical steps to ensure your braking system is safe and reliable.
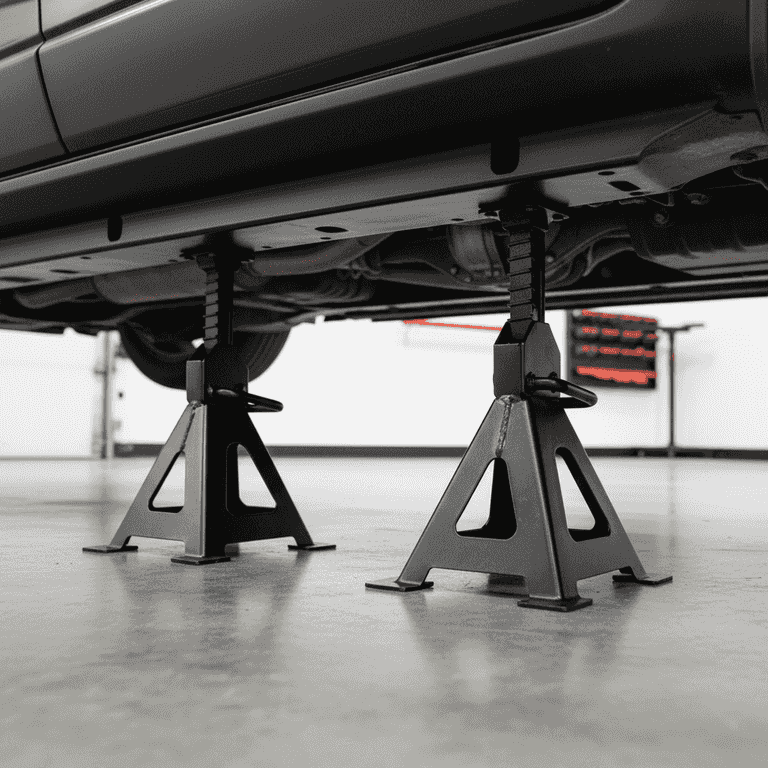
Lift and secure the vehicle
10 minutesLoosen the lug nuts, lift the car with a jack, and place it securely on jack stands.
Safety is paramount; ensure the vehicle is on level ground before lifting. Once lifted, place jack stands under the vehicle's designated pinch welds or frame rails.
Never work under a car supported only by a hydraulic jack.
Use wheel chocks on the opposite side to prevent rolling.
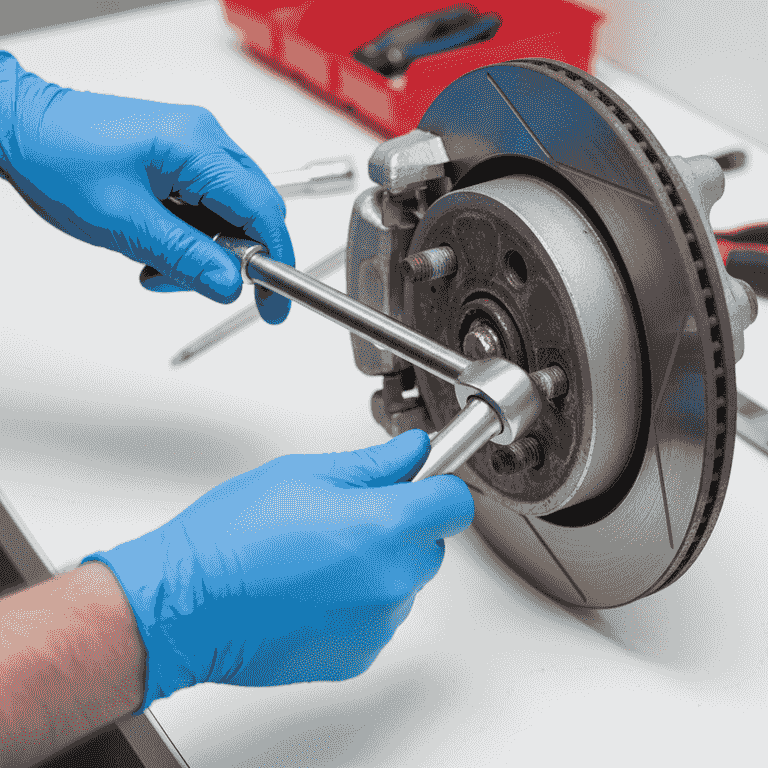
Remove the wheel and caliper
15 minutesUnscrew the lug nuts to remove the wheel, then unbolt the brake caliper from the mounting bracket.
Once the wheel is off, locate the two bolts on the back of the caliper. Use a socket wrench to remove them, then carefully slide the caliper off the rotor.
Do not let the caliper hang by the rubber brake hose as it can cause internal damage.
Use a bungee cord to hang the caliper from the suspension coil so it doesn't hang by the brake line.
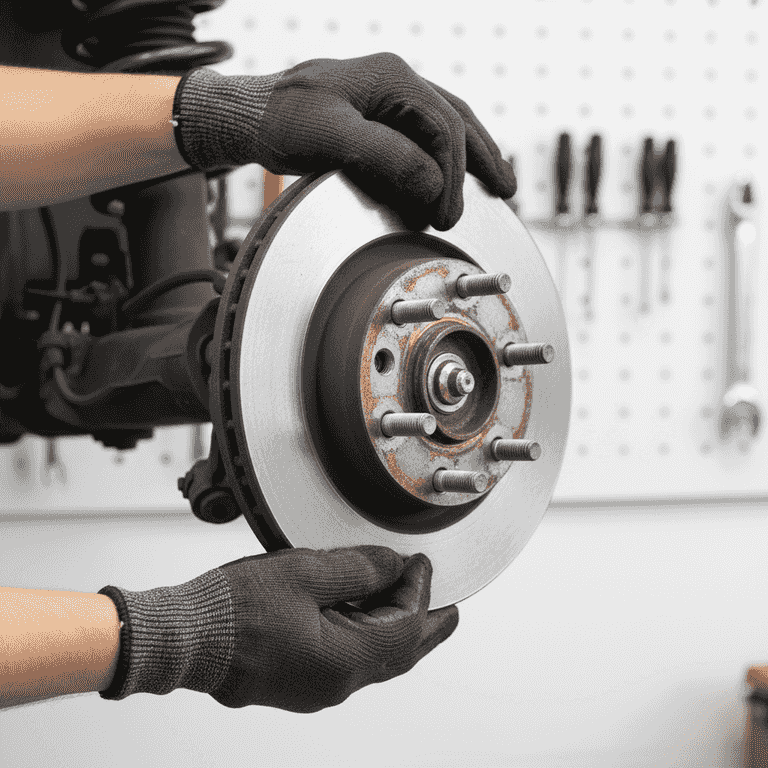
Remove the old pads and rotor
15 minutesSlide the old brake pads out of the bracket and remove the rotor from the wheel hub.
If the rotor is stuck due to rust, tap the face of the rotor gently with a rubber mallet to break it loose. Clean the hub surface thoroughly with a wire brush before installing the new rotor.
Ensure the parking brake is released before attempting to remove the rear rotors.
If the rotor is stuck, use a penetrating oil spray around the center hub studs and wait 5 minutes.
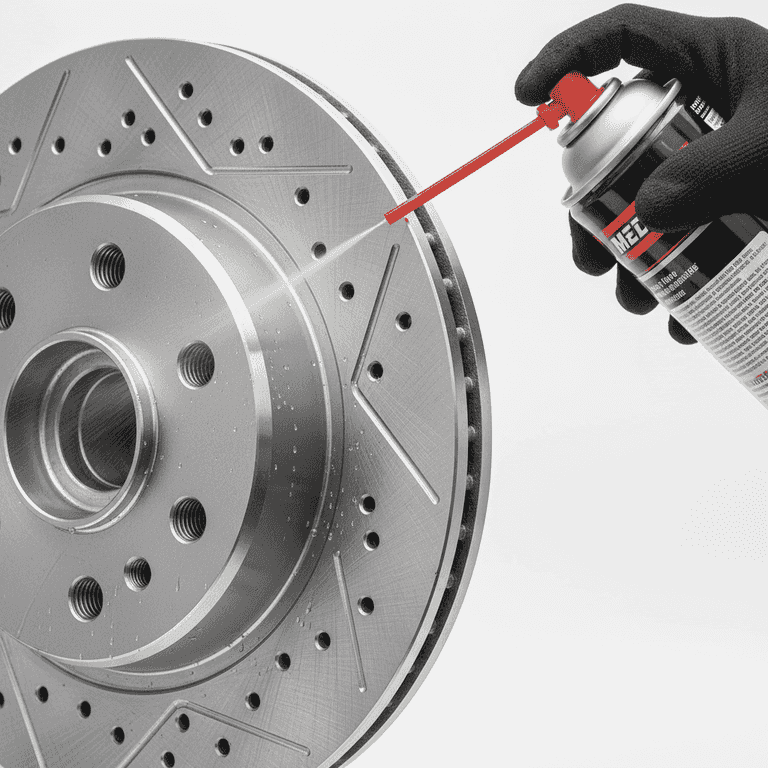
Clean and install the new rotor
5 minutesSpray the new rotor with brake cleaner and slide it onto the wheel hub.
New rotors are often coated in oil to prevent rust; failing to clean this off will cause brake squeal and poor performance. Wipe both sides of the rotor thoroughly with a clean rag.
Do not touch the friction surface of the new rotor with oily fingers after cleaning.
Apply a very thin layer of anti-seize to the hub mating surface to make future removals easier.
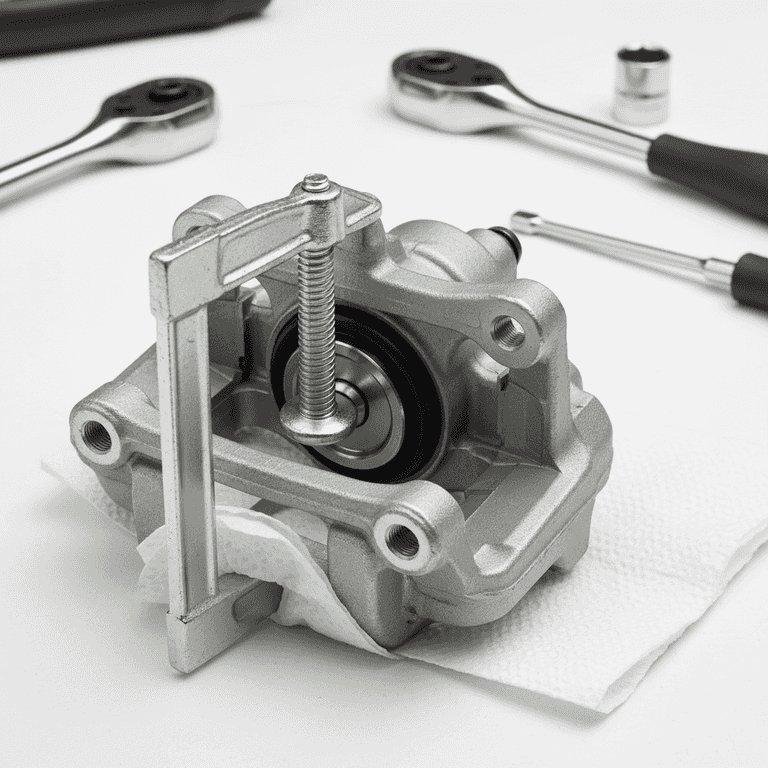
Compress the caliper piston
10 minutesUse a C-clamp or brake tool to push the caliper piston back into its housing.
New brake pads are thicker than worn ones, so the piston must be reset to accommodate the extra width. Slowly tighten the clamp until the piston is flush with the caliper body.
Compress the piston slowly to avoid damaging the internal seals.
Check your brake fluid reservoir level before compressing, as it may overflow.
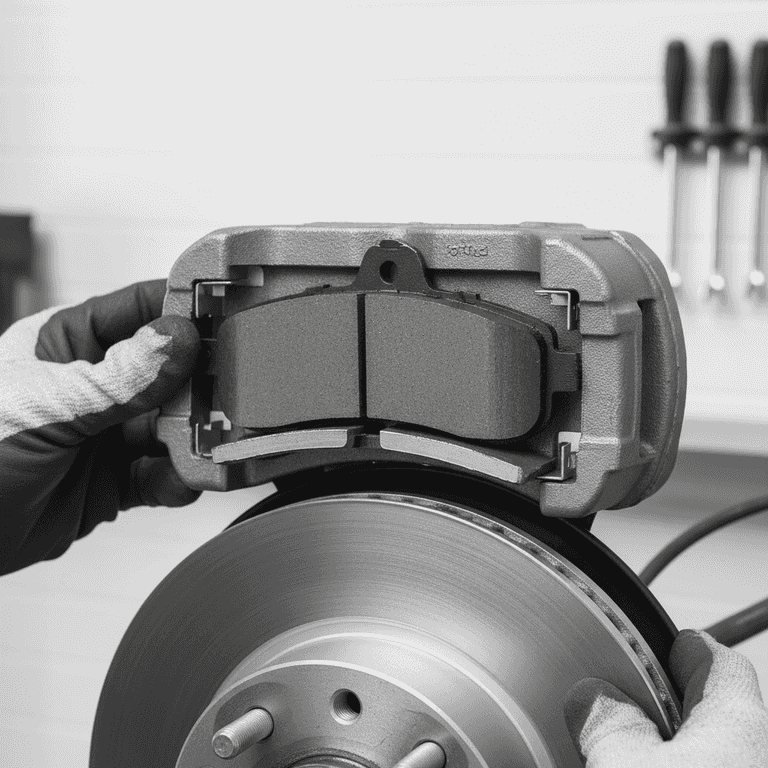
Install new pads and reassemble
15 minutesPlace the new pads into the caliper bracket, reinstall the caliper, and put the wheel back on.
Ensure the metal clips are seated correctly. Bolt the caliper back into place, torque the bolts to manufacturer specifications, and replace the wheel.
Double-check that all bolts are tightened to the correct torque specification.
Apply a small amount of brake grease to the back of the new pads to prevent noise.
Pro Tips
- ●Always replace brake pads and rotors in pairs (both front or both rear).
- ●Pump the brake pedal several times before driving to seat the pads against the rotor.
- ●Follow the 'bedding-in' procedure recommended by the brake pad manufacturer to ensure long life.
- ●Check your brake fluid level and color after completing the job.
- ●If you find a stuck slider pin, clean and lubricate it with silicone-based brake grease.