How to Replace a Window Screen
Restore your window's functionality and keep pests out by replacing a damaged screen mesh. This guide walks you through removing the old material and installing a fresh, taut screen using basic household tools.
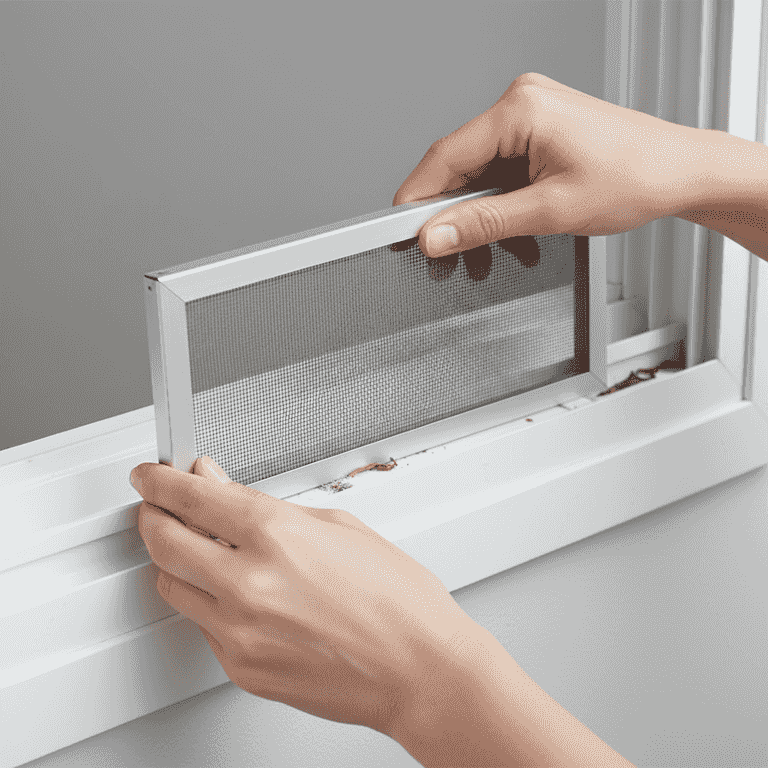
Remove the screen frame
5 minutesUnlatch and carefully lift the screen frame out of the window tracks.
Place the frame on a flat, clean surface like a workbench or table. Ensure the work area is well-lit so you can clearly see the spline channel.
Be cautious when removing the frame to avoid bending the metal or plastic edges.
Mark the top of the frame with a piece of tape if the window is not perfectly square to ensure proper reinstallation.
Remove the old spline and mesh
10 minutesUse a flathead screwdriver to pry up the end of the old spline and pull it out of the groove.
Once the spline is removed, the old screen mesh will fall away easily. Dispose of the old mesh and spline properly.
Watch out for sharp wire edges if you are removing an old aluminum screen.
If the spline is brittle, pull slowly to prevent it from snapping inside the channel.
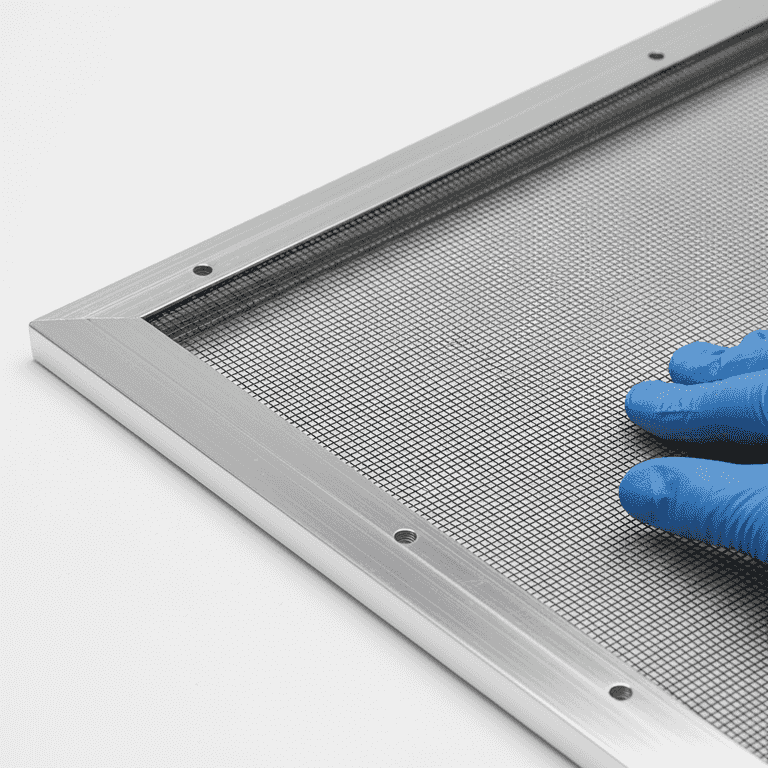
Position the new mesh
5 minutesLay the new screen mesh over the frame so it overlaps the edges by at least an inch on all sides.
Ensure the mesh is centered and lies flat without wrinkles. The tension of the mesh will be adjusted in the next step.
Use small clamps or tape to hold the mesh in place while you begin the spline installation.
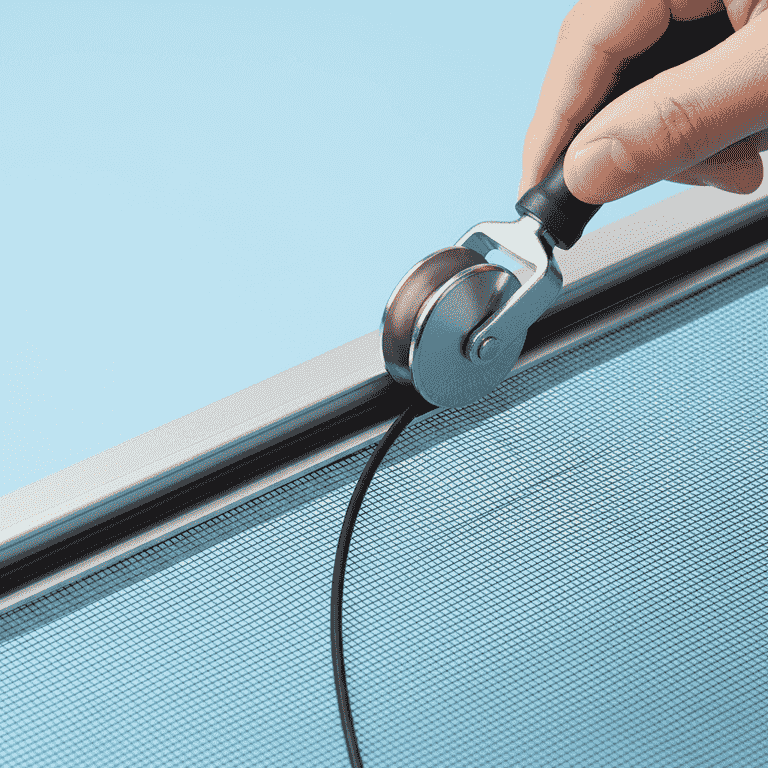
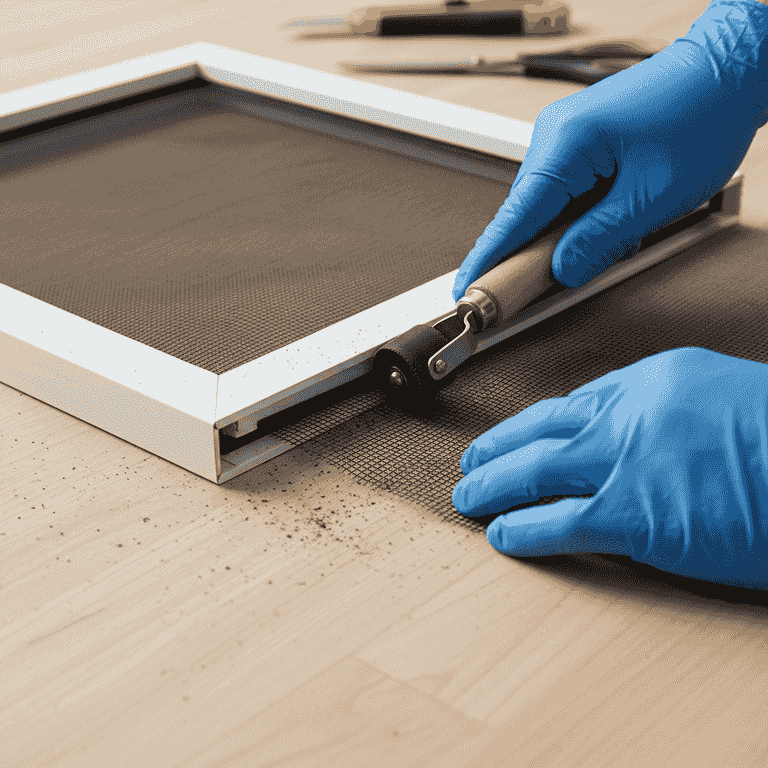
Press the spline into the channel
15 minutesUse the convex wheel of the spline roller tool to push the spline and mesh into the groove.
Start at one corner and work your way around the frame. Keep the mesh taut as you press the spline in to avoid sagging.
Do not pull the mesh too tight, or the frame may bow or warp.
Use the concave wheel to finish the spline once it is seated in the groove for a secure fit.
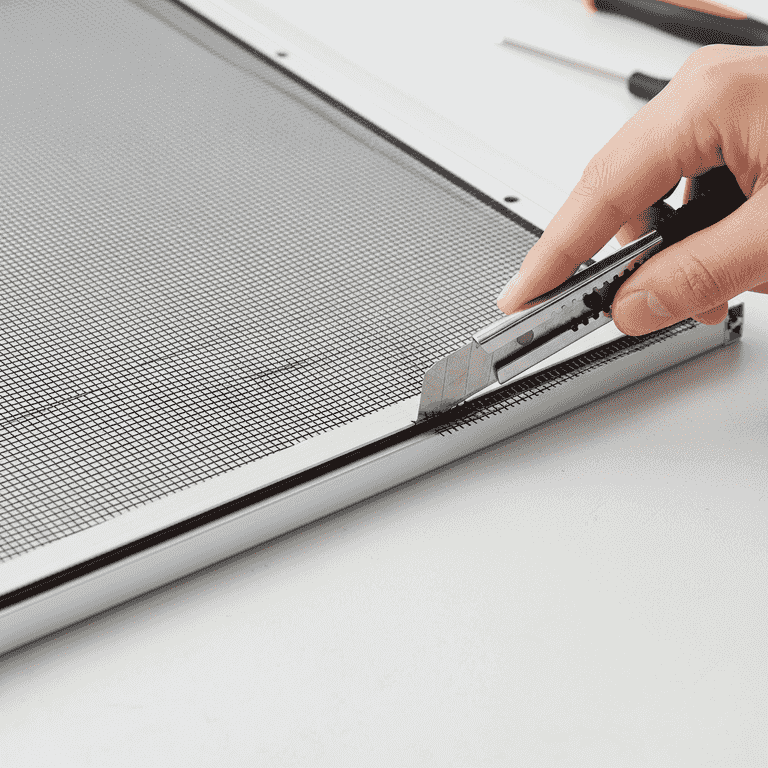
Trim the excess mesh
5 minutesUse a sharp utility knife to trim the excess screen mesh along the outside edge of the spline channel.
Hold the knife blade at a slight angle against the frame edge for a clean, professional cut. Ensure the knife is sharp to avoid tearing the mesh.
Be extremely careful not to cut your fingers or damage the window frame finish.
Change your utility blade if it feels dull to ensure a smooth cut through the fiberglass.
Pro Tips
- ●Always buy a spline diameter slightly smaller than the channel width for an easier fit.
- ●If your frame is older and warped, use a slightly thicker spline to ensure the mesh stays tight.
- ●Clean the frame groove with a stiff brush before installing new mesh to remove debris.
- ●Work in a warm room; the screen mesh is more pliable and easier to stretch when not cold.