How to Replace a Toilet Flapper
A worn-out toilet flapper is the most common culprit behind a running toilet and wasted water. This guide will walk you through the simple process of identifying, removing, and installing a new flapper to restore your toilet's efficiency.
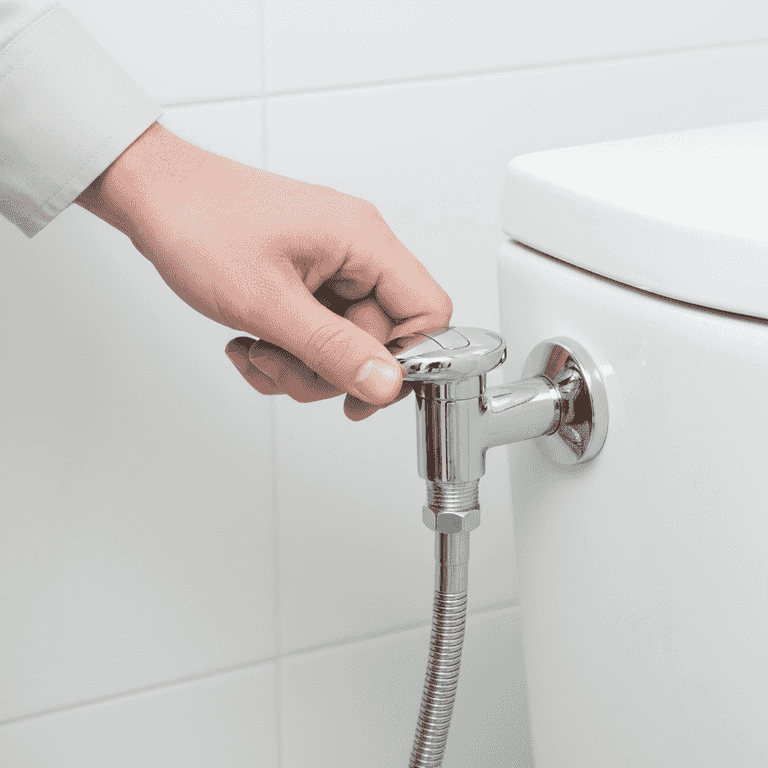
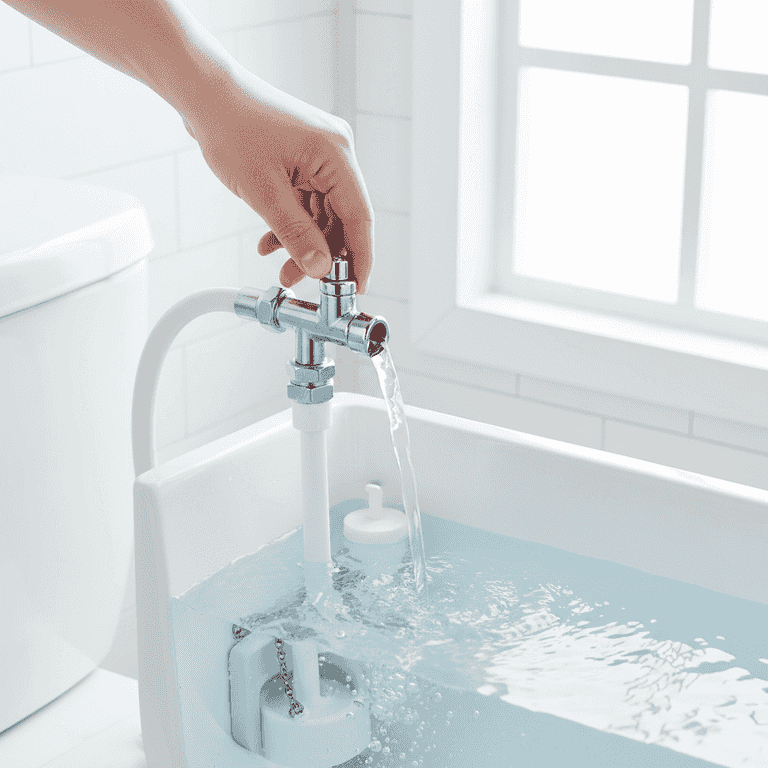
Turn off the water supply
1 minuteLocate the shut-off valve behind the toilet and turn it clockwise until it stops.
Stopping the water flow prevents the tank from refilling while you are working. Check that the valve is completely closed by trying to flush the toilet; it should not refill.
Failure to shut off the water will result in water overflowing onto the floor when you remove the flapper.
If the valve is stuck, do not force it; use a penetrating oil spray and wait before trying again.
Drain the tank
2 minutesFlush the toilet and hold the handle down to empty as much water as possible from the tank.
Removing the water allows you to see the components clearly and prevents water from splashing during the replacement. Use a towel to soak up any remaining water left at the bottom of the tank.
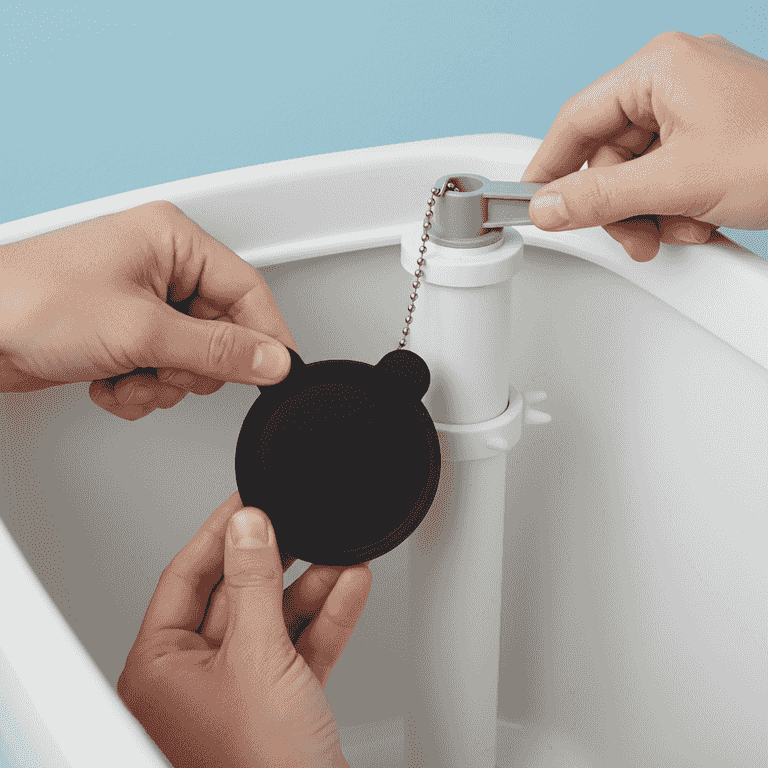
Disconnect the old flapper
3 minutesDetach the flapper chain from the flush lever arm and slide the flapper ears off the overflow pipe pins.
Most flappers are held in place by two plastic 'ears' that hook onto pegs on the side of the overflow tube. Simply wiggle them off gently to avoid breaking the plastic tabs.
Be careful not to snap the plastic mounting pins on the overflow pipe, as they are fragile.
Take a photo of the chain length before disconnecting so you know how much slack to leave later.
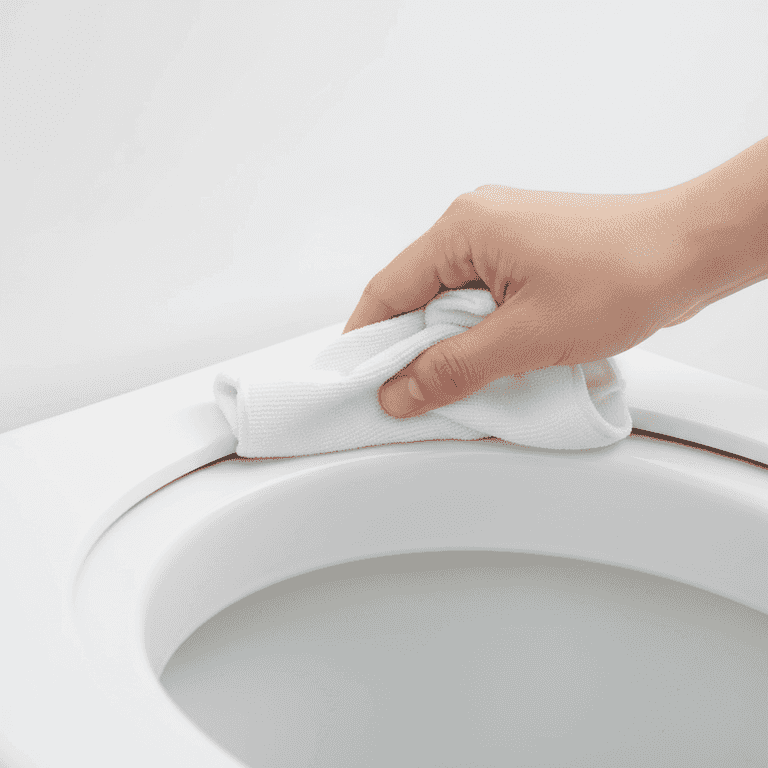
Clean the flush valve seat
2 minutesWipe the rim of the flush valve opening with a damp towel to remove mineral deposits and grime.
A smooth surface is essential for the new flapper to create a watertight seal. If there is heavy mineral buildup, you may need to gently scrub it with a non-abrasive scouring pad.
Check for any cracks in the plastic flush valve seat; if cracked, the entire valve assembly may need replacing.
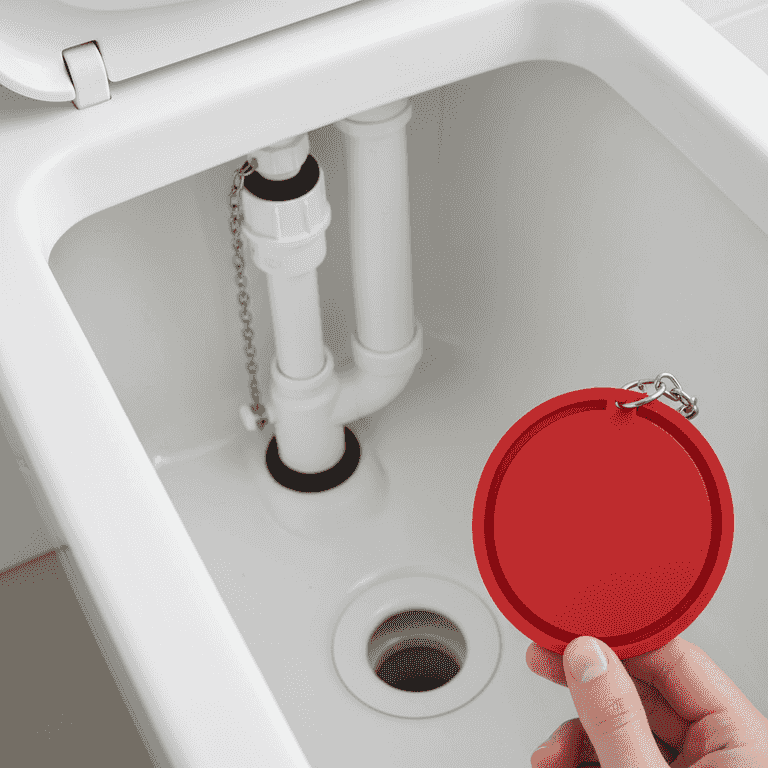
Install the new flapper
3 minutesSlide the ears of the new flapper onto the mounting pins and attach the chain to the lever arm.
Ensure the flapper sits centered over the drain hole. When attaching the chain, ensure there is slight slack so the flapper closes completely, but enough tension that it lifts fully when the handle is pressed.
Test the chain length by flushing before putting the tank lid back on.
Verify the repair
4 minutesTurn the water supply back on, allow the tank to fill, and perform a test flush.
Watch the flapper as the tank refills to ensure it drops into place properly and creates a seal. Listen closely to ensure the water stops running once the tank is full.
Put a few drops of food coloring in the tank and wait 15 minutes; if color appears in the bowl, the flapper is still leaking.
Pro Tips
- ●Always bring your old flapper to the hardware store to ensure you buy the correct size.
- ●If your toilet has a specific brand name, check the manufacturer's website for the exact replacement part number.
- ●Avoid using drop-in bleach tablets in the tank, as they can degrade the rubber of the flapper prematurely.
- ●Ensure the chain is not tangled with the fill valve float or other components.