How to Replace a Light Switch
Upgrade your home's functionality and aesthetic by replacing an old or faulty light switch. This guide walks you through the safe process of swapping a standard single-pole switch with a new one.
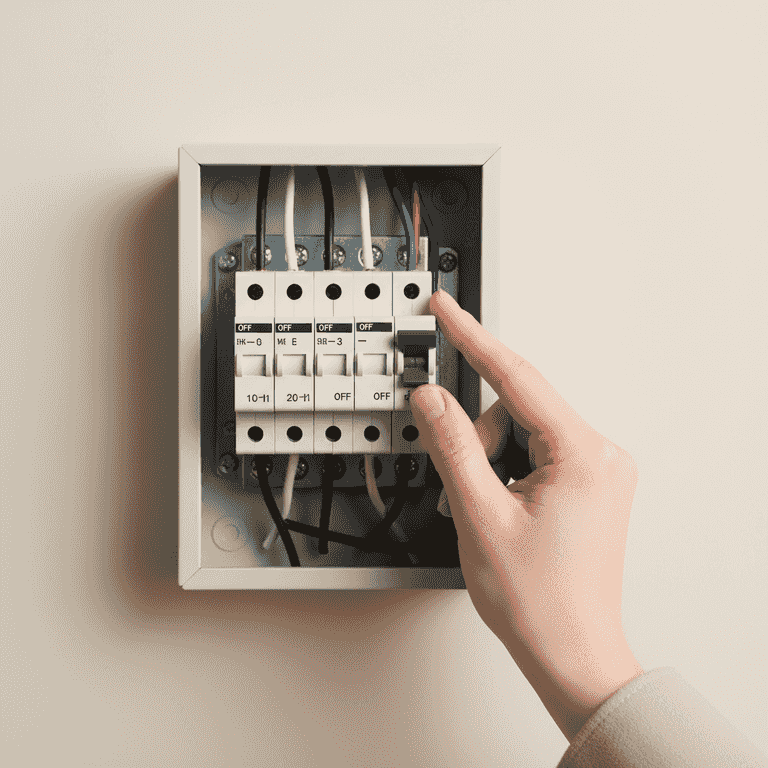
Turn off the power
2 minutesLocate your home's circuit breaker panel and switch off the breaker that controls the light switch.
Identify the correct breaker by testing the switch after flipping the breaker. This is the most critical step to prevent electrical shock.
Never assume the power is off; always verify with a tool.
Use a piece of tape to hold the breaker in the 'off' position so no one accidentally turns it on.
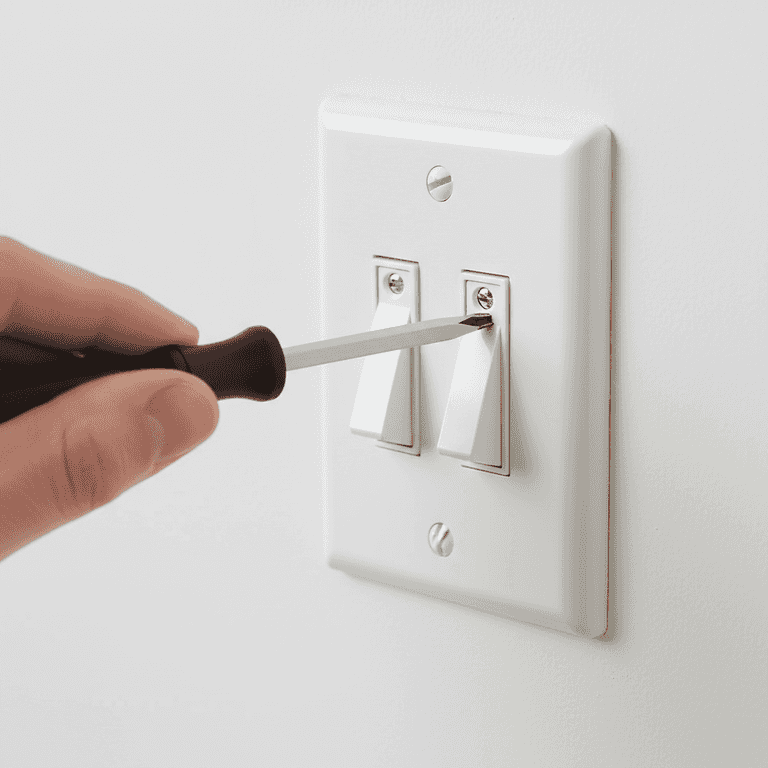
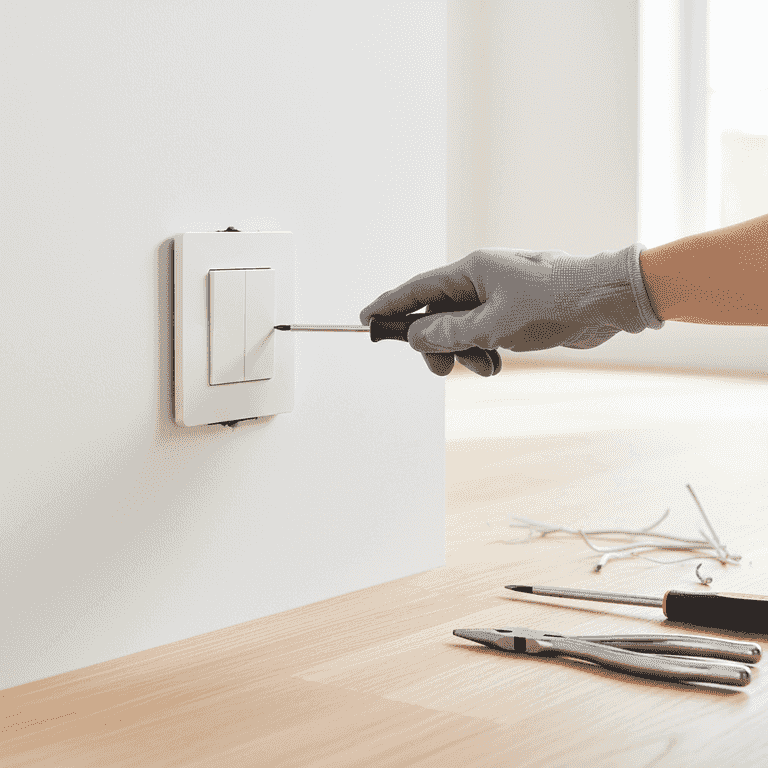
Remove the cover plate
3 minutesUse a screwdriver to remove the screws holding the wall plate over the switch.
Once the screws are removed, gently pry the cover plate away from the wall to expose the switch and mounting screws.
Place the screws in a small bowl or magnetic tray so they don't get lost.
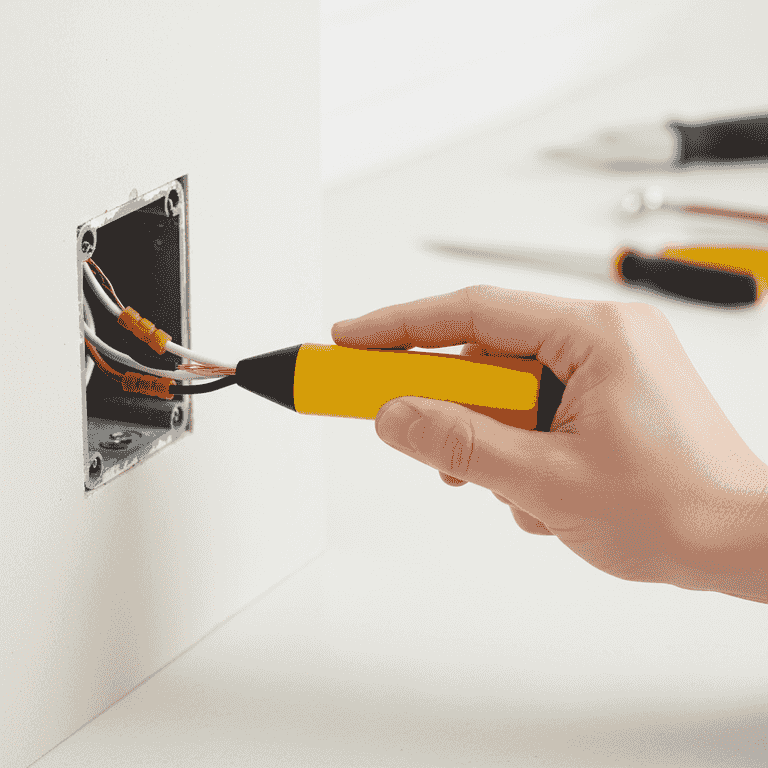
Verify power is off
2 minutesUse a non-contact voltage tester to confirm that no electricity is flowing to the switch or wires.
Hold the tester near the wires; if it lights up or beeps, the power is still on. Do not proceed until the tester remains silent.
Do not touch any wires until you have confirmed the circuit is dead.
Test the device on a known live outlet first to ensure the tool is working correctly.
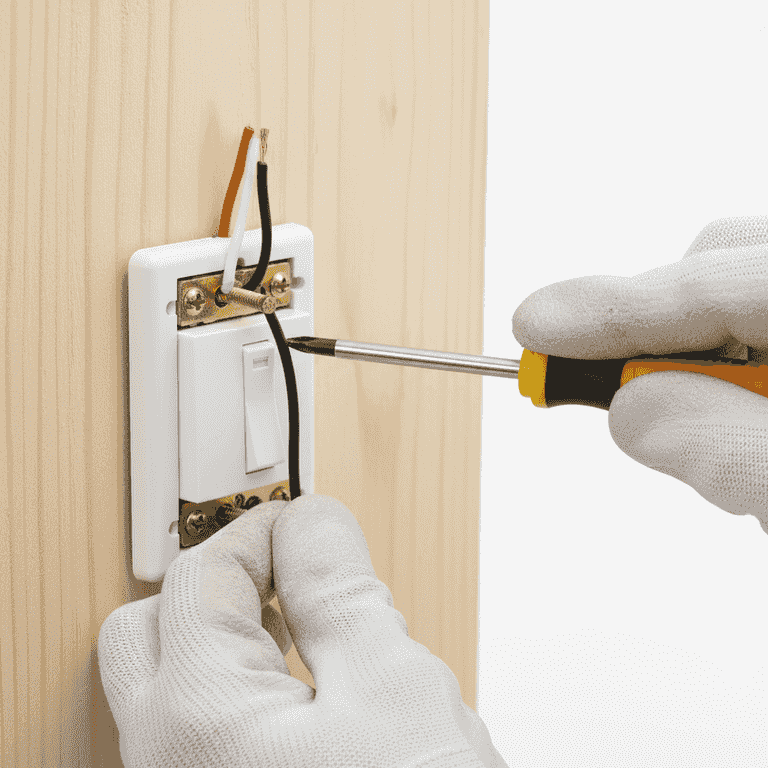
Disconnect the old switch
10 minutesUnscrew the mounting screws and pull the switch out of the wall box, then loosen the terminal screws to release the wires.
Carefully pull the switch out far enough to access the wire connections on the sides. Note which wire connects to which terminal.
Ensure you don't accidentally touch the live wires if you haven't properly isolated the circuit.
Take a photo of the existing wiring before disconnecting anything for reference.
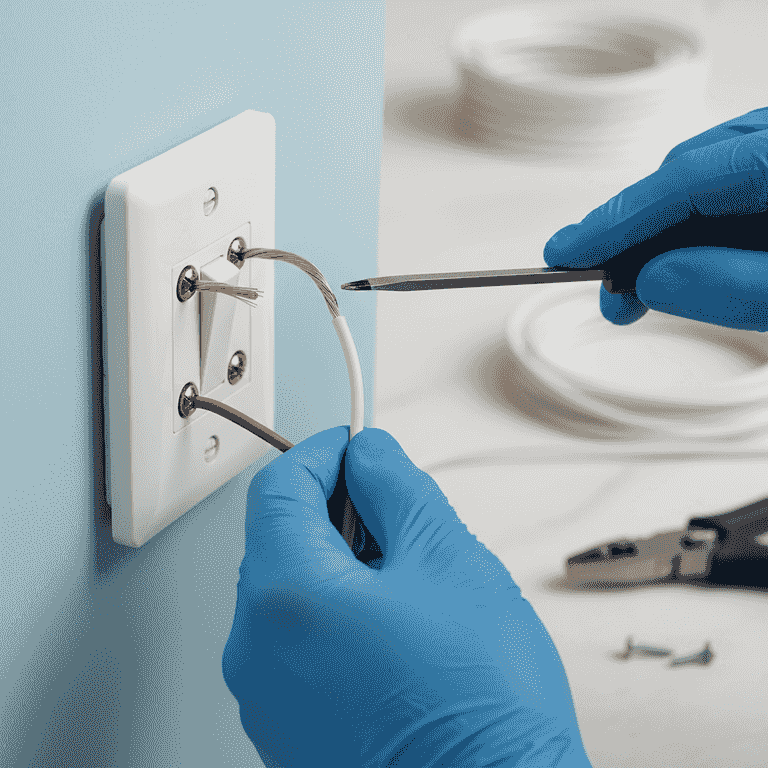
Connect the new switch
15 minutesAttach the wires to the corresponding terminals on the new switch and tighten the screws securely.
Hook the copper ground wire to the green screw, and the two black wires to the brass terminal screws. Ensure the wire loops are facing the direction of the screw tightening.
Ensure no loose wire strands are sticking out from under the screws.
Use needle-nose pliers to create perfect loops for the terminal screws.
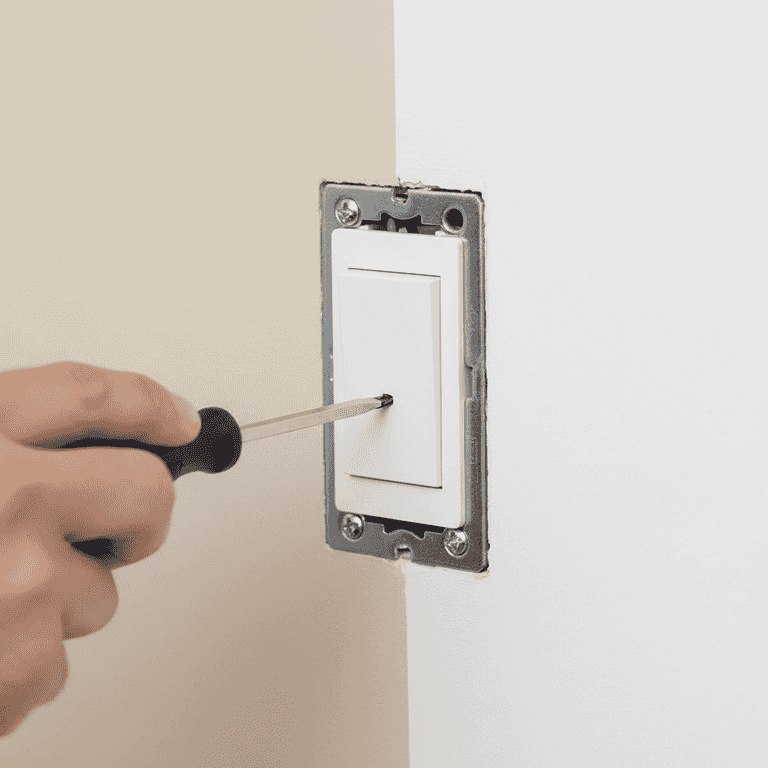
Secure and test the switch
8 minutesGently push the wires back into the box, screw the switch to the wall, and reattach the cover plate.
Ensure the wires are folded neatly behind the switch. Once everything is secured, turn the power back on at the breaker and test the switch.
Check that the switch is level before fully tightening the mounting screws.
Pro Tips
- ●Always label your wires with masking tape if you have multiple switches in one box.
- ●Use a high-quality screwdriver to avoid stripping the screw heads.
- ●If the wires are brittle or damaged, trim them back and strip fresh insulation.
- ●Consider upgrading to a decorator-style rocker switch for a modern look.