
How to Replace a Bathroom or Kitchen Faucet
Upgrade your sink's functionality and aesthetic by replacing an old, leaking, or outdated faucet. This guide walks you through the removal of your current unit and the installation of a new one using standard household tools.

Shut off the water supply
5 minutesLocate the shut-off valves under the sink and turn them clockwise until they stop.
If there are no valves under the sink, shut off the main water supply for the entire house. Open the faucet handles to bleed out any remaining water pressure in the lines.
Failure to shut off the water will result in significant water damage.
If the valves are stiff, do not force them; use a bit of penetrating oil if necessary.

Disconnect the supply lines
10 minutesPlace a bucket under the connections and use an adjustable wrench to loosen the nuts connecting the supply lines to the faucet.
Expect a small amount of water to drip out as you disconnect these lines. Carefully pull the lines away from the faucet stems.
Be careful not to kink or damage the existing water supply pipes while loosening the nuts.
Use a rag to wrap around the connection to catch extra drips.
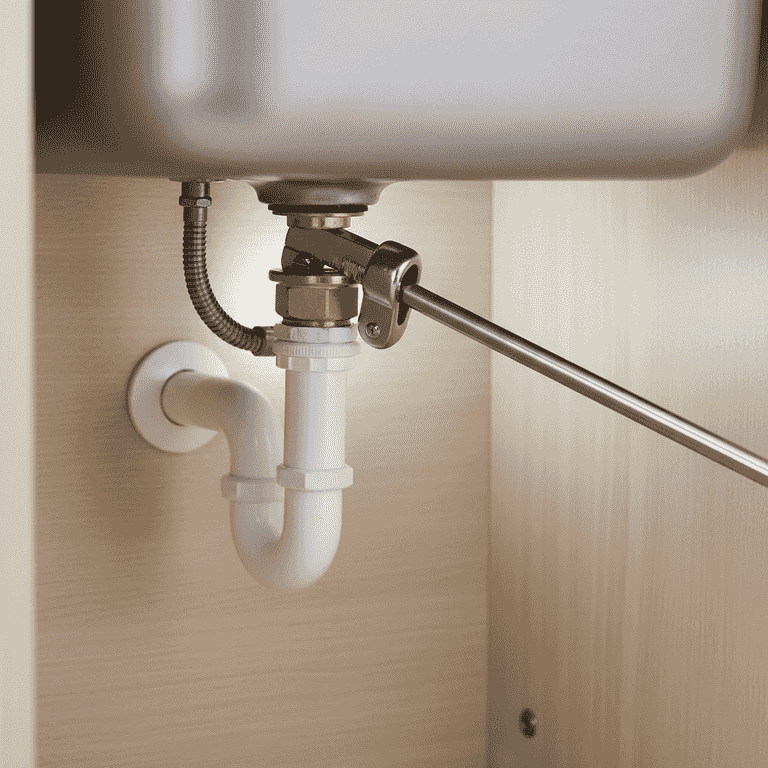
Remove the mounting nuts
15 minutesUse a basin wrench to reach the nuts securing the faucet base to the underside of the sink deck.
These nuts are often in very tight, awkward spaces. Rotate the basin wrench counter-clockwise until the nuts are completely removed.
Ensure you are supporting the faucet from above so it doesn't fall once the nuts are removed.
If the nuts are rusted, apply a spray lubricant and let it sit for ten minutes before trying again.
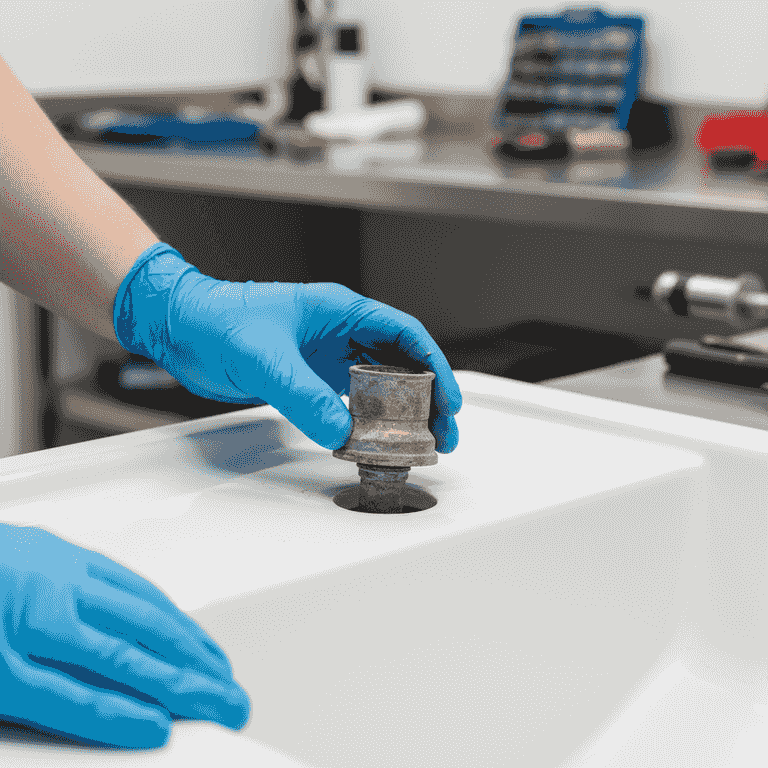
Remove the old faucet
5 minutesLift the old faucet assembly straight up and out from the top of the sink.
Scrape away any old putty or gasket residue from the sink surface using a plastic scraper. Clean the area thoroughly to ensure the new faucet sits flush.
Avoid using metal scrapers that can scratch the finish of the sink surface.
Use a mild cleaner to remove mineral buildup around the faucet holes.
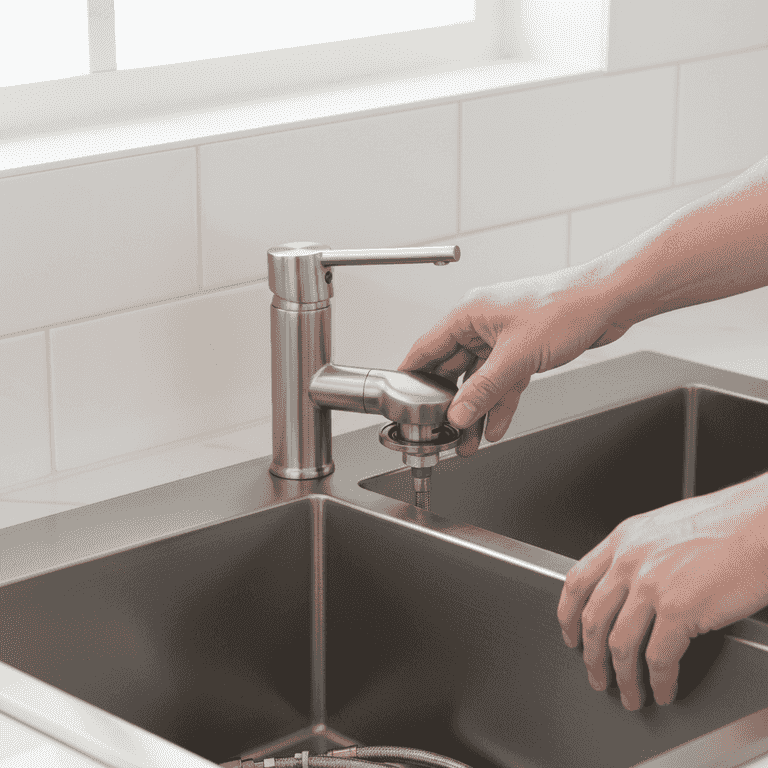
Install the new faucet
15 minutesPlace the new faucet gasket or apply a ring of plumber's putty around the base, then insert the faucet tails through the sink holes.
Align the faucet so it is centered and square. From underneath, thread the provided mounting washers and nuts onto the faucet tails.
Do not overtighten the nuts, as this can crack the sink or damage the faucet housing.
Ask a helper to hold the faucet in place from above while you tighten the nuts from below.
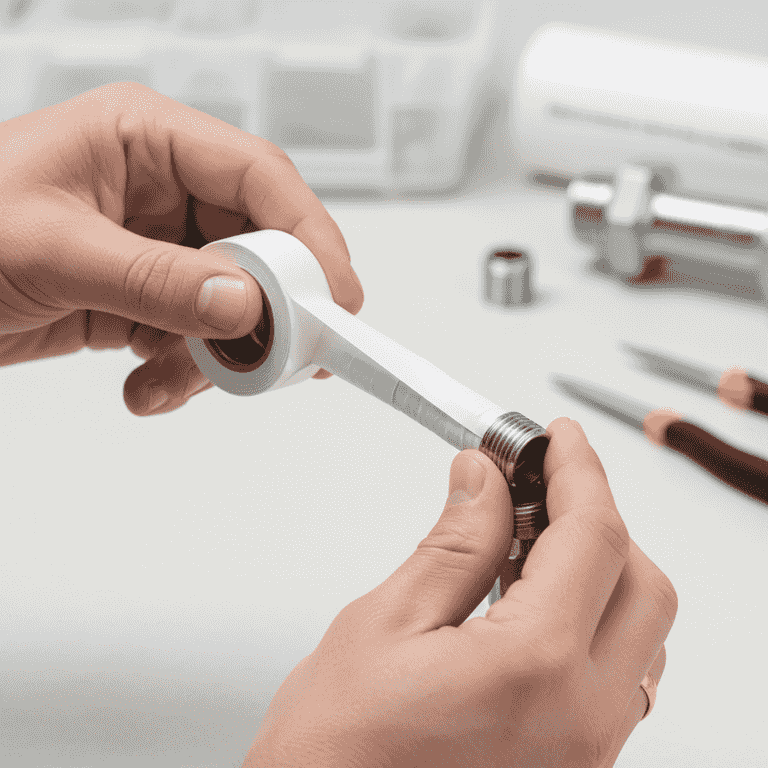
Reconnect the water supply
10 minutesAttach the supply lines to the new faucet threads, applying Teflon tape to the threads first.
Tighten the connections with your wrench until snug. Turn the water supply valves back on slowly and check for leaks at every connection point.
If you see water leaking, turn the water off immediately and re-tighten the connection.
Check for leaks by wrapping a dry paper towel around the connections; if it stays dry after a minute, you are leak-free.
Pro Tips
- ●Always read the manufacturer's manual, as installation methods vary by faucet brand.
- ●Take a photo of the old plumbing setup before disconnecting anything so you have a reference.
- ●Consider replacing the old supply lines with new braided stainless steel hoses while you are at it.
- ●If using plumber's putty, ensure it is compatible with your sink material (e.g., avoid oil-based putty on porous stone).
- ●Clean the sink surface thoroughly before installation to ensure the new seal is watertight.