How to Propagate Succulents from Leaves
Learn the rewarding process of growing new succulent plants from individual leaves. This guide walks you through the propagation cycle, from harvesting to root development.
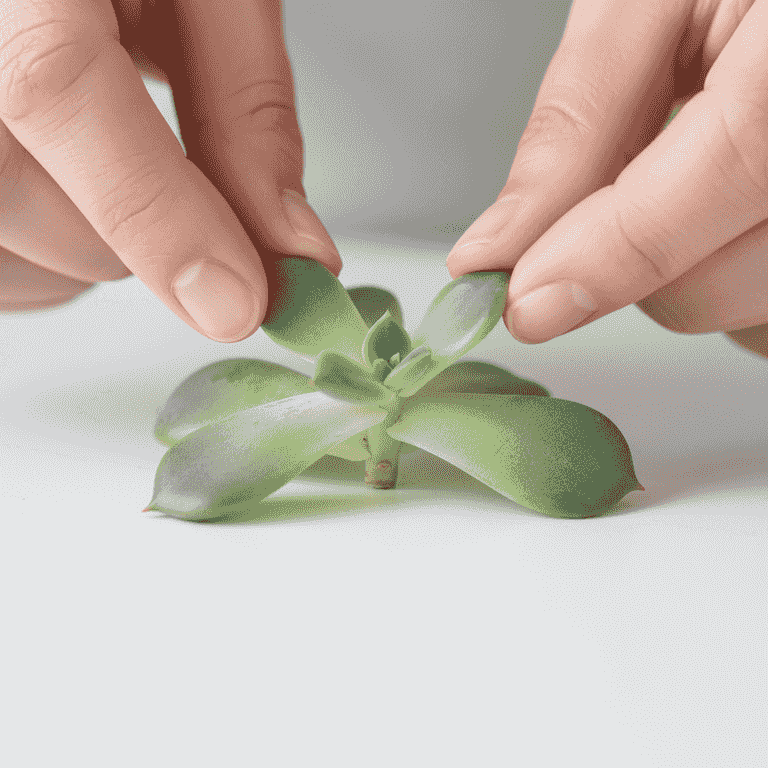
Select a healthy leaf
5 minutesChoose a plump, healthy leaf from the lower section of the parent succulent.
Avoid leaves that are shriveled, damaged, or yellowing. Using a healthy leaf ensures there is enough stored energy for the new plant to grow.
Ensure you get a clean pull; if the leaf tears, it will likely not propagate successfully.
Gently wiggle the leaf back and forth to loosen it before pulling.
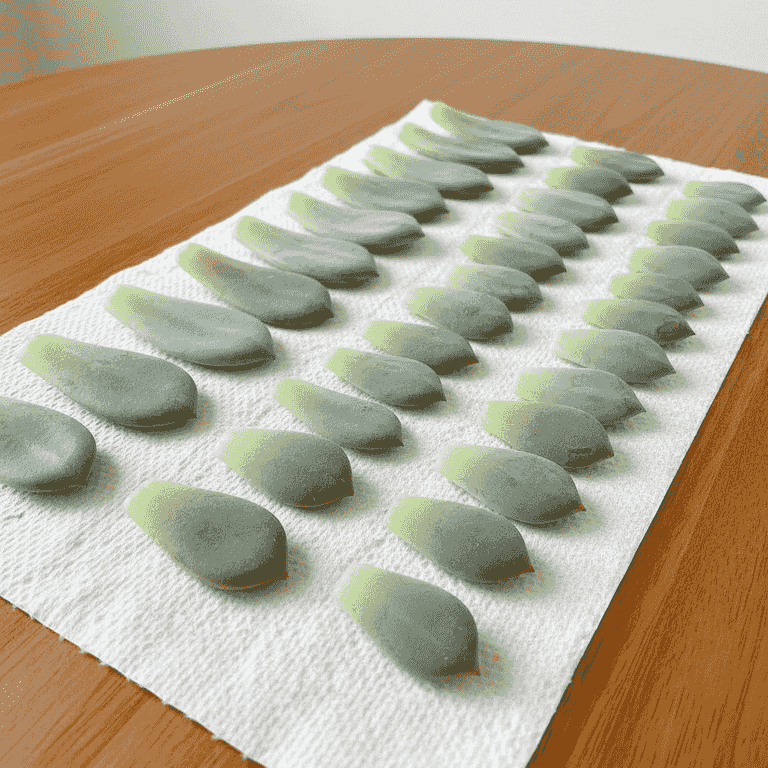
Callous the leaf
3 daysPlace the harvested leaf in a dry, shaded area for 2 to 3 days.
Allowing the raw end of the leaf to dry out and form a callous prevents the leaf from rotting when it eventually touches the soil.
Do not skip this step, as moisture in the raw wound is the primary cause of propagation failure.
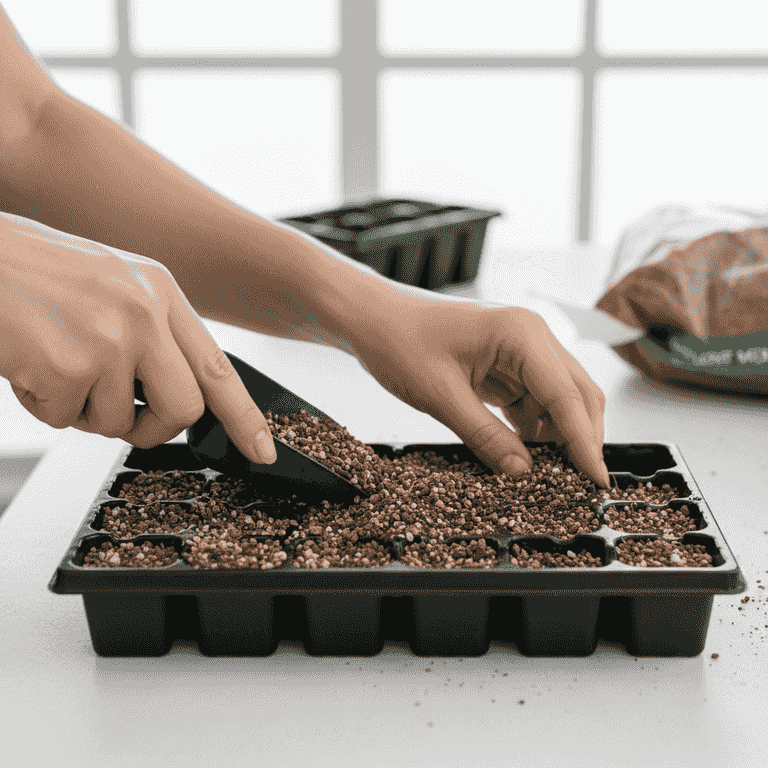
Prepare the tray
5 minutesFill your shallow tray with a layer of succulent-specific soil mix.
Succulents require excellent drainage. Ensure your tray has holes or use a very thin layer of soil to prevent water pooling.
Use a mix that contains perlite or pumice for added aeration.
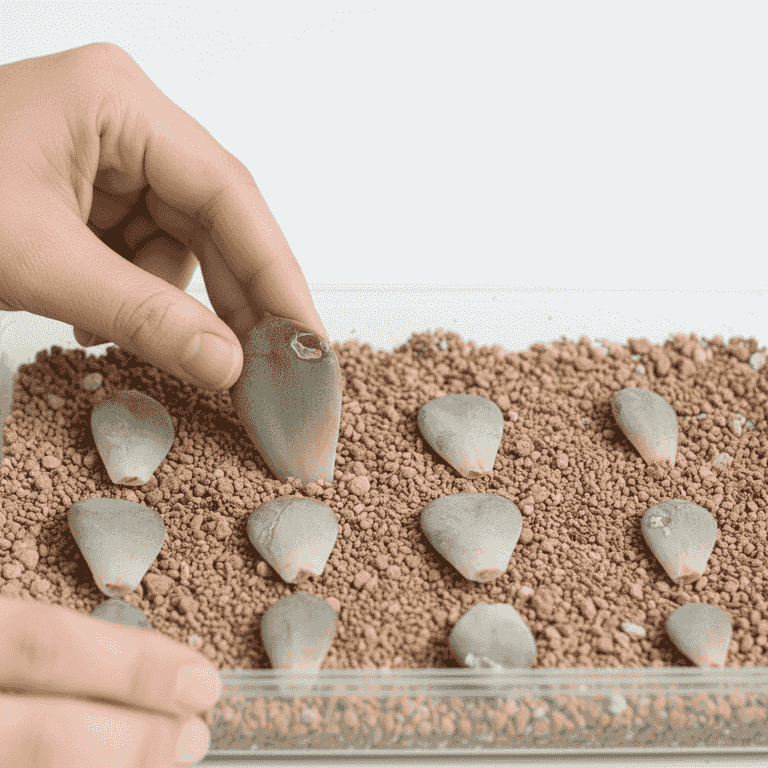
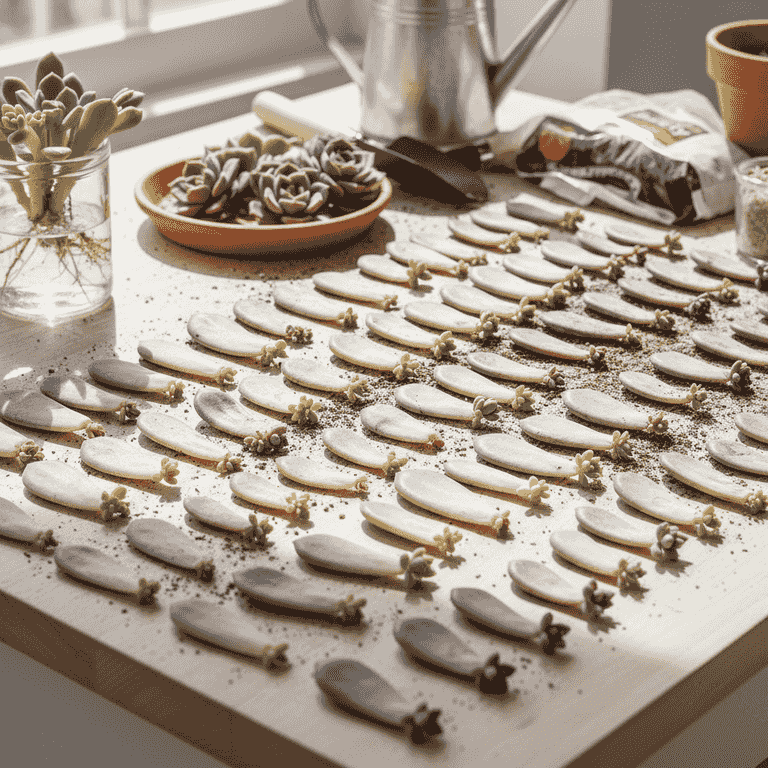
Place the leaves
5 minutesLay the calloused leaves flat on top of the soil surface.
Do not bury the leaves. Simply resting them on the soil allows the roots to search for moisture naturally as they emerge.
Arrange them in a circle or rows to maximize space in the tray.
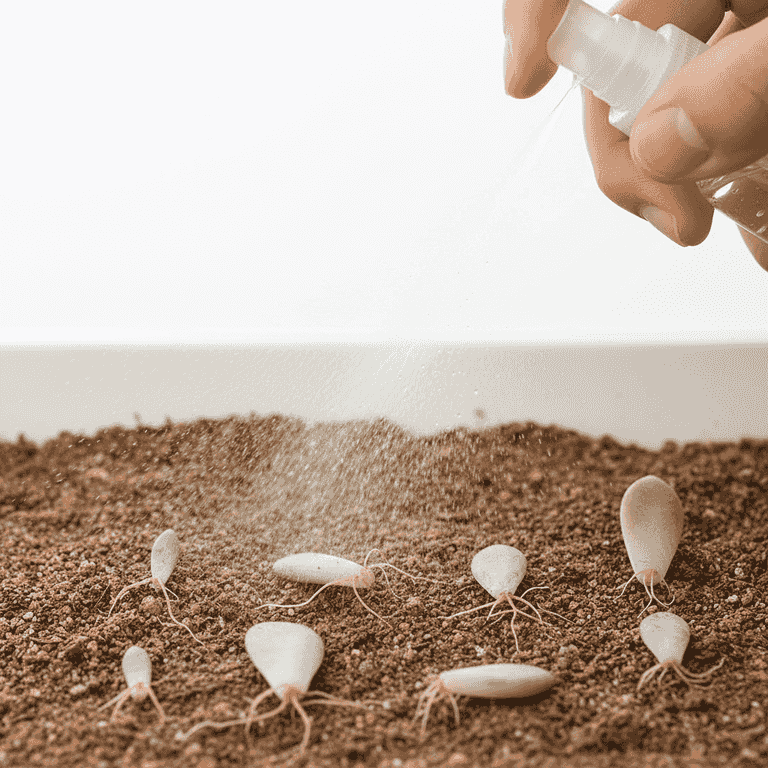
Monitor and mist
4 weeksPlace the tray in bright, indirect light and mist the soil sparingly once roots appear.
Roots usually appear within 2-4 weeks. Once you see pink or white roots, lightly mist the soil around the base of the leaf to encourage growth.
Do not overwater; the leaf itself holds enough moisture to sustain the initial growth phase.
Avoid direct sunlight, which can burn the delicate new leaf cuttings.
Pro Tips
- ●Always use a well-draining soil mix; regular potting soil holds too much moisture.
- ●Patience is key; some leaves take weeks to show signs of rooting.
- ●If the parent leaf shrivels and dies after a baby plantlet forms, don't worry—this is a natural part of the process.
- ●Keep the tray in a warm area to accelerate the rooting process.