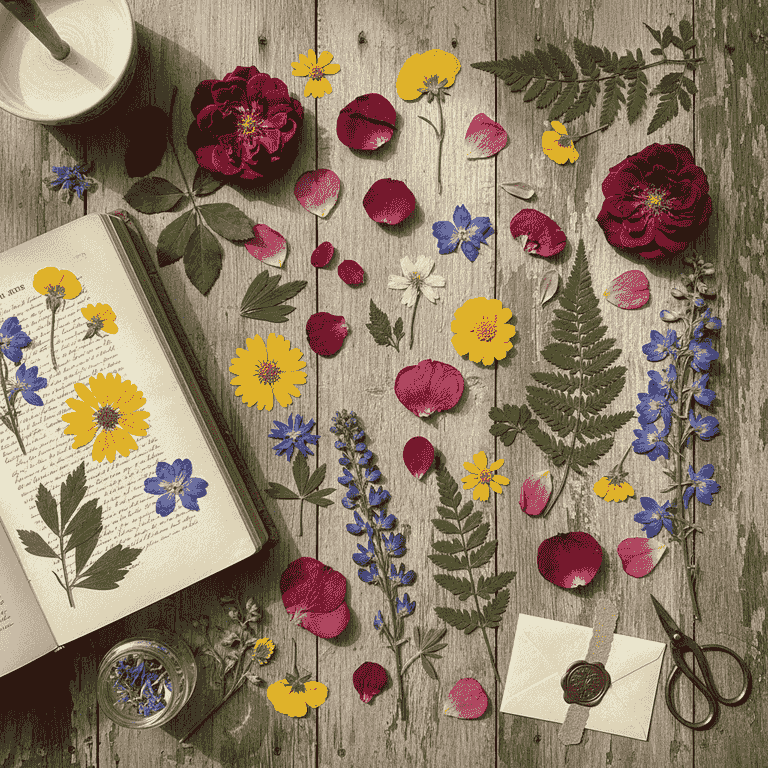
How to Press Flowers
Preserve the beauty of your garden by pressing fresh flowers to create lasting botanical art. This traditional technique removes moisture while maintaining the delicate structure and color of your favorite blooms.
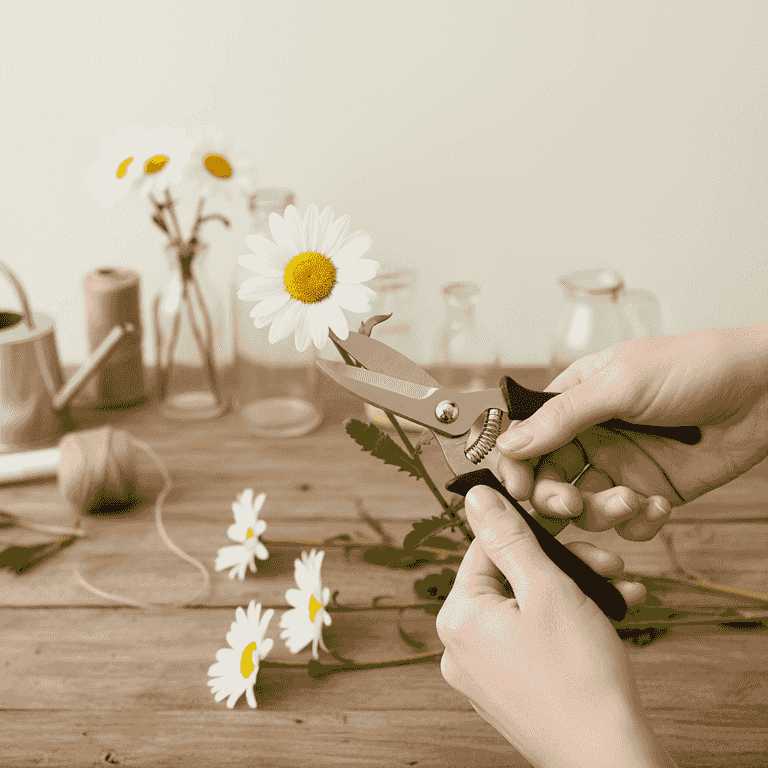
Select and prepare flowers
5 minutesChoose fresh, dry flowers that are just starting to bloom and trim the stems to your desired length.
Avoid flowers that are wilted or damp from rain or dew, as excess moisture leads to mold. Use scissors to remove any excess foliage or thick stems that might prevent the flower from laying flat.
Flat-faced flowers like pansies, daisies, and violets press the best.

Prepare the pressing base
2 minutesOpen your heavy book and place a sheet of absorbent paper on the page.
The paper acts as a wick to draw moisture away from the petals. Ensure the paper is larger than the flower to prevent staining the book pages.
Use parchment paper or coffee filters if blotting paper is unavailable.
Arrange the flowers
5 minutesPlace your flowers face down on the absorbent paper, ensuring they do not overlap.
Arrange the blooms with enough space between them so they don't stick together during the drying process. Use tweezers to gently adjust petals if they fold over themselves.
Do not overlap petals as they will fuse together or cause uneven drying.
If the flower center is very thick, you can carefully slice it in half with a razor blade to help it lay flatter.
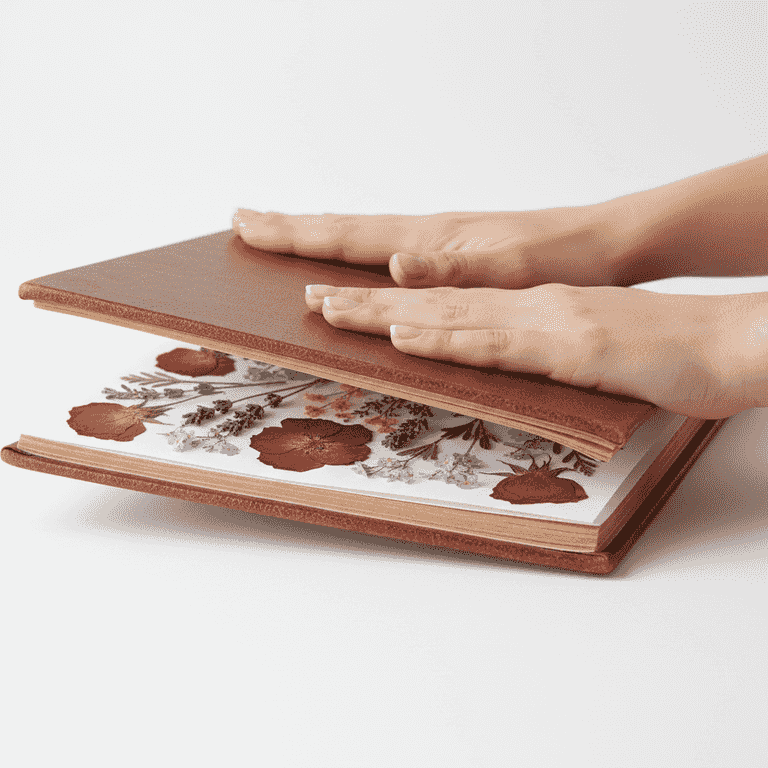
Cover and seal
3 minutesPlace another sheet of absorbent paper over the flowers and close the book carefully.
Ensure the flowers stay in place while you close the cover. Adding additional weight on top of the book helps ensure consistent pressure across the entire surface.
Stack multiple heavy books on top of the primary book for extra compression.

Wait for the drying process
2-4 weeksStore the book in a cool, dry place and allow the flowers to press for at least 2 to 4 weeks.
Patience is key; checking too early can damage the delicate, drying petals. The moisture will slowly migrate into the absorbent paper during this time.
Do not store the book in a humid area like a kitchen or bathroom as this will prevent drying and promote mold growth.
Check the progress after two weeks, but be very gentle when peeling back the paper.
Pro Tips
- ●Always use unprinted paper to avoid ink transferring onto your petals.
- ●Change the absorbent paper after the first week if the flowers were particularly moist.
- ●Avoid pressing flowers with high water content, like succulents, as they often rot before they dry.
- ●Use a light touch when removing finished flowers; use tweezers to lift them carefully by the stem.