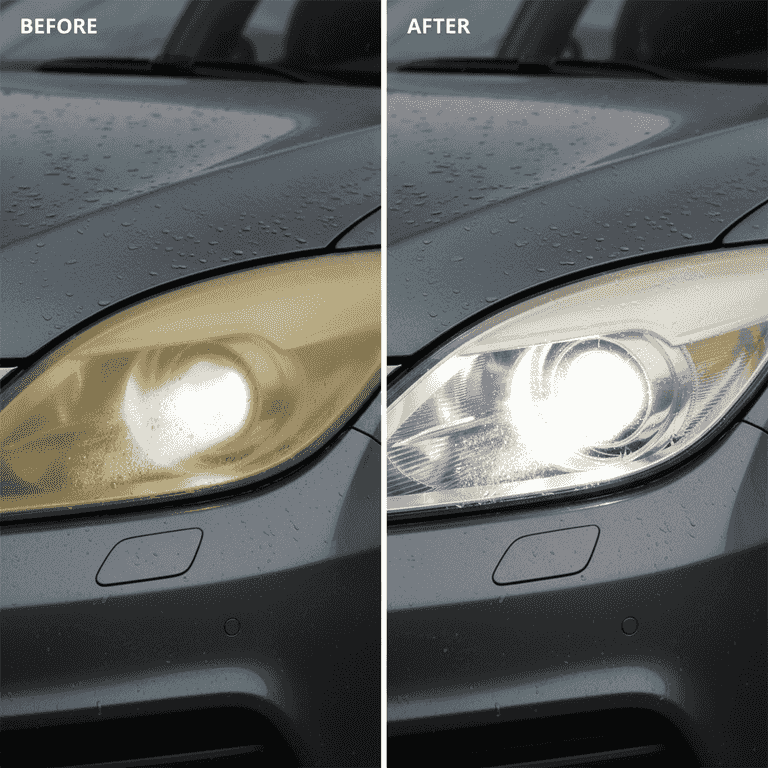
How to Polish and Restore Foggy Headlights
Restore clarity and brightness to your vehicle's headlights by removing oxidation and yellowing. This step-by-step guide helps you improve nighttime visibility and enhance your car's appearance using simple sanding and polishing techniques.
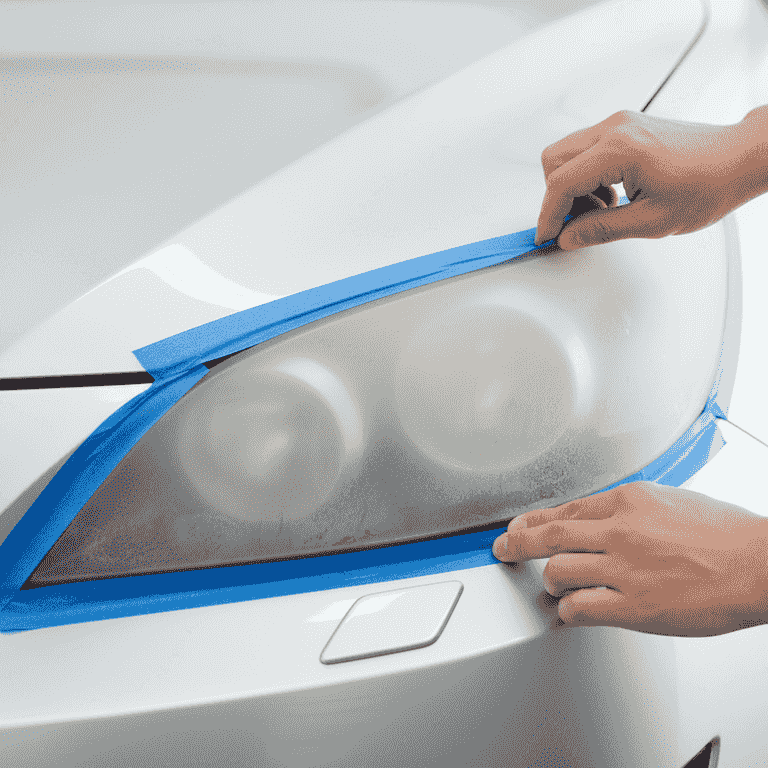
Clean and mask the area
5 minutesWash the headlight lens thoroughly and apply painter's tape to the surrounding bodywork.
Cleaning removes surface dirt, while the tape protects your car's paint job from accidental scratches during the sanding process. Ensure the tape is pressed firmly against the edges.
Do not skip masking; sandpaper will easily damage the car's clear coat.
Use a double layer of tape for extra protection against aggressive sanding.
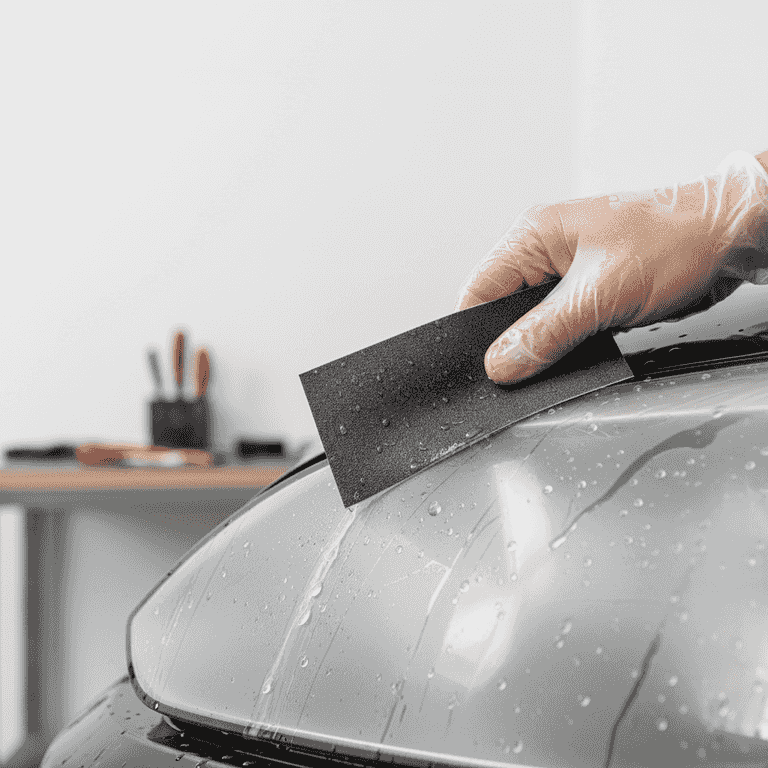
Sand the lens with 600-grit
10 minutesWet the lens and sandpaper, then sand the surface using horizontal strokes.
Using water is crucial to lubricate the surface and prevent overheating the plastic. Continue until the lens appears uniformly frosted and the yellow oxidation is removed.
Do not sand the car's painted surface; keep the sandpaper strictly on the lens.
Keep the sandpaper wet at all times to prevent clogging.
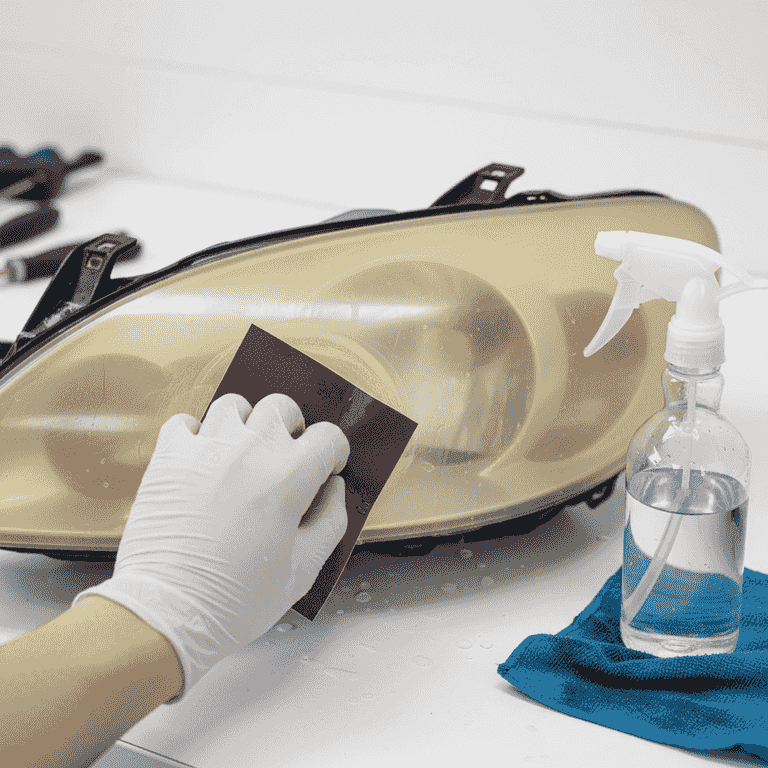
Refine with 1000 and 2000-grit
15 minutesRepeat the sanding process using finer grits to smooth the surface.
Switching to 1000-grit and then 2000-grit removes the deep scratches created by the initial 600-grit sanding. The lens will become progressively clearer with each stage.
Sand in a cross-hatch pattern (horizontal then vertical) to ensure even coverage.
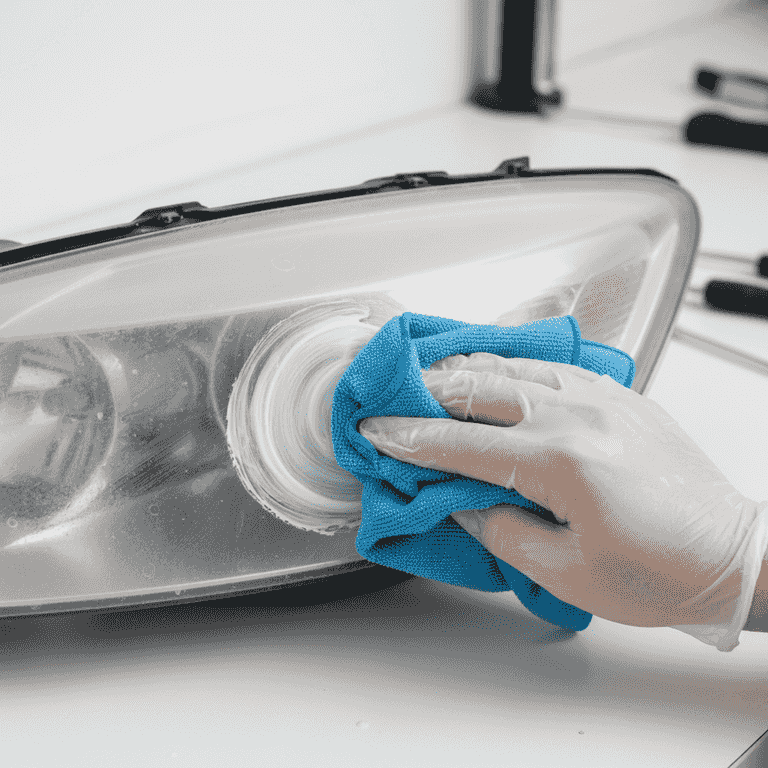
Polish the surface
10 minutesApply headlight polish to a microfiber cloth and buff the lens in circular motions.
The polish acts as a fine abrasive to remove the final microscopic scratches from the 2000-grit sanding. Work the polish in until the lens becomes transparent and clear.
Use a moderate amount of pressure to bring out the shine.
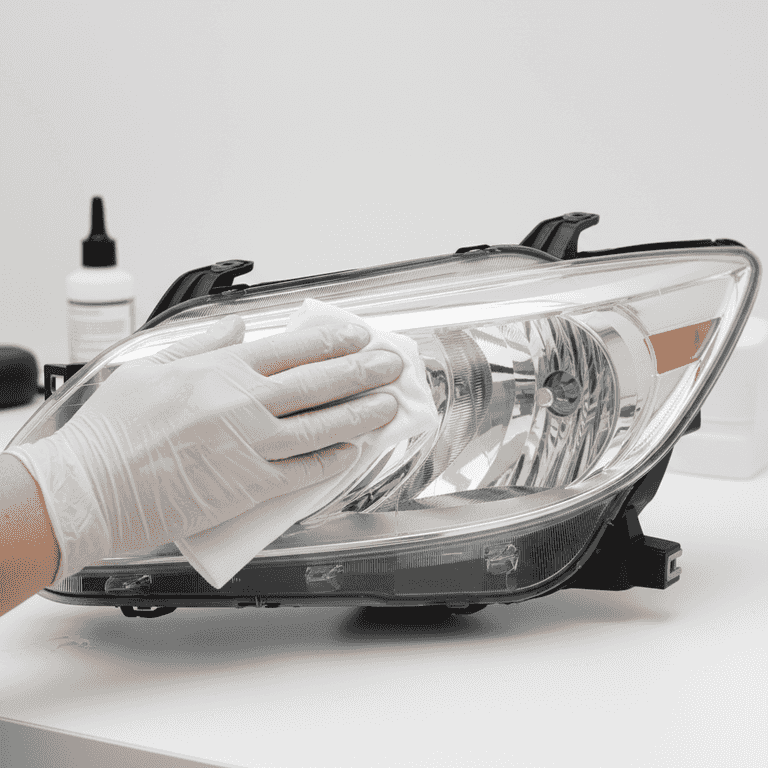
Apply UV sealant
5 minutesWipe the lens clean and apply a thin, even coat of UV protective sealant.
Because sanding removes the factory UV coating, the sealant is essential to prevent the plastic from turning yellow again quickly. Allow it to cure according to the manufacturer's instructions.
Do not touch the lens with bare hands after cleaning, as skin oils can affect the sealant bond.
Apply in a shaded area to ensure the sealant dries evenly.
Pro Tips
- ●Always keep the sandpaper wet to prevent the plastic from melting or clogging.
- ●If the headlight is yellowed on the inside, external polishing will not fix it.
- ●Work in a shaded area so the water and polish do not dry out too quickly.
- ●Replace your sandpaper frequently if it loses its grit during the process.