How to Paint a Room
Transform your living space with a fresh coat of paint by following this professional step-by-step process. This guide covers everything from surface preparation to the final brushstroke to ensure a flawless, long-lasting finish.
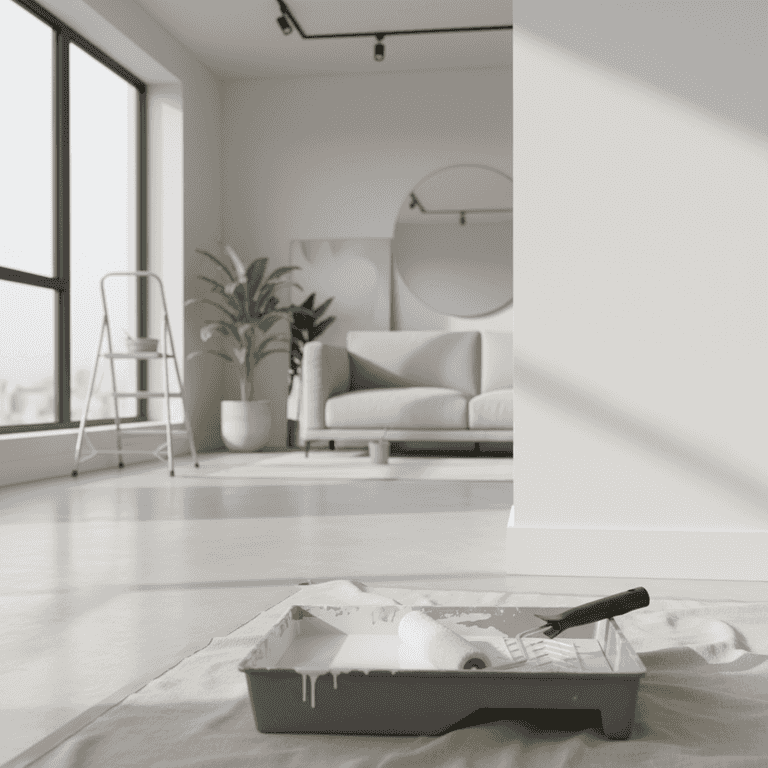
Clear and prepare the room
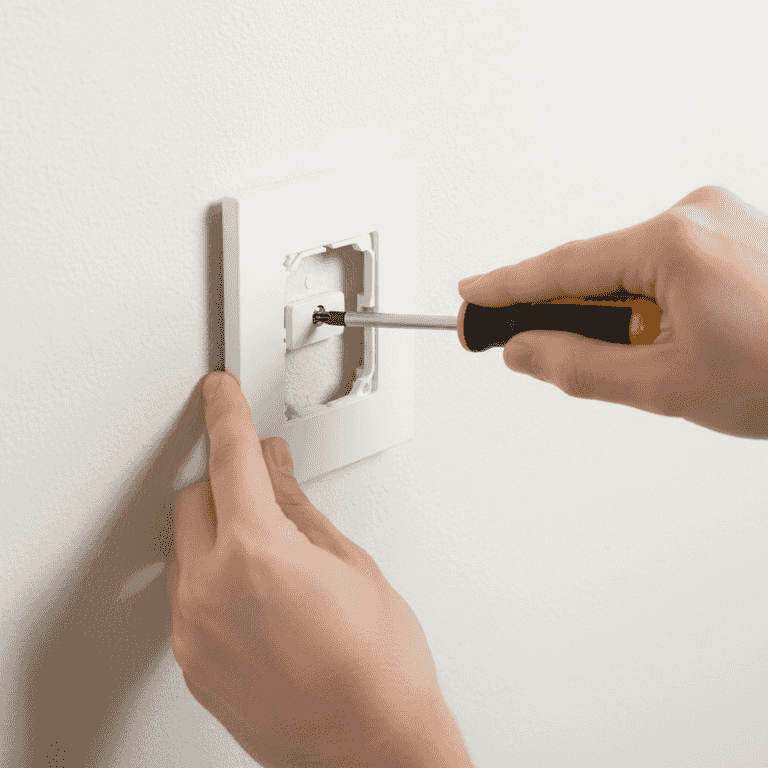
30 minutesRemove all furniture, wall hangings, and outlet covers from the workspace.
Moving furniture to the center and covering it with drop cloths protects your belongings from dust and spills. Removing outlet covers ensures a clean, professional finish without messy tape lines.
Place all screws and cover plates in a labeled plastic bag so you don't lose them.
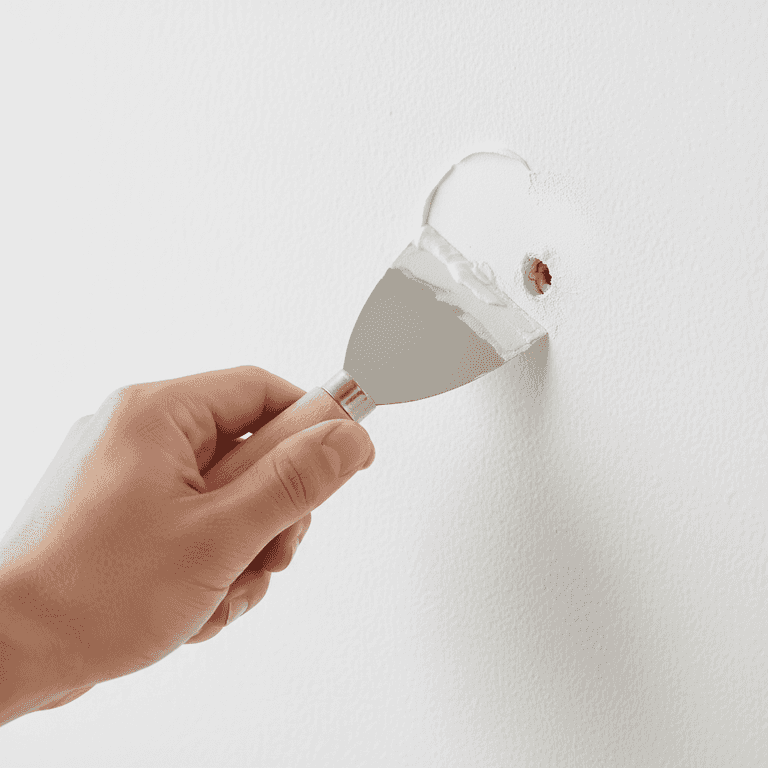
Repair and clean the walls
1 hourFill holes with spackle and sand down any rough spots on the wall surface.
Use a putty knife to apply spackle to nail holes or dents. Once dry, sand the area flush with the wall to ensure a smooth canvas for the paint.
Do not skip cleaning, as paint will not adhere properly to dusty or greasy surfaces.
Wipe the walls with a damp cloth after sanding to remove dust that could ruin the paint finish.
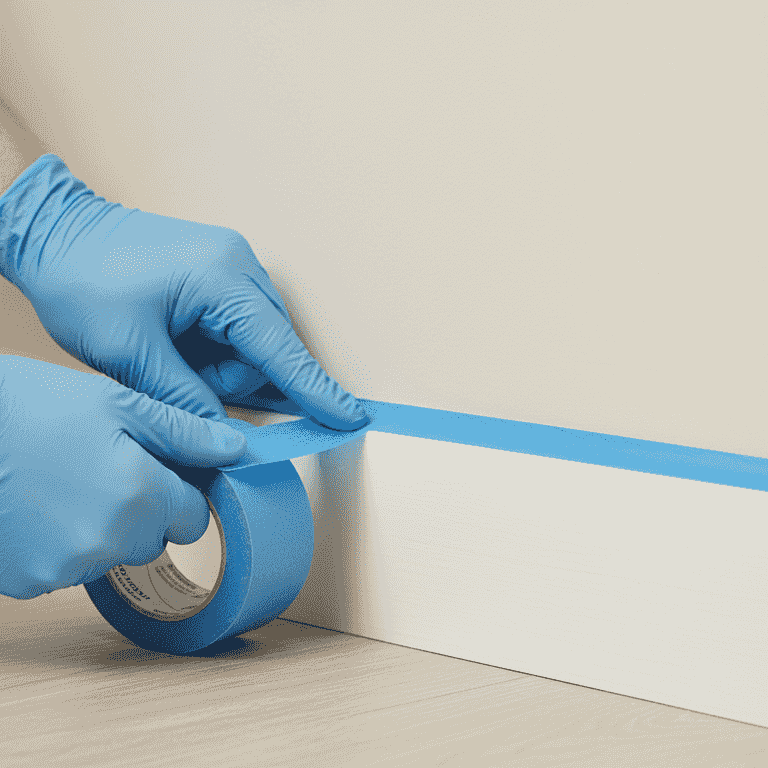
Apply painter's tape
45 minutesCarefully apply painter's tape to the edges of trim, baseboards, and windows.
Press the edges of the tape down firmly with a putty knife or your fingernail to prevent paint from bleeding underneath the adhesive. Ensure the tape is straight for crisp lines.
Remove the tape while the paint is still slightly tacky to prevent pulling away dried paint flakes.
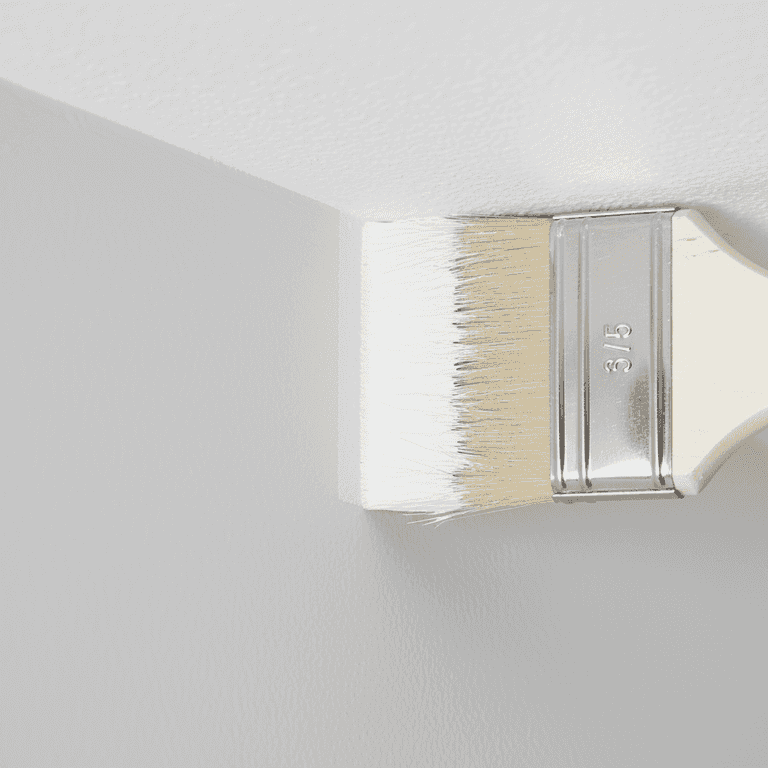
Cut in the edges
1.5 hoursUse the angled sash brush to paint around corners, trim, and ceilings.
Cutting in involves painting a 2-3 inch border around areas where the roller cannot reach. Work in small sections to keep a 'wet edge' so the roller paint blends seamlessly with the brush work.
Keep the brush damp with paint, but avoid overloading it to prevent drips.
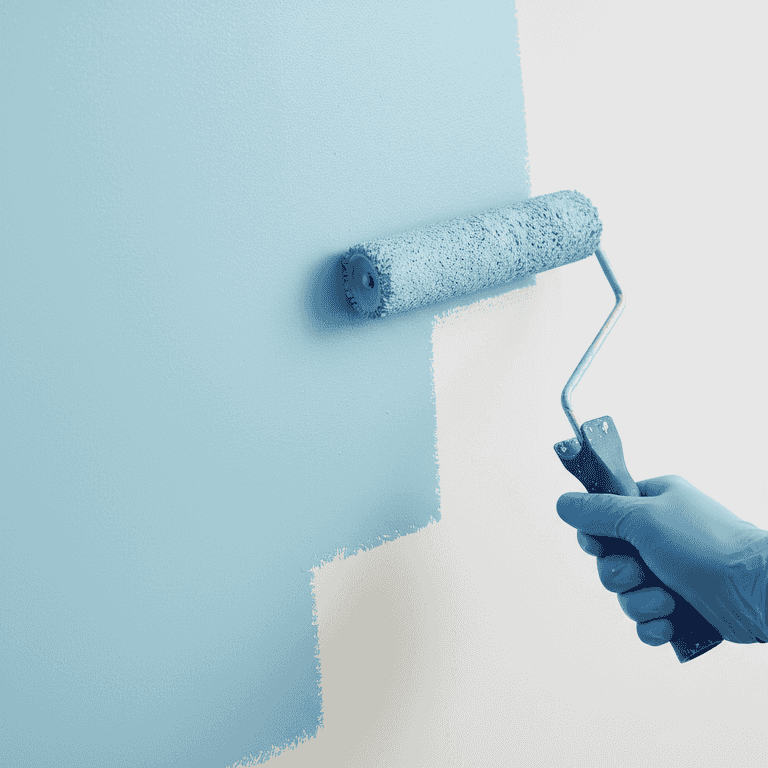
Roll the walls
2 hoursApply paint to the main wall area using a roller in a 'W' or 'M' pattern.
Start by rolling a large 'W' shape on the wall, then fill in the gaps without lifting the roller. This technique ensures even distribution and prevents streaks or lap marks.
Avoid pressing too hard on the roller, as this can cause paint to squeeze out and create ridges.
Maintain a wet edge by overlapping your strokes with the previously painted section.
Pro Tips
- ●Always prime your walls if you are changing from a dark color to a light color.
- ●Stir your paint thoroughly before and during the project to ensure consistent color.
- ●Remove painter's tape at a 45-degree angle to get the cleanest line.
- ●Wrap your brushes and rollers in plastic wrap during breaks to keep them from drying out.