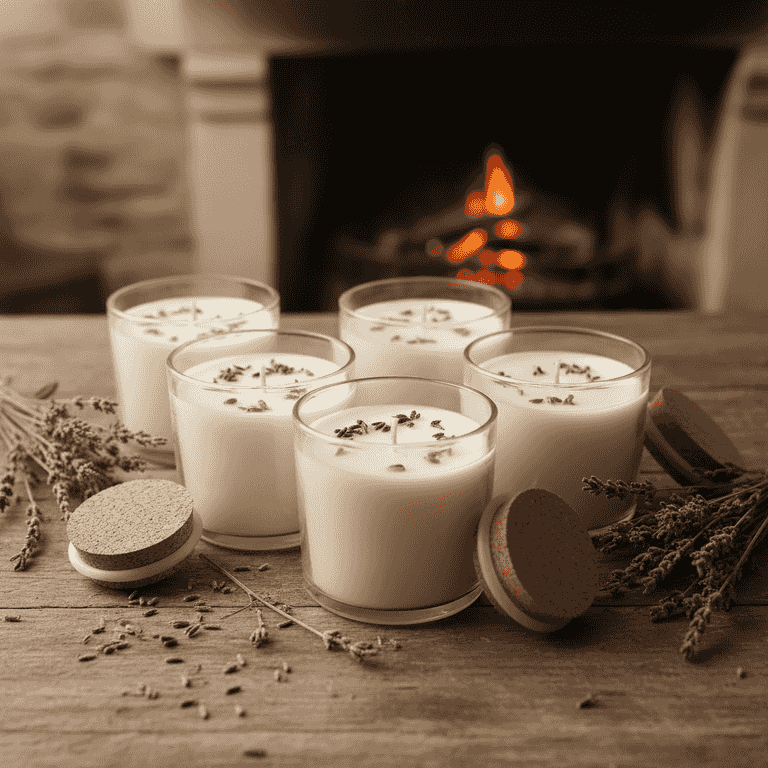
How to Make Soy Wax Candles at Home
Create your own custom-scented candles using natural soy wax and essential oils. This guide walks you through the melting, scenting, and pouring process for a professional-quality result.
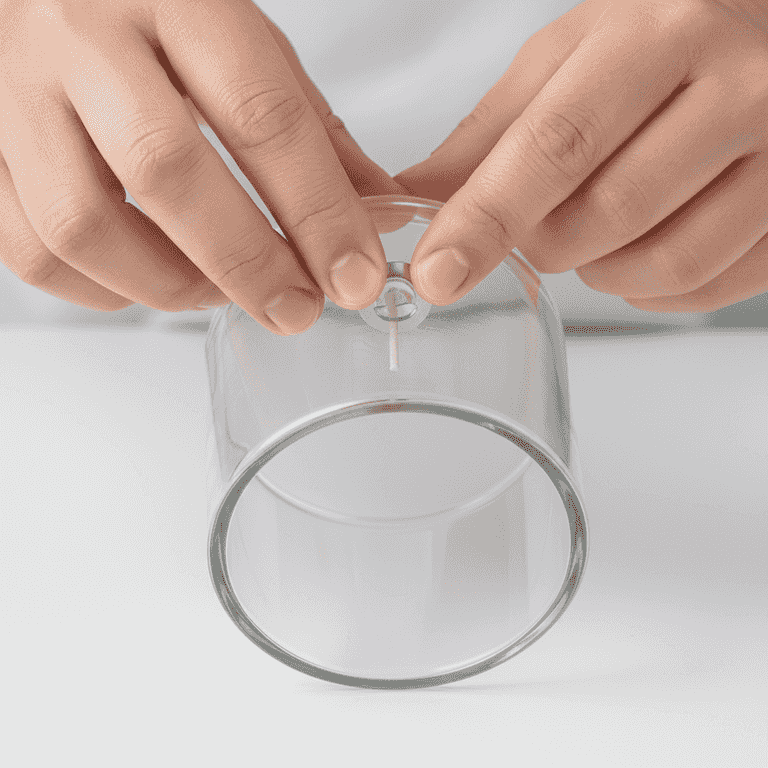
Prepare the container
5 minutesClean your candle jar and adhere the wick to the center of the bottom using a glue dot or a dab of hot wax.
A centered wick ensures the candle burns evenly throughout its lifespan. Ensure the surface is dry and free of dust so the adhesive holds firmly.
Use a pencil to wrap the excess wick length to keep it taut.
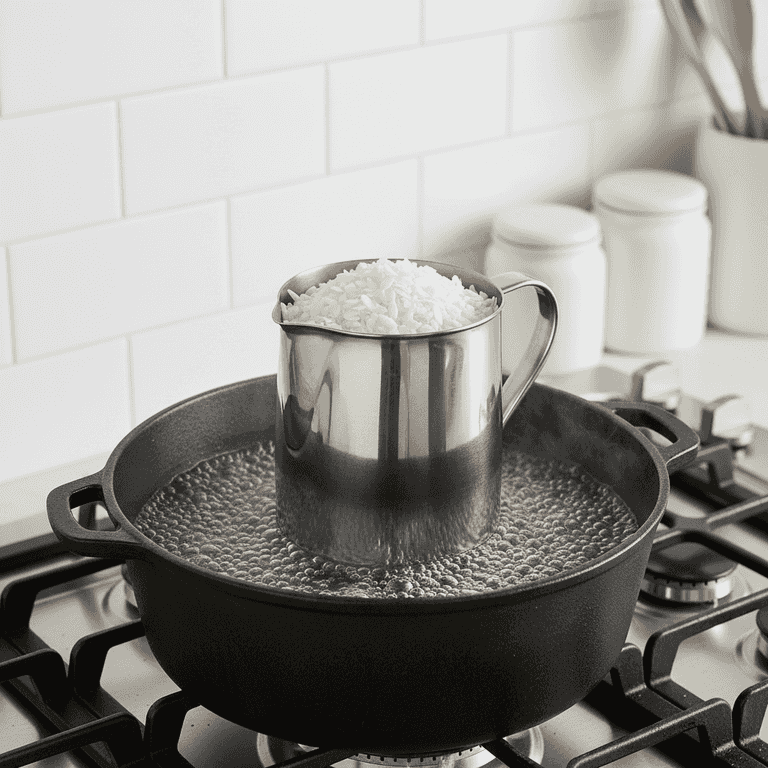
Melt the wax
20 minutesPlace the soy wax flakes into your pouring pitcher and set it inside a pot of simmering water.
The double boiler method prevents the wax from scorching. Keep the water at a gentle simmer rather than a rolling boil to maintain controlled heat.
Never melt wax directly on an open flame or burner.
Measure your wax by weight rather than volume for better consistency.
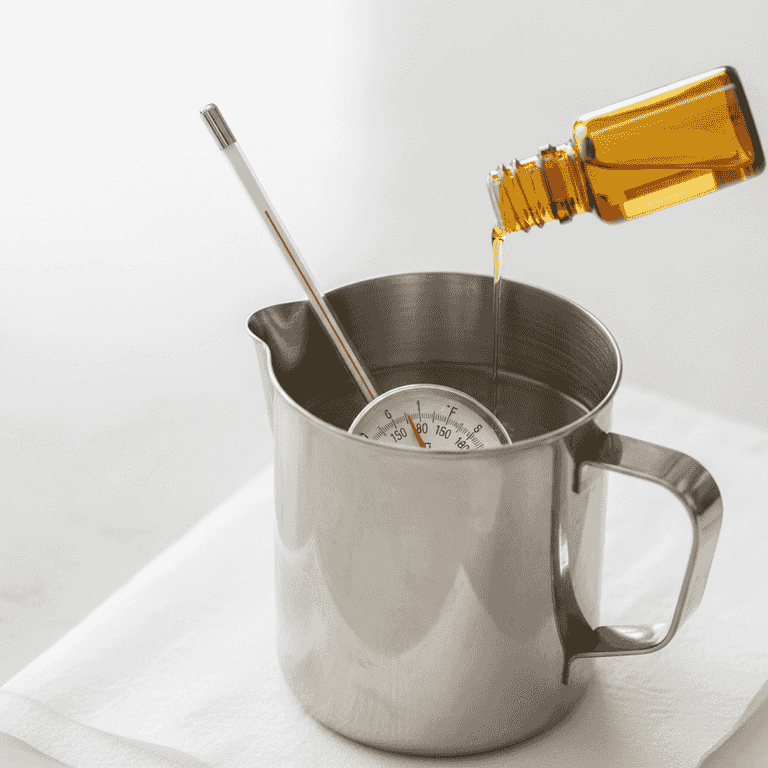
Monitor temperature and scent
5 minutesRemove the wax from heat once it reaches approximately 185°F, then stir in your fragrance oil.
Adding fragrance at the correct temperature ensures the oil binds properly with the wax. Stir slowly for two minutes to distribute the scent evenly.
Do not exceed the fragrance load recommended by the wax manufacturer.
Use a ratio of 1 ounce of fragrance oil per pound of wax for a strong scent throw.
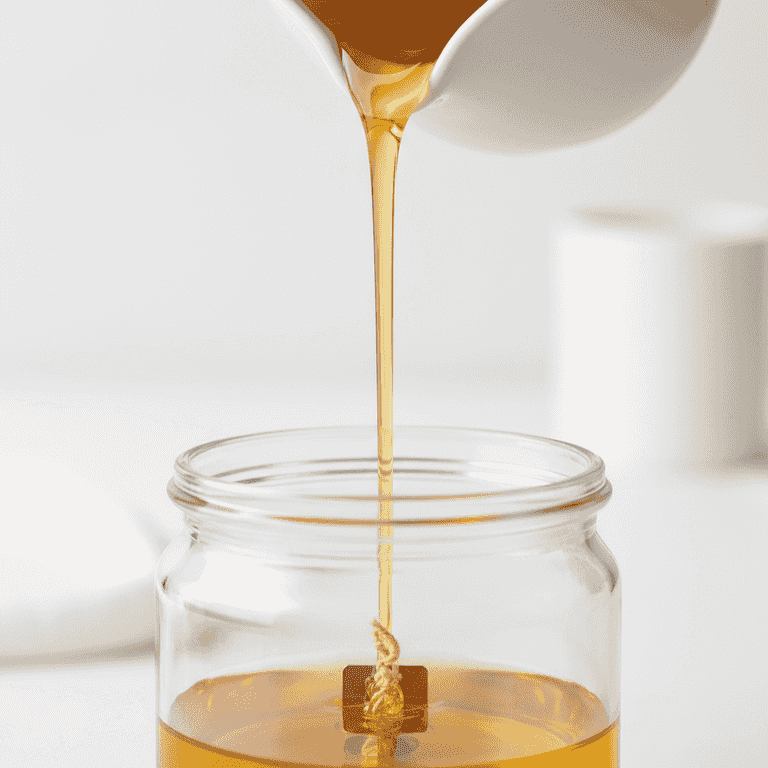
Pour the wax
5 minutesAllow the wax to cool to roughly 135°F, then slowly pour it into the prepared candle jar.
Pouring at a slightly lower temperature helps prevent the surface from cracking or developing 'sinkholes' as it cools. Pour slowly to minimize air bubbles.
Pour a small amount of wax first to check for leaks in the jar.
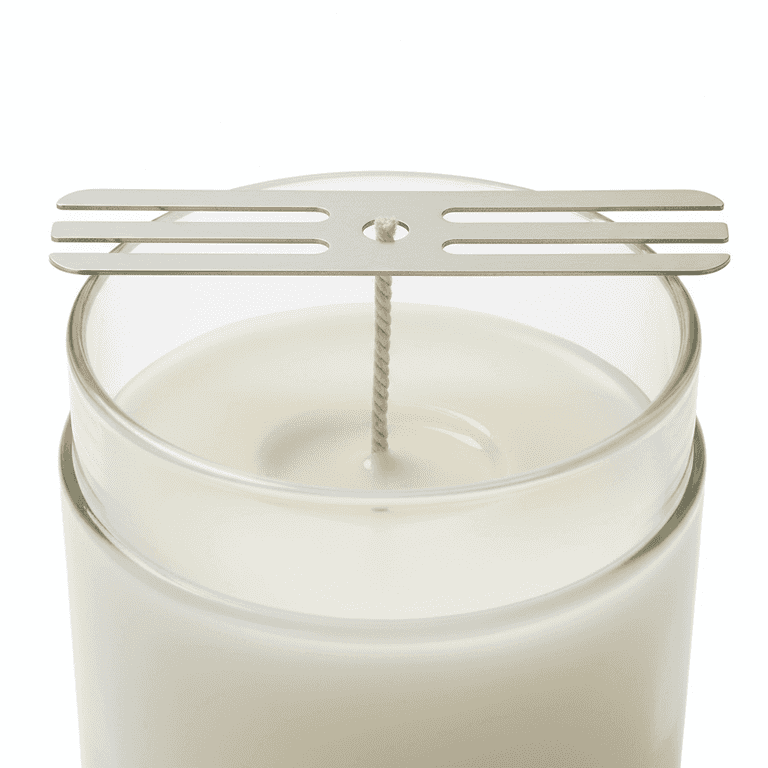
Secure the wick and cure
24 hoursUse a wick centering tool to keep the wick upright, then let the candle cool undisturbed for 24 hours.
Moving the candle while the wax is hardening can cause uneven surfaces. Allow it to cure fully before trimming the wick for the first burn.
Cover the top with a piece of paper towel to prevent dust from settling on the cooling wax.
Pro Tips
- ●Always trim your wick to 1/4 inch before lighting the candle to prevent soot.
- ●Choose high-quality fragrance oils specifically formulated for candle making.
- ●Keep a log of your fragrance ratios and temperatures to recreate successful batches.
- ●If the surface is uneven after cooling, use a heat gun on low to gently smooth the top.