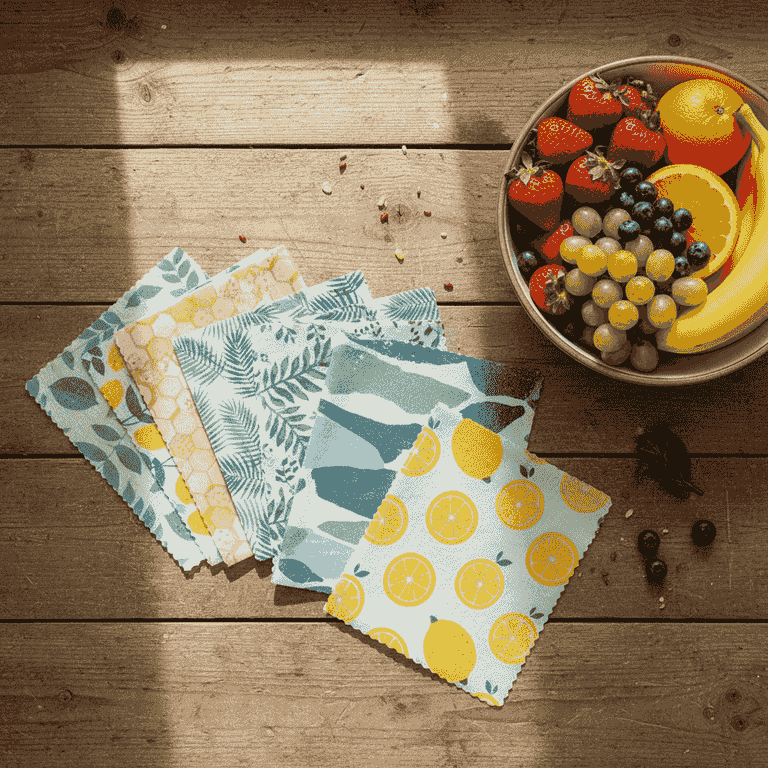
How to Make Reusable Beeswax Food Wraps
Create sustainable, eco-friendly food storage by infusing cotton fabric with natural beeswax. These wraps are a washable, reusable alternative to plastic cling film, perfect for keeping produce fresh.
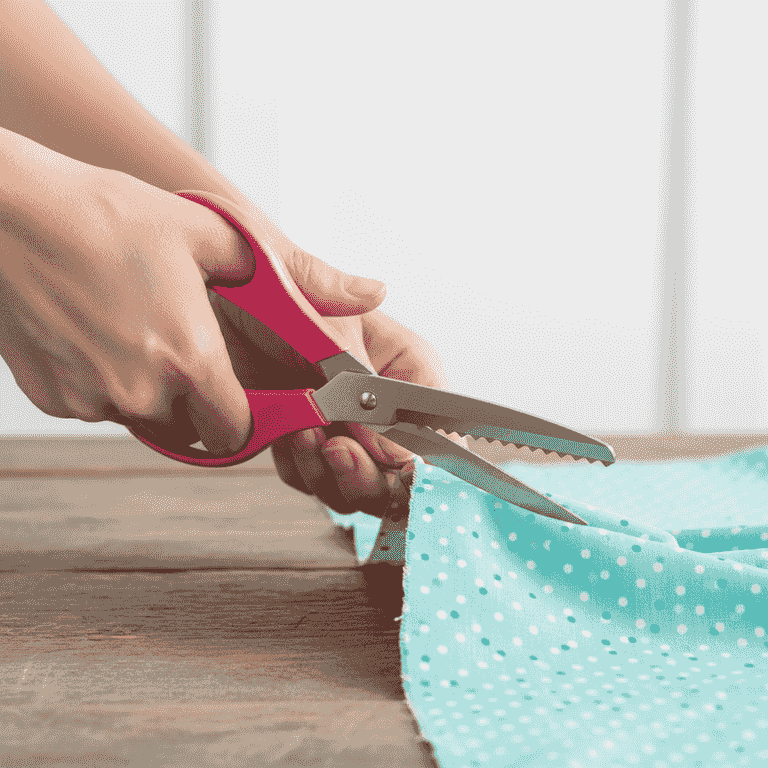
Prepare your fabric
10 minutesCut your 100% cotton fabric into squares or rectangles using pinking shears to prevent fraying.
Choose fun patterns to customize your wraps. Pinking shears create a zigzag edge that is more durable than a straight cut.
Wash and dry the fabric first to ensure there is no sizing or residue that could interfere with wax adhesion.
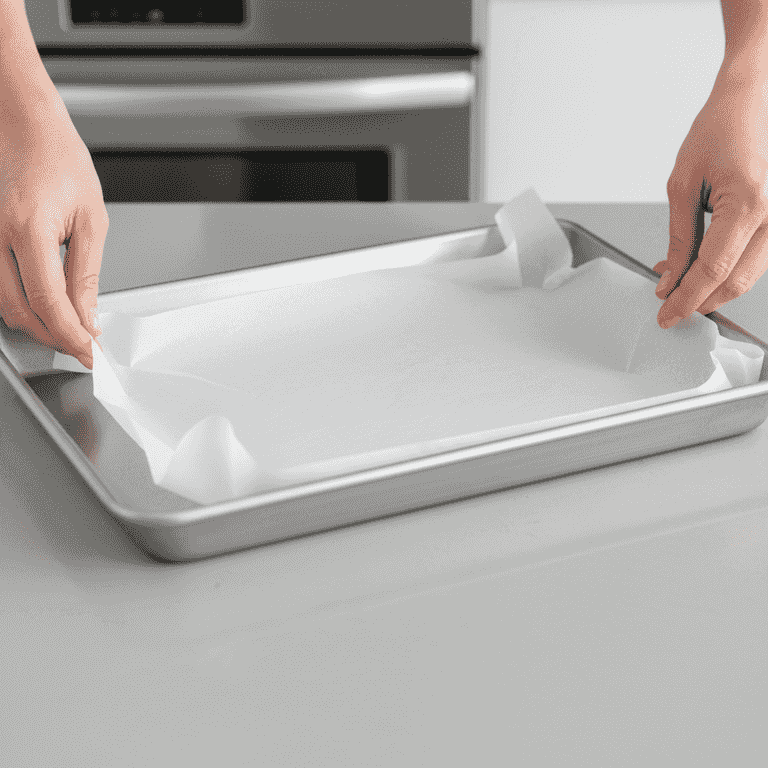
Preheat the oven
5 minutesSet your oven to 200°F (95°C) and line a baking sheet with a large piece of parchment paper.
A low temperature ensures the wax melts slowly without burning or discoloring the cotton fabric.
Ensure the oven does not exceed 250°F, as beeswax can smoke and become a fire hazard at high temperatures.
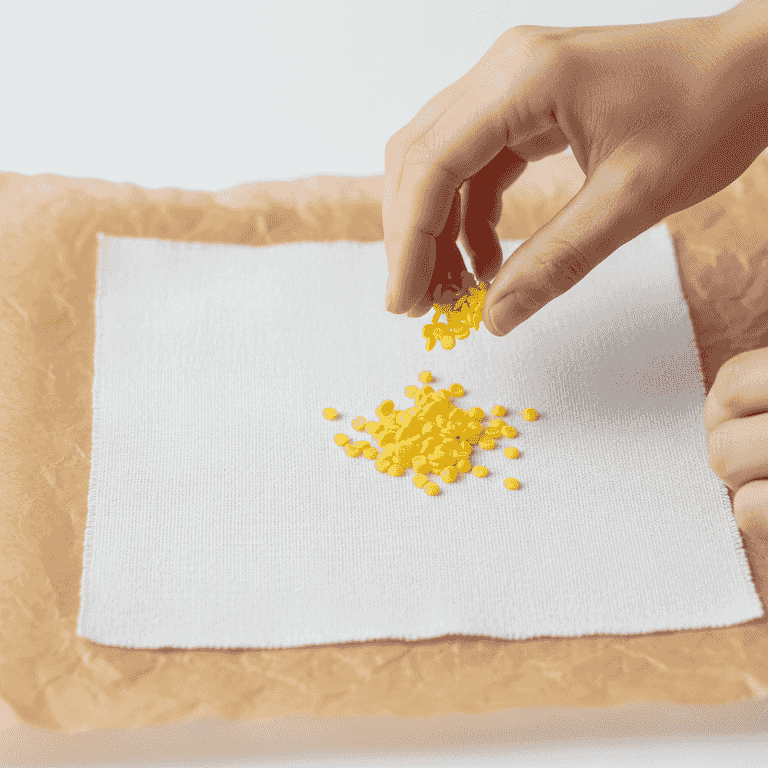
Arrange fabric and wax
5 minutesPlace the fabric flat on the parchment paper and sprinkle a thin, even layer of beeswax pellets over the surface.
Do not overload the fabric with wax; a light dusting is sufficient to create a flexible, tacky coating.
Concentrate slightly more wax toward the corners to ensure they remain sticky for a better seal.
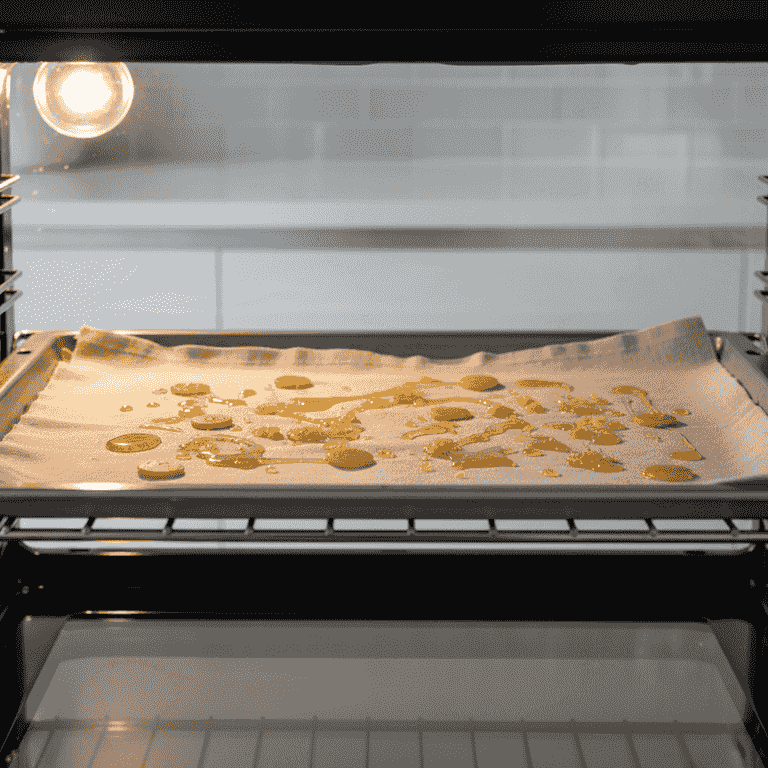
Melt the wax
5 minutesPlace the baking sheet in the oven for 3 to 5 minutes until the pellets are completely melted.
Watch the process closely; the fabric will darken as it absorbs the liquid wax.
Stay by the oven at all times while the wax is melting to prevent overheating.
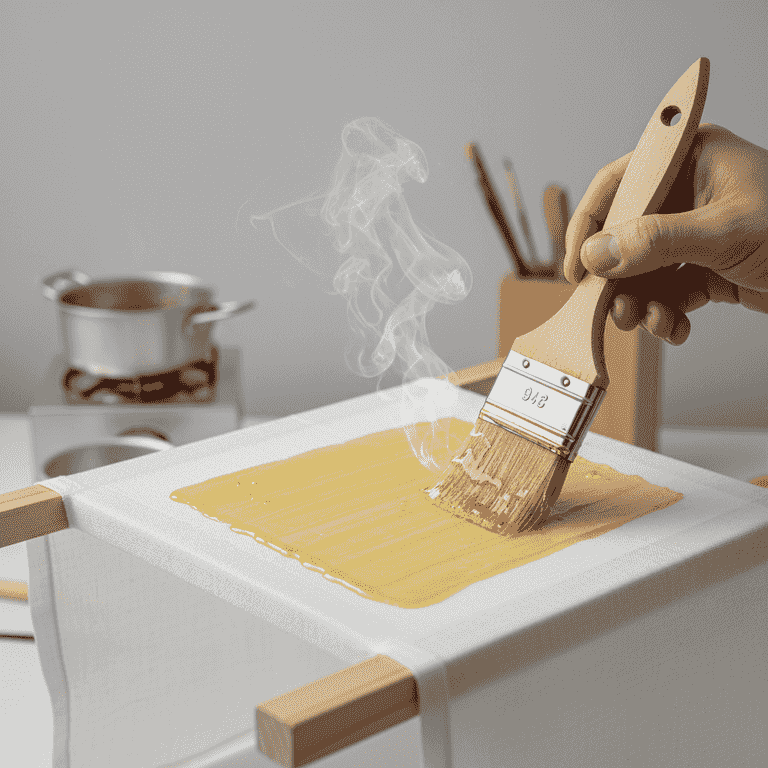
Spread and set
3 minutesRemove the sheet from the oven and use a paintbrush to distribute any dry spots of wax.
Work quickly while the wax is still warm and liquid to achieve a uniform coating across the entire piece.
The baking sheet will be hot; use oven mitts.
If you missed a spot, you can add a few more pellets and return the tray to the oven for 30 seconds.
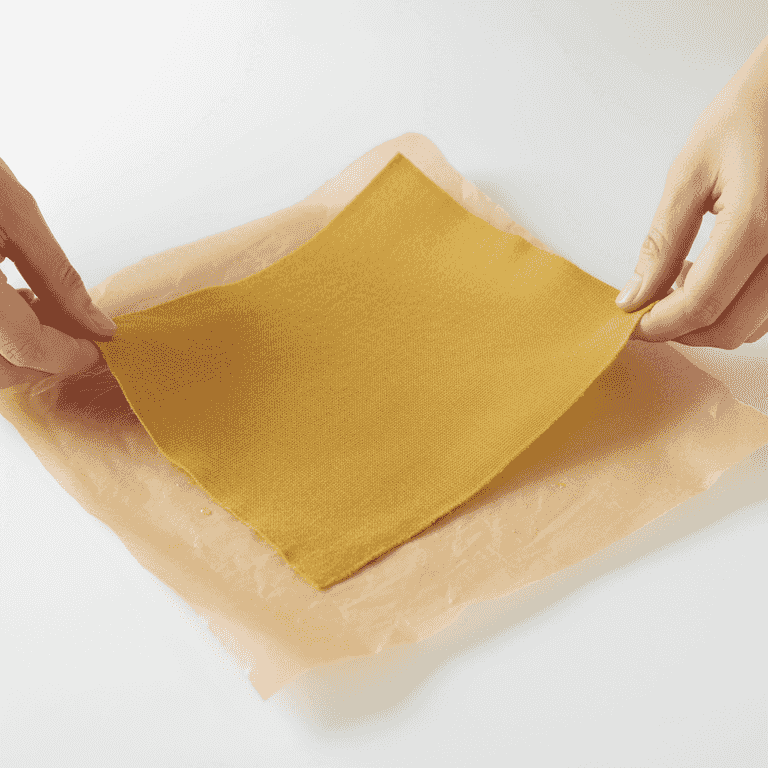
Cool and peel
5 minutesLift the fabric by its corners and wave it in the air for a few seconds until the wax hardens.
The wax cools almost instantly. Once firm, hang the wrap over a drying rack or lay it flat to fully cure.
Pro Tips
- ●Add a teaspoon of pine resin to your wax mixture for extra stickiness.
- ●Avoid using these wraps for raw meat or fish to prevent bacterial growth.
- ●Clean your wraps with cool water and mild dish soap; hot water will melt the wax.
- ●If your wrap loses its stickiness after months of use, simply refresh it in the oven for a few minutes.
- ●Store your wraps in a cool, dark place when not in use.