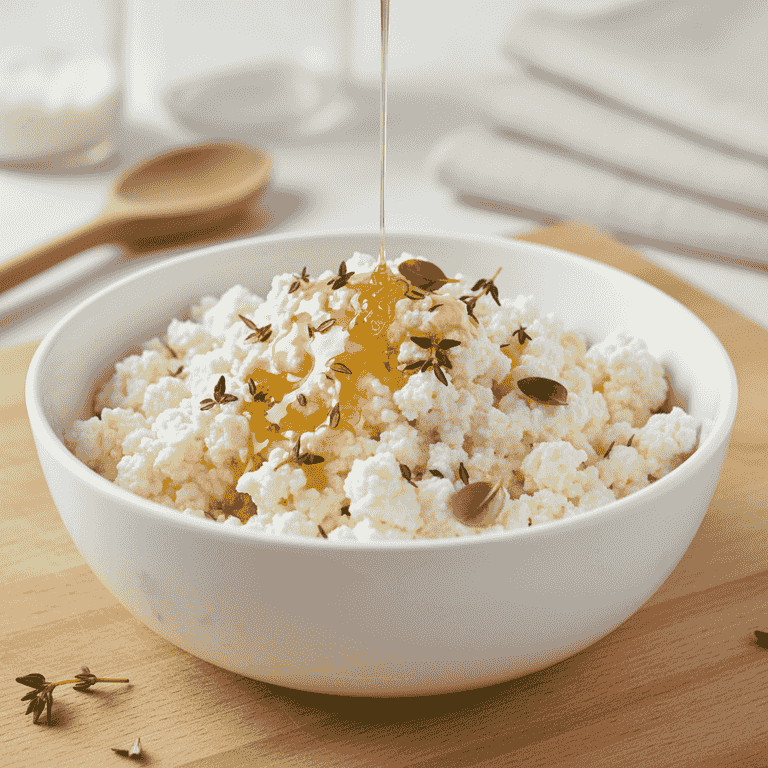
How to Make Homemade Ricotta Cheese
Learn to create creamy, fresh ricotta cheese at home using only three simple ingredients. This guide walks you through the traditional heating and curdling process to achieve professional-quality results.
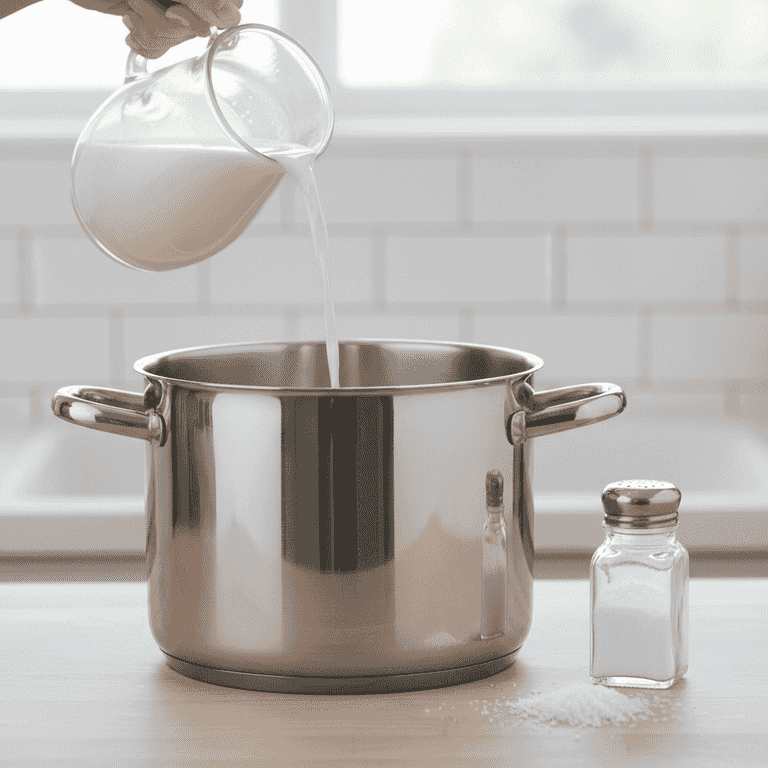
Combine milk and salt
2 minutesPour one gallon of whole milk and one teaspoon of salt into a large heavy-bottomed pot.
Using whole milk is essential for a high yield and creamy texture. Stir gently to incorporate the salt before turning on the heat.
Use a heavy-bottomed pot to prevent the milk from burning at the bottom.
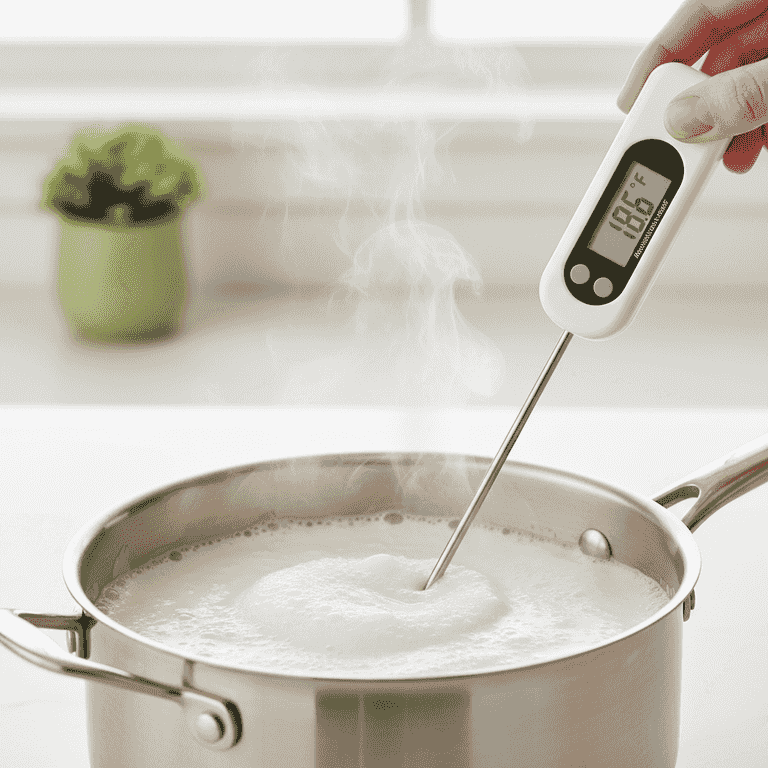
Heat the milk
15 minutesPlace the pot over medium heat and heat the milk to 195°F (90°C).
Stir frequently to ensure even heating and prevent a skin from forming on the surface. Monitor the temperature closely using your instant-read thermometer.
Be careful when handling hot liquids to avoid steam burns.
Do not let the milk reach a rolling boil, as this can make the cheese tough.
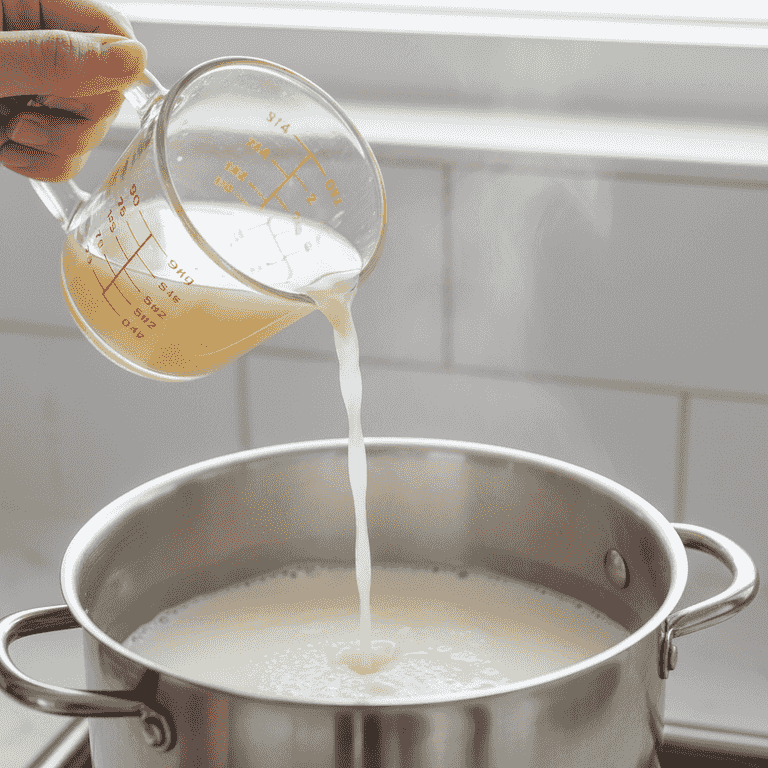
Add the acid
1 minuteRemove the pot from the heat and stir in 1/3 cup of lemon juice or white vinegar.
The acid causes the milk proteins to coagulate, separating the curds from the whey. Stir gently for just a few seconds to distribute the acid.
White vinegar provides a neutral flavor, while lemon juice adds a slight citrus brightness.
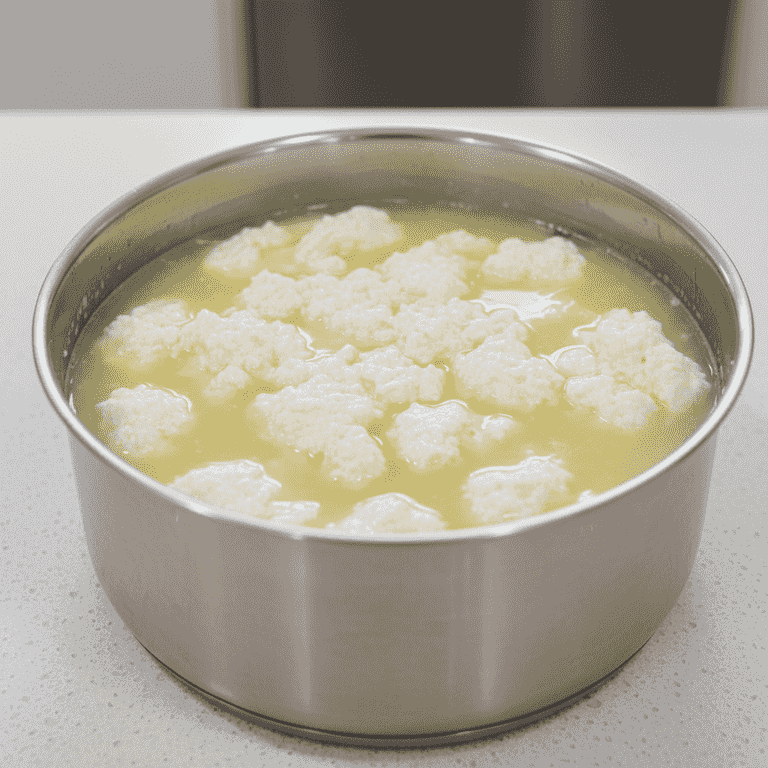
Let the mixture rest
10 minutesCover the pot and let it sit undisturbed for 10 minutes.
During this time, the curds will continue to form and separate from the yellowish-green liquid known as whey. You will see large, soft white clumps forming.
If the whey still looks milky after 10 minutes, add another tablespoon of acid and wait 5 more minutes.
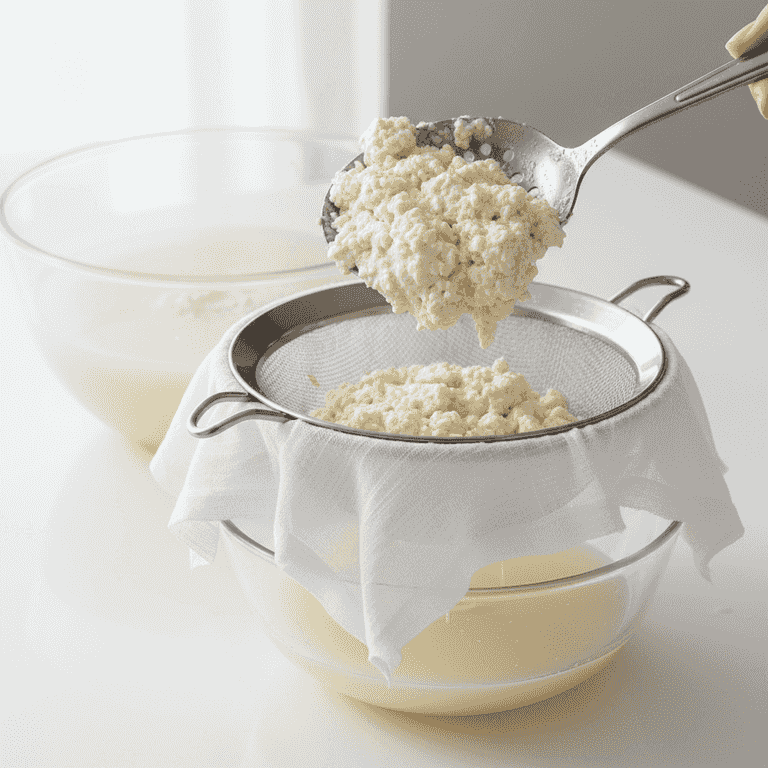
Strain the curds
5 minutesLine a fine-mesh sieve with two layers of cheesecloth and set it over a large bowl.
Gently ladle the curds into the cheesecloth. Allow the whey to drain through the mesh into the bowl below.
Save the leftover whey for baking bread or adding to smoothies for extra protein.

Drain to desired consistency
20 minutesLet the ricotta drain for 15 to 30 minutes, depending on how firm you prefer it.
For a drier cheese suitable for baking, drain longer. For a spreadable, creamy texture, stop draining once the desired consistency is reached.
Transfer the finished ricotta to an airtight container and refrigerate; it will last for up to 3 days.
Pro Tips
- ●Always use fresh, high-quality whole milk for the best flavor.
- ●Avoid ultra-pasteurized milk as it often fails to curdle properly.
- ●If you want a richer cheese, add 1/2 cup of heavy cream to the milk before heating.
- ●Don't discard the whey; it's a great base for soups or protein-rich smoothies.