
How to Make Homemade Miso Paste
Create your own traditional fermented miso paste from scratch using simple, wholesome ingredients. This guide walks you through the process of preparing soybeans and koji to develop deep, umami-rich flavors over several months.
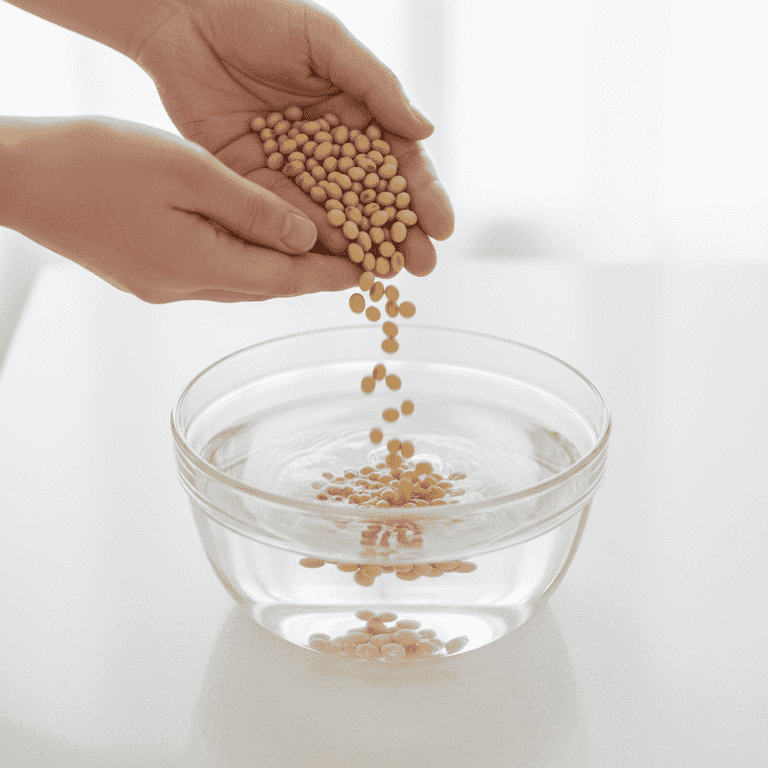
Soak the soybeans
18 hoursRinse 500g of dry soybeans and soak them in three times their volume of water for 12 to 18 hours.
Soaking rehydrates the beans, ensuring they cook evenly. Use a large bowl as the beans will triple in size during the process.
Soak in a cool place to prevent premature fermentation.
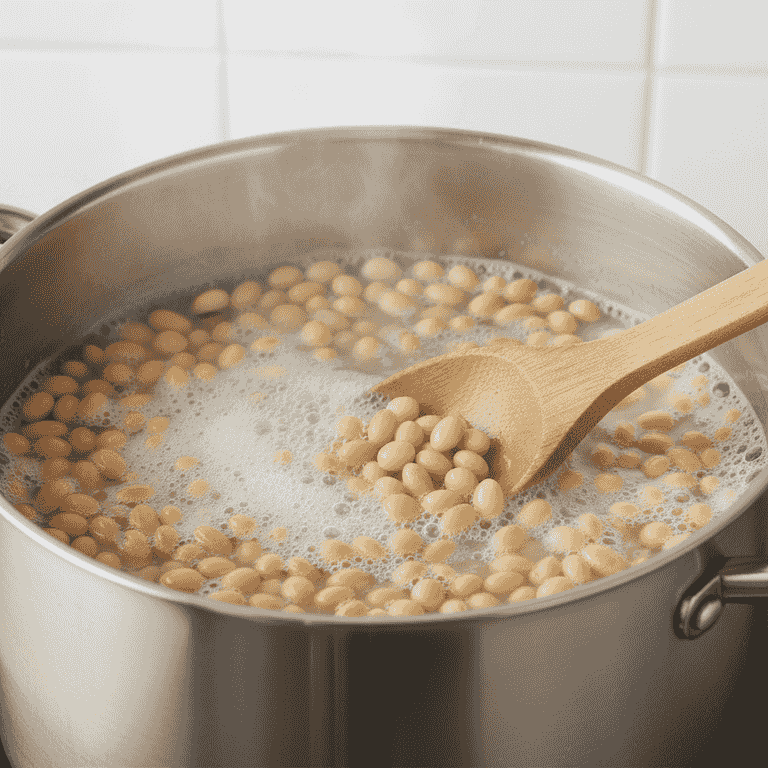
Boil the soybeans
3-4 hoursDrain the soaking water and simmer the soybeans in fresh water until they are tender enough to be crushed easily between your thumb and finger.
This usually takes 3 to 4 hours. Boiling softens the cellular structure of the beans, which is necessary for the fermentation process.
Ensure the beans are cooked thoroughly; raw soybeans contain anti-nutrients that must be neutralized.
Skim off any foam that rises to the surface during the boiling process.
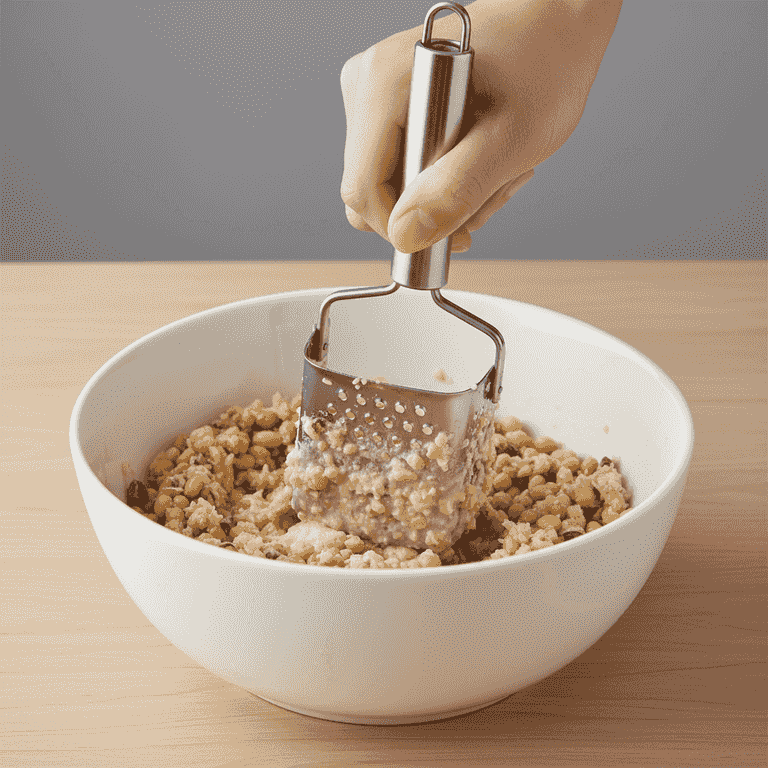
Mash the soybeans
20 minutesDrain the beans well and mash them into a uniform paste using a potato masher or food processor.
You want a consistent texture with very few whole beans remaining. Allow the mash to cool to room temperature before adding the koji.
Do not add the koji while the beans are hot, as high temperatures will kill the beneficial enzymes.
If using a food processor, work in small batches to avoid overheating the motor.
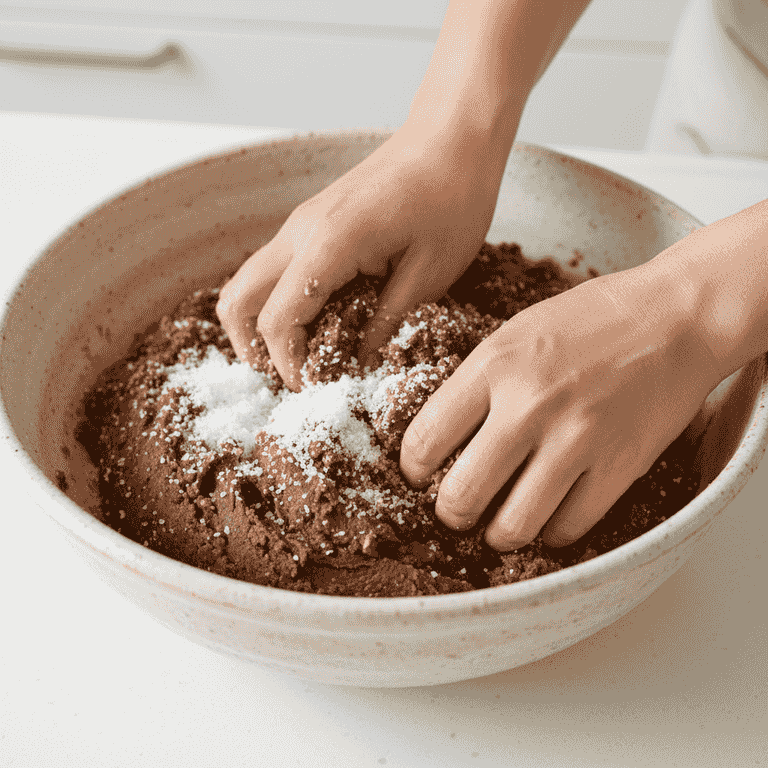
Mix with salt and koji
15 minutesIn a large bowl, combine the soybean mash with salt and koji rice, mixing thoroughly with clean hands.
The salt inhibits bad bacteria, while the koji enzymes break down the proteins in the beans into savory amino acids.
Sanitize your hands and equipment thoroughly before mixing to avoid contamination.
Take a small handful of salt to rub the inside of your fermentation container before packing.
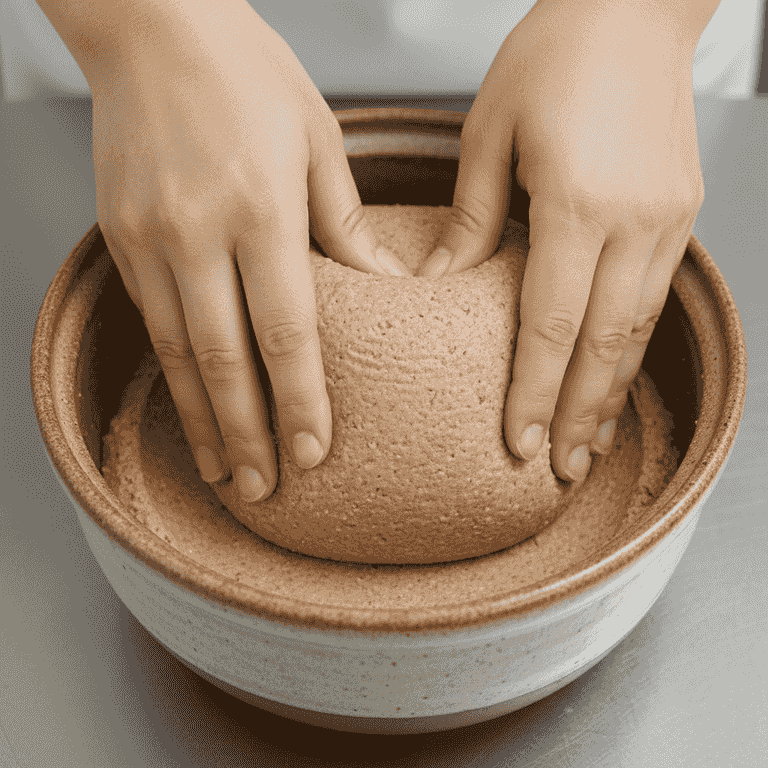
Pack the container
15 minutesForm the miso mixture into balls and pack them firmly into your fermentation crock, pressing down to remove all air pockets.
Air pockets are breeding grounds for unwanted mold. Pack the mixture tightly and smooth the top surface to be level.
Ensure no air remains trapped between the layers of miso.
Use a piece of plastic wrap directly against the surface of the miso before placing the weight.
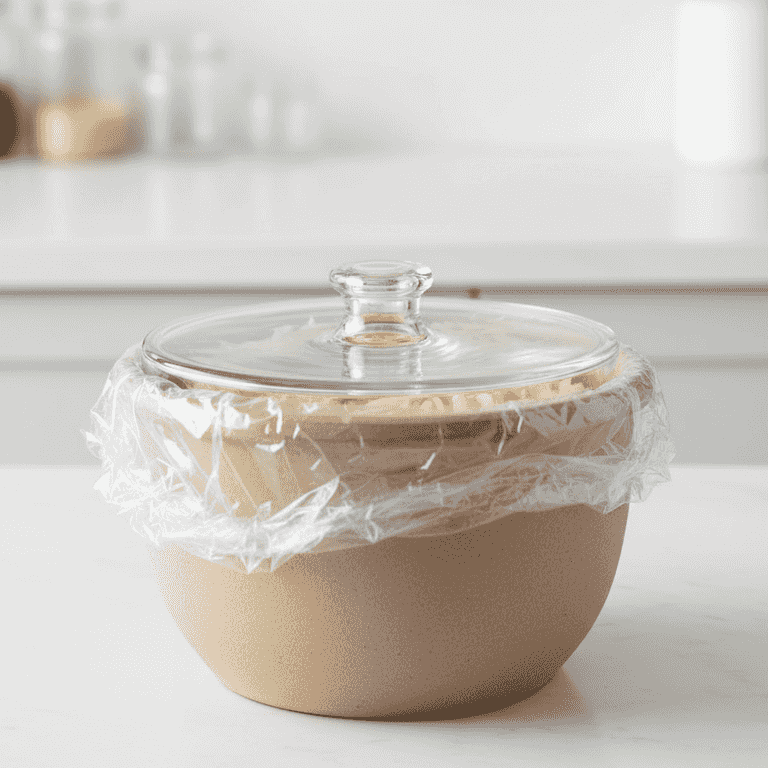
Weight and store
5 minutesPlace a weight on top of the packed miso and cover the container, storing it in a cool, dark place for 6 to 12 months.
The weight keeps the miso submerged and anaerobic. Check occasionally to ensure the surface remains clean.
A clean stone or a plastic bag filled with water makes an excellent weight.
Pro Tips
- ●The longer you age your miso, the darker and more complex the flavor becomes.
- ●Always reserve a little bit of the cooking liquid to adjust the consistency if the mash is too dry.
- ●Label your container with the date you started and the projected completion date.
- ●Use high-quality, non-GMO organic soybeans for the best flavor profile.