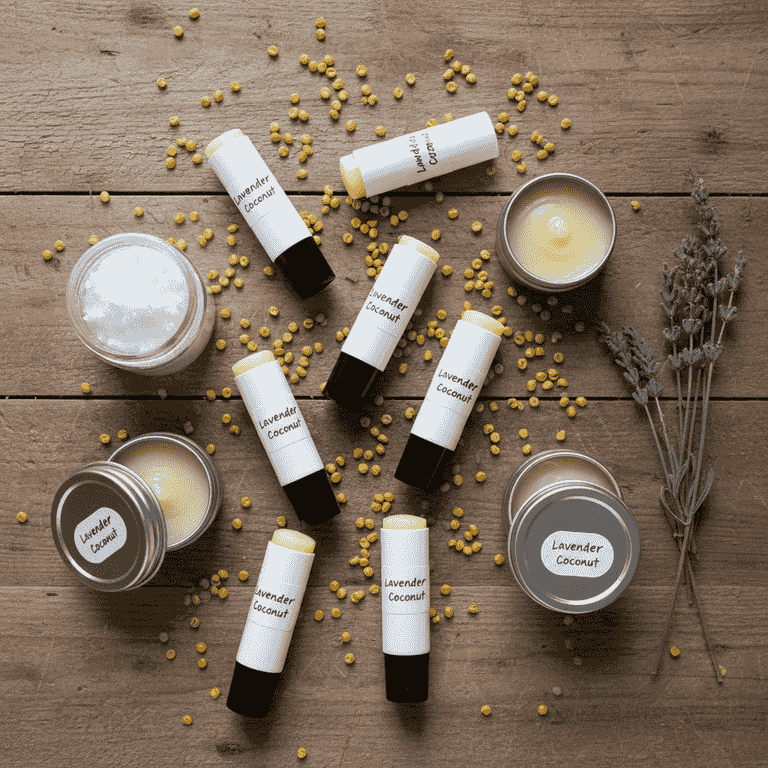
How to Make Homemade Lip Balm
Create your own nourishing, all-natural lip balm using a simple blend of beeswax, oils, and butter. This customizable DIY project is cost-effective, eco-friendly, and perfect for personal use or thoughtful handmade gifts.
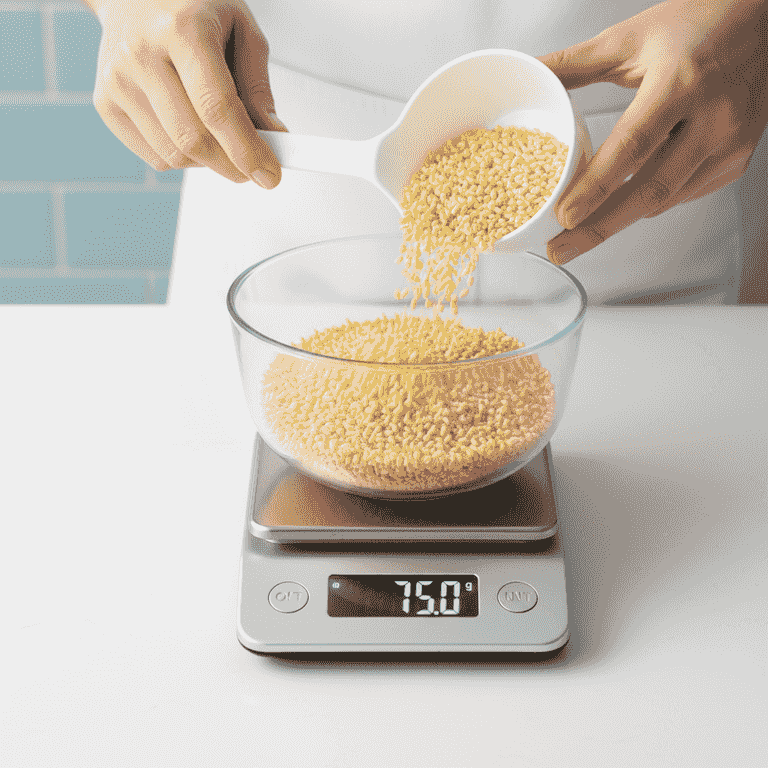
Measure your ingredients
5 minutesUse a kitchen scale to measure equal parts beeswax, shea butter, and coconut oil by weight.
A standard ratio is 1:1:1, but you can increase the beeswax for a firmer balm or increase the oil for a softer texture. Ensure your containers are clean and dry before starting.
If you have a digital scale, place your bowl on it and hit 'tare' between each ingredient.
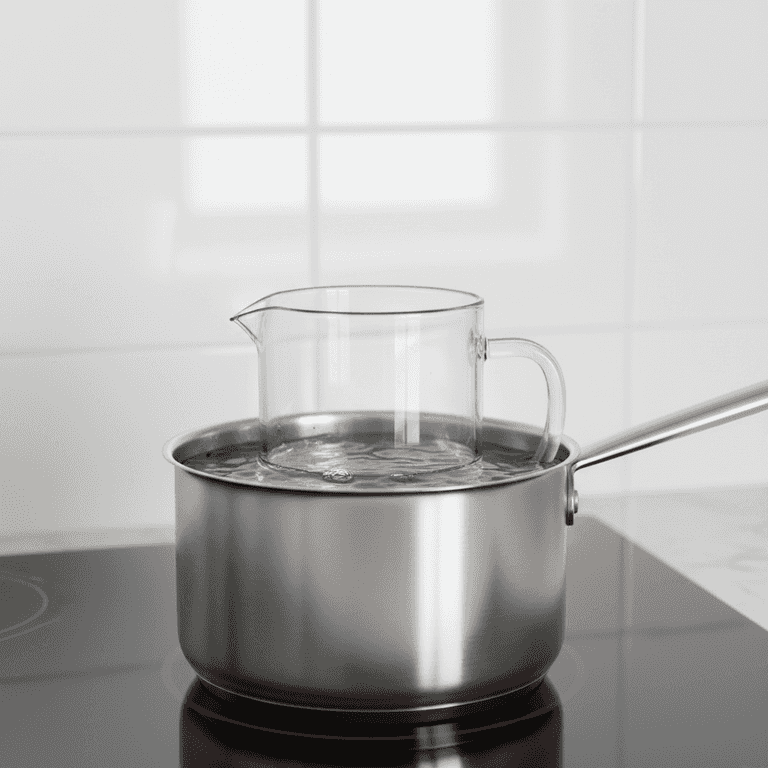
Prepare the double boiler
3 minutesFill a saucepan with about two inches of water and place the glass pouring pitcher inside.
This indirect heat method prevents the ingredients from scorching. Ensure the water level is low enough that it won't splash into your ingredients.
Ensure no water gets into the melting ingredients, as it can cause the balm to separate or spoil.
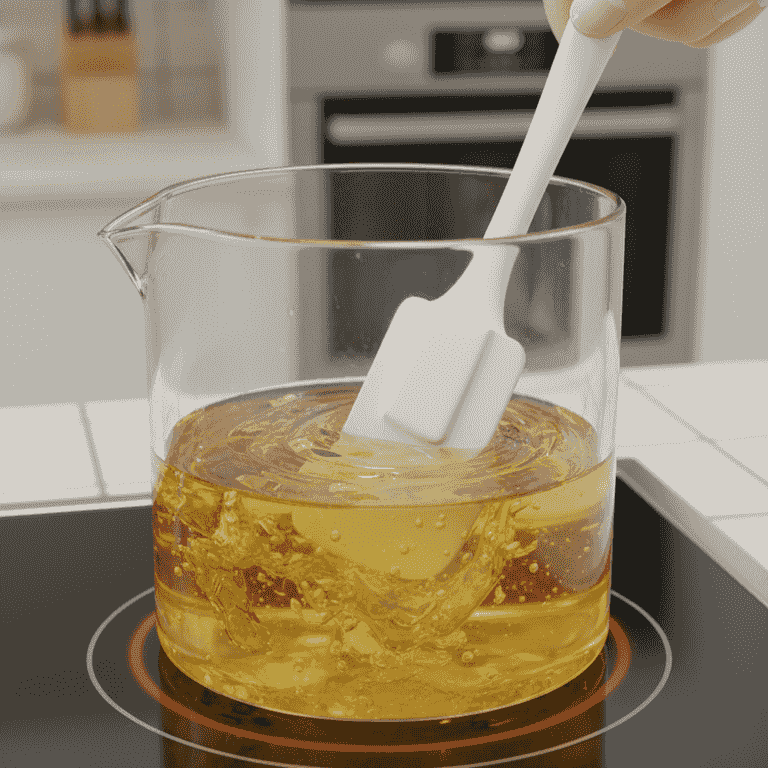
Melt the ingredients
10 minutesTurn the stove to medium-low heat and add your measured ingredients into the pitcher.
Stir occasionally with a silicone spatula until the mixture is completely clear and no solid wax pellets remain. Keep the heat low to preserve the nutrients in the oils.
The glass pitcher will become extremely hot; always use oven mitts when touching it.

Add essential oils
2 minutesRemove the pitcher from the heat and stir in 5-10 drops of your preferred essential oil.
Adding the scent at the end prevents the volatile oils from evaporating due to high heat. Peppermint, lavender, or vanilla are excellent choices for lip balm.
Use food-grade essential oils if you prefer a flavor-safe balm.
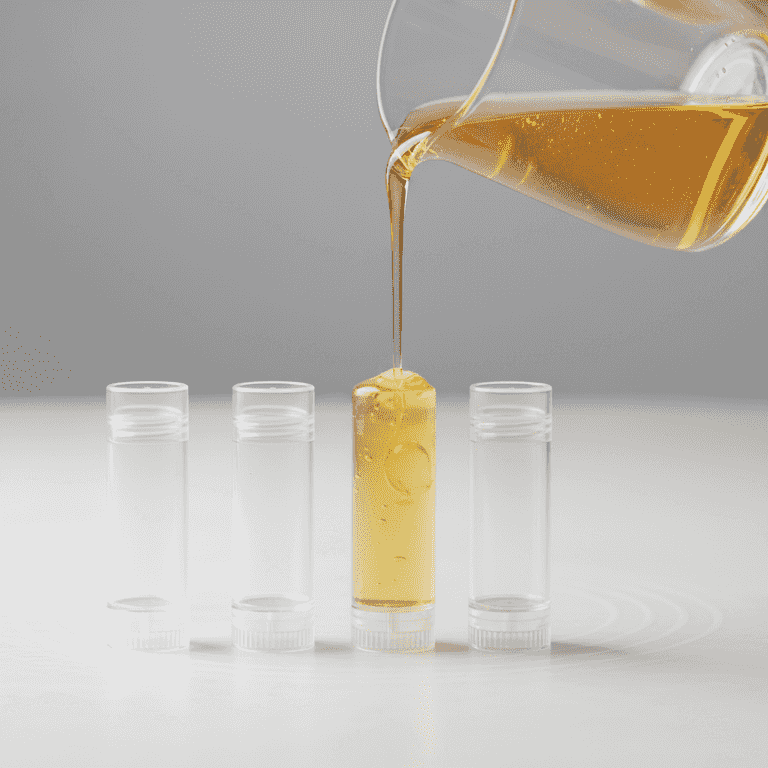
Pour into containers
5 minutesCarefully pour the liquid mixture into your lip balm tubes or tins.
Pour slowly to avoid spills. If using tubes, fill them just to the top, but be careful not to overfill as it may overflow.
Pour quickly, as the mixture will begin to harden as it cools.
Place your tubes in a sturdy box or tray so they stay upright while you pour.
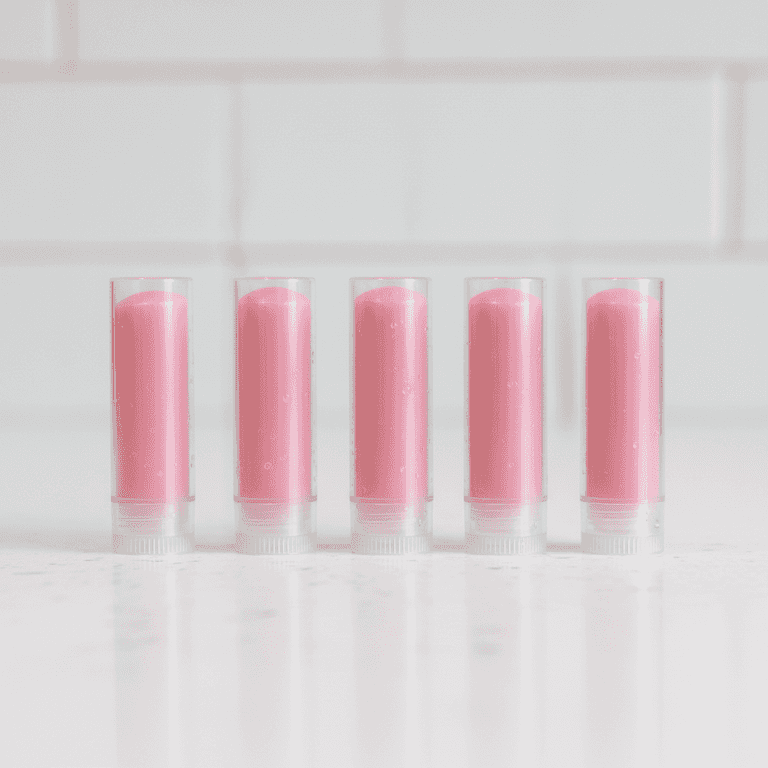
Allow to cool and set
30 minutesLeave the containers undisturbed at room temperature for at least 30 minutes.
Avoid moving the containers until the balm is completely solid and opaque. Moving them too early can create cracks or uneven tops.
If you are in a rush, you can place the containers in the refrigerator for 10 minutes to speed up the process.
Pro Tips
- ●Add a tiny pinch of mica powder if you want to create a tinted or shimmering lip balm.
- ●Store your finished lip balm in a cool, dark place to extend its shelf life.
- ●Label your containers with the ingredients and the date made.
- ●If your balm is too soft, melt it down again and add a small amount of extra beeswax.