
How to Make Homemade Greek Yogurt
Transform simple milk into thick, creamy Greek-style yogurt using heat and fermentation. This guide walks you through the process of culturing milk and straining it to achieve the perfect tangy consistency.
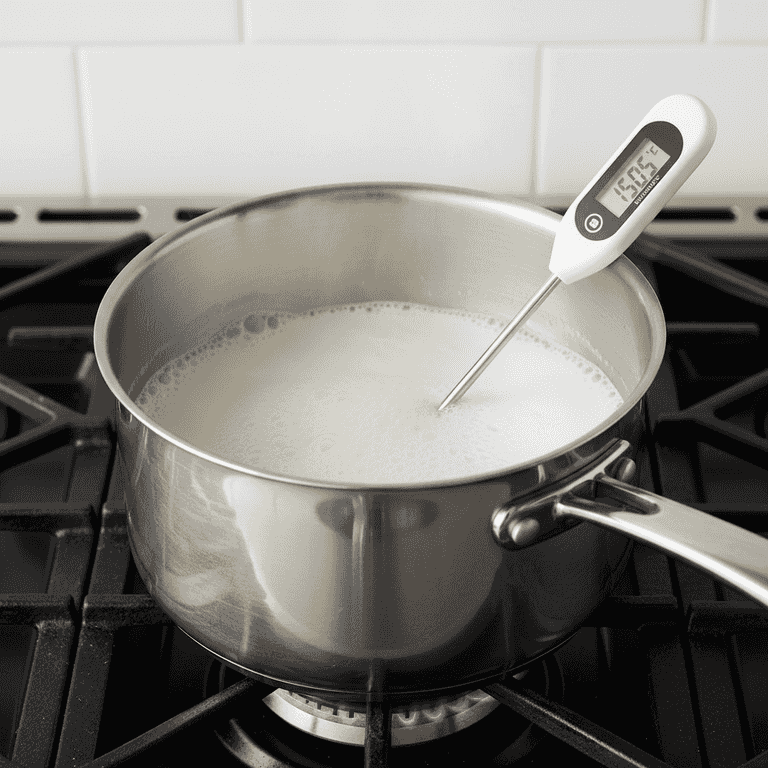
Heat the milk
20 minutesPour milk into a large pot and heat over medium heat until it reaches 180°F (82°C).
Heating the milk to this temperature denatures the proteins, which helps create a thicker final texture. Use a kitchen thermometer to monitor the temperature closely to avoid scorching the bottom.
Do not let the milk boil over or burn on the bottom of the pot.
Stir frequently to prevent a skin from forming on the surface of the milk.
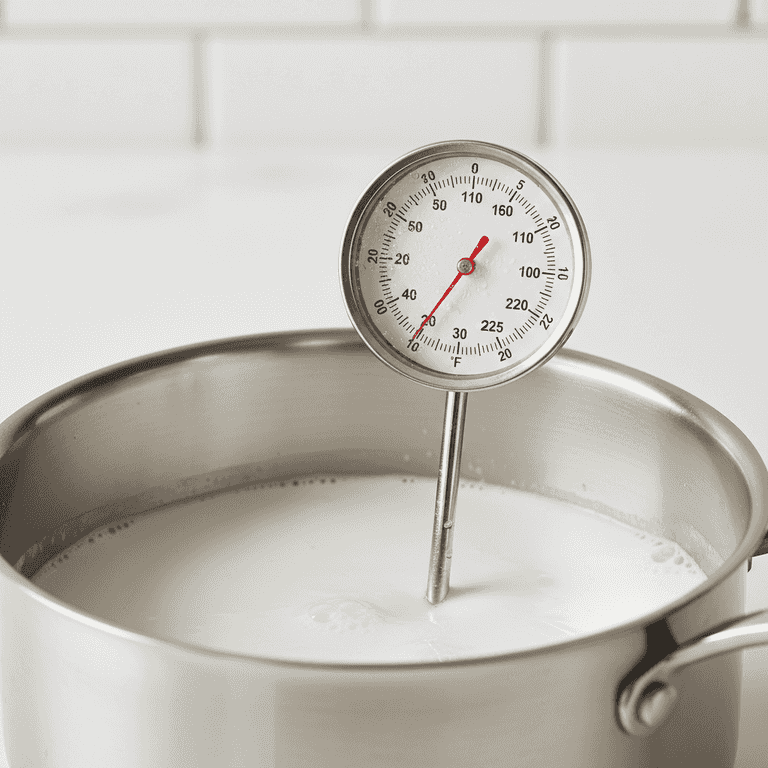
Cool the milk
30 minutesRemove the pot from the heat and allow the milk to cool until it reaches 110°F to 115°F (43°C-46°C).
If the milk is too hot when you add the starter, the beneficial bacteria will be killed. This cooling step is essential for successful fermentation.
Place the pot in an ice water bath to speed up the cooling process if you are in a hurry.
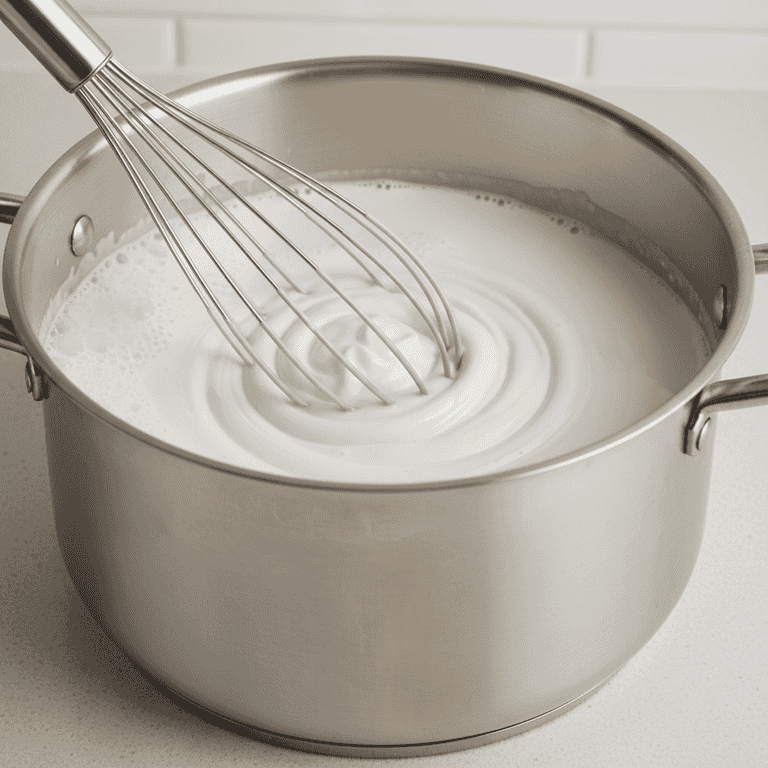
Inoculate with starter
2 minutesWhisk a small amount of live-culture yogurt into the cooled milk.
Take a cup of the warm milk, mix it with your yogurt starter in a separate bowl, then pour it back into the main pot and whisk gently to combine.
Ensure your starter yogurt is plain and contains 'live and active cultures'.
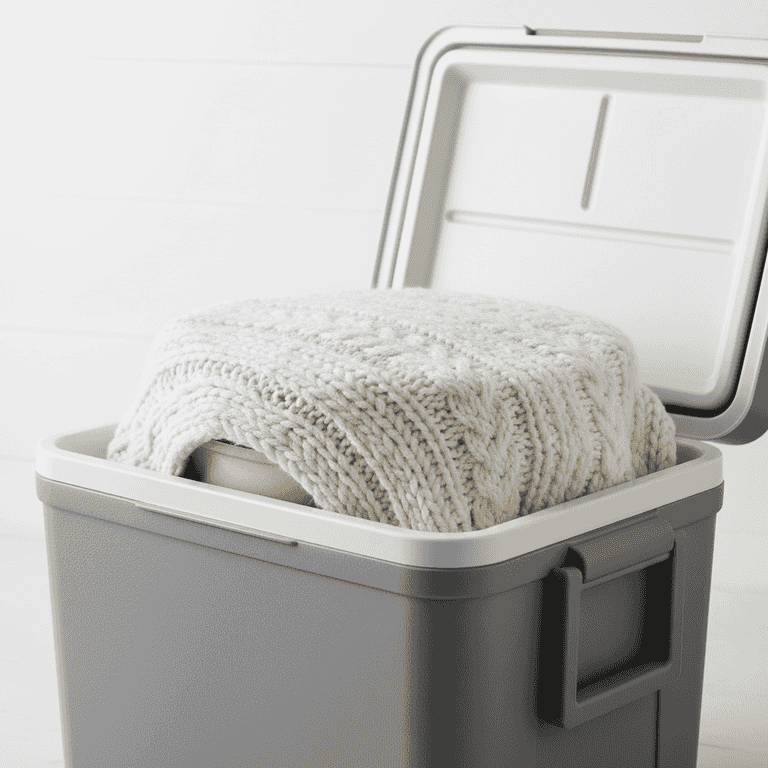
Incubate the mixture
8-10 hoursMaintain the temperature at 110°F for 8 to 10 hours.
Place the milk in a yogurt maker or wrap the pot in thick towels inside a pre-warmed cooler to keep the temperature stable while the bacteria ferment the lactose.
The longer you incubate, the tangier the yogurt will taste.
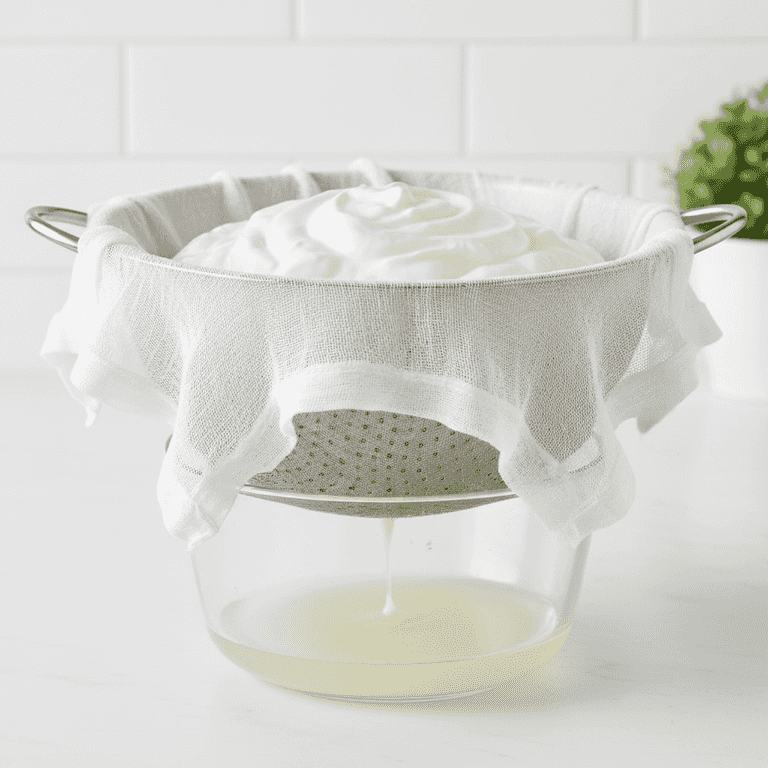
Strain the whey
2-4 hoursLine a colander with cheesecloth and pour the set yogurt into it to drain.
Place the colander over a bowl to catch the liquid whey. This process removes excess moisture, concentrating the solids into thick Greek yogurt.
Save the drained whey for use in smoothies or baking recipes for added protein.
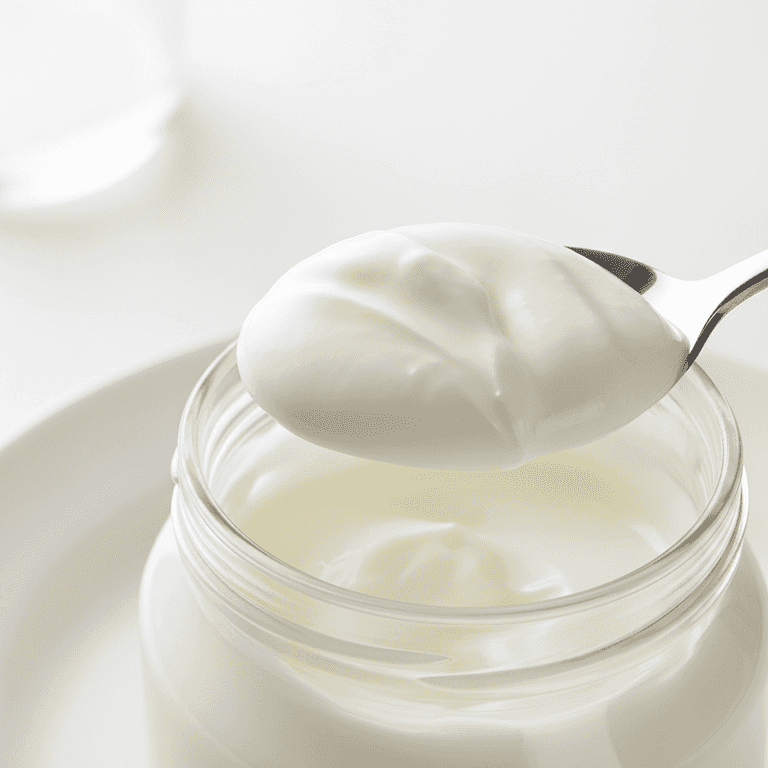
Chill and serve
1 hourTransfer the thickened yogurt to a container and refrigerate until cold.
Chilling the yogurt sets the texture and enhances the flavor. It will stay fresh in an airtight container in the refrigerator for up to two weeks.
Stir the yogurt vigorously before serving to ensure a smooth, creamy consistency.
Pro Tips
- ●Always use fresh, high-quality whole milk for the creamiest results.
- ●Sterilize all jars and utensils with boiling water before use to prevent contamination.
- ●If the yogurt is too tart, reduce the incubation time by an hour next time.
- ●You can reuse a portion of your homemade yogurt as the starter for your next batch.