
How to Make Homemade Ghee
Transform unsalted butter into golden, nutty ghee through a gentle simmering process. This clarified butter is shelf-stable and perfect for high-heat cooking and baking.
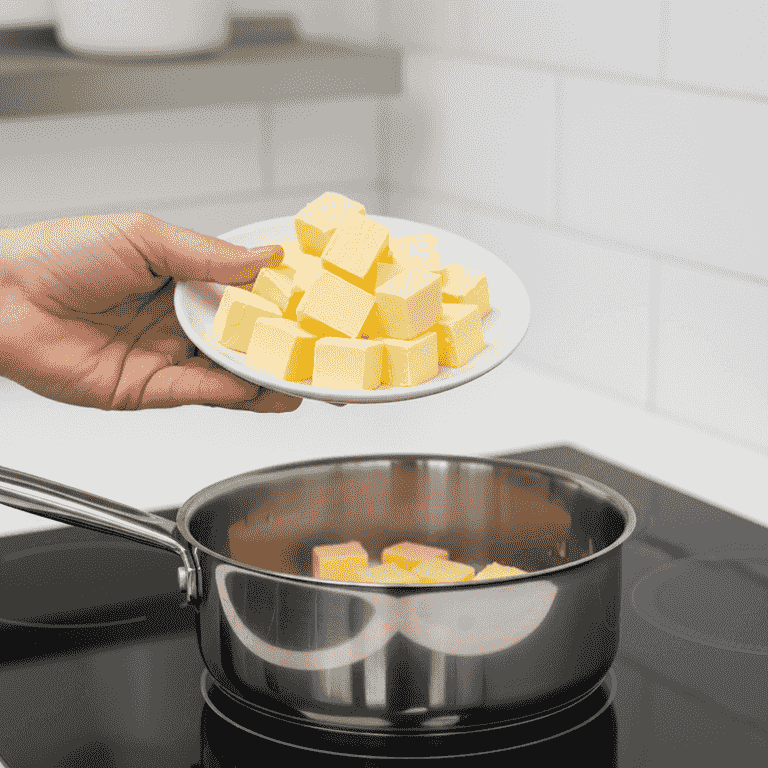
Melt the butter
5 minutesPlace unsalted butter into a heavy-bottomed saucepan over low heat.
Using a heavy-bottomed pan is crucial to prevent the milk solids from scorching at the bottom before the water evaporates.
Use high-quality grass-fed butter for the best flavor profile.
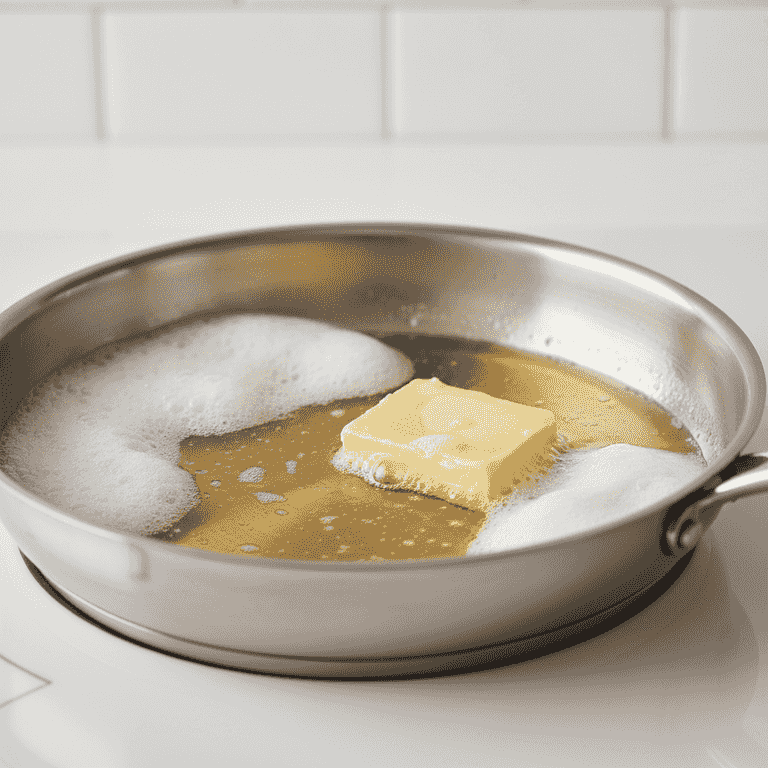
Simmer the butter
10 minutesAllow the butter to melt completely and reach a gentle simmer.
Once melted, the butter will begin to foam and bubble as the water content evaporates. Maintain low heat to ensure a slow, controlled process.
Do not walk away from the stove as the foam can rise quickly and boil over.
Do not stir the butter excessively during this stage.
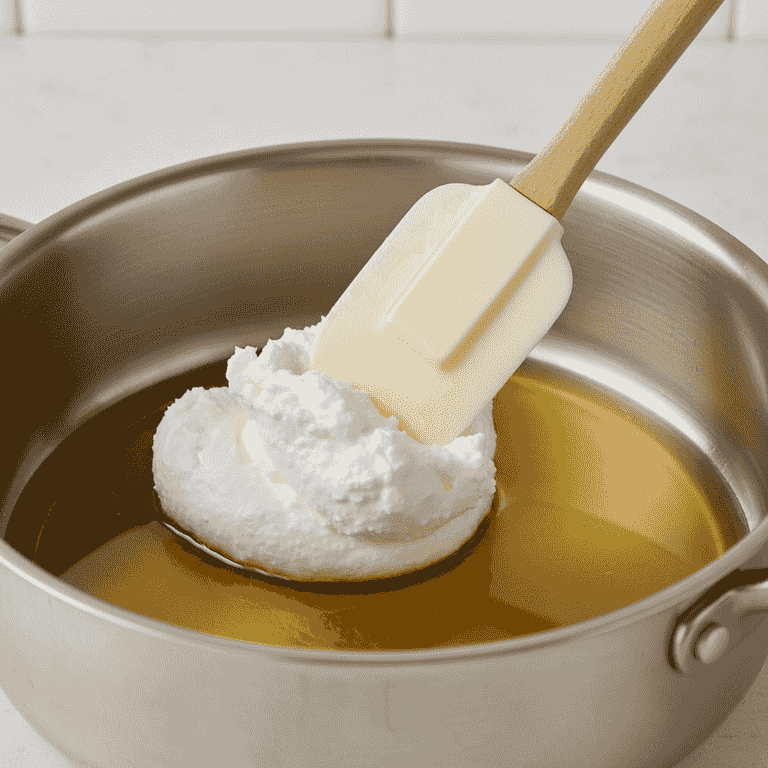
Monitor for milk solids
10 minutesObserve the separation of the butter into golden oil and white milk solids.
The milk solids will sink to the bottom of the pan and begin to brown. The liquid on top will transition from cloudy to clear golden.
The aroma will change from milky to a toasted, nutty scent when it is near completion.

Remove from heat
1 minuteTurn off the heat once the milk solids are golden brown and the liquid is translucent.
Timing is key; if the solids turn dark brown or black, the ghee will have a burnt flavor. Remove the pan immediately to stop the cooking process.
The oil is extremely hot; avoid contact with skin.
Use a spoon to lift a small amount; if it looks like clear honey, it is ready.

Strain the ghee
4 minutesPour the liquid through a fine-mesh strainer lined with cheesecloth into a glass jar.
Filtering removes all the toasted milk solids, resulting in a shelf-stable, pure fat. Ensure your glass jar is completely dry to prevent spoilage.
Use a heat-resistant glass jar to prevent cracking from the hot oil.
Let the ghee cool for 5-10 minutes before straining to make it easier to handle.
Pro Tips
- ●Always use unsalted butter to ensure the ghee has a clean, pure taste.
- ●Store your finished ghee in a cool, dark place; it does not require refrigeration.
- ●The leftover toasted milk solids are delicious when mixed into oatmeal or rice.
- ●If the ghee is grainy, it means it cooled down slowly, which is normal and indicates high quality.
- ●Never introduce water to the jar, as moisture will cause the ghee to spoil.