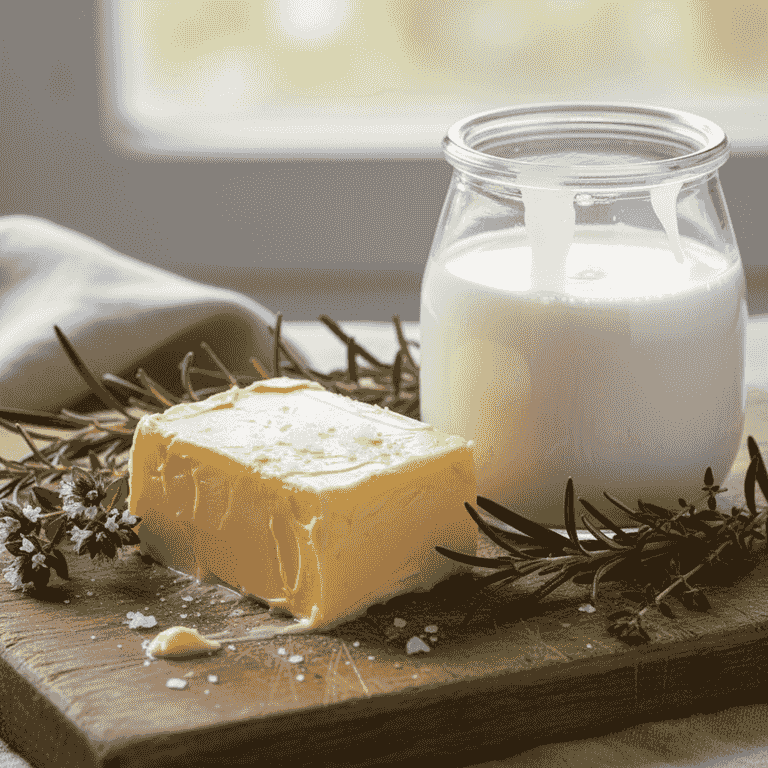
How to Make Fresh Homemade Butter
Transform heavy whipping cream into rich, creamy homemade butter with just a few minutes of effort. This simple process separates milk fat from buttermilk, resulting in a delicious product superior to store-bought alternatives.
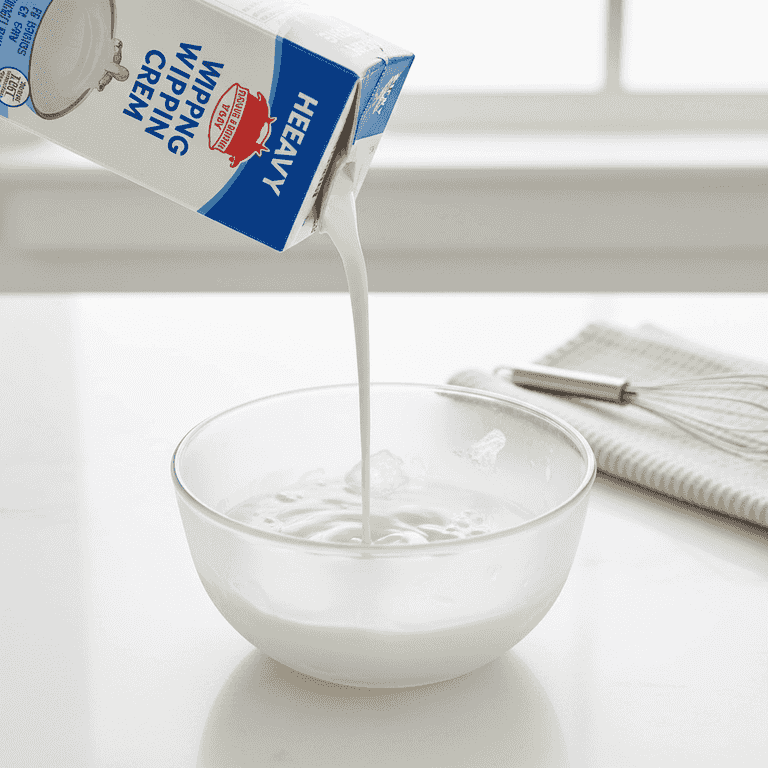
Chill your cream
1 minuteEnsure your heavy whipping cream is cold, straight from the refrigerator.
Cold cream whips faster and separates more cleanly into butterfat and buttermilk. Room temperature cream may become greasy or fail to whip properly.
Use cream with at least 36% milkfat for the best results.
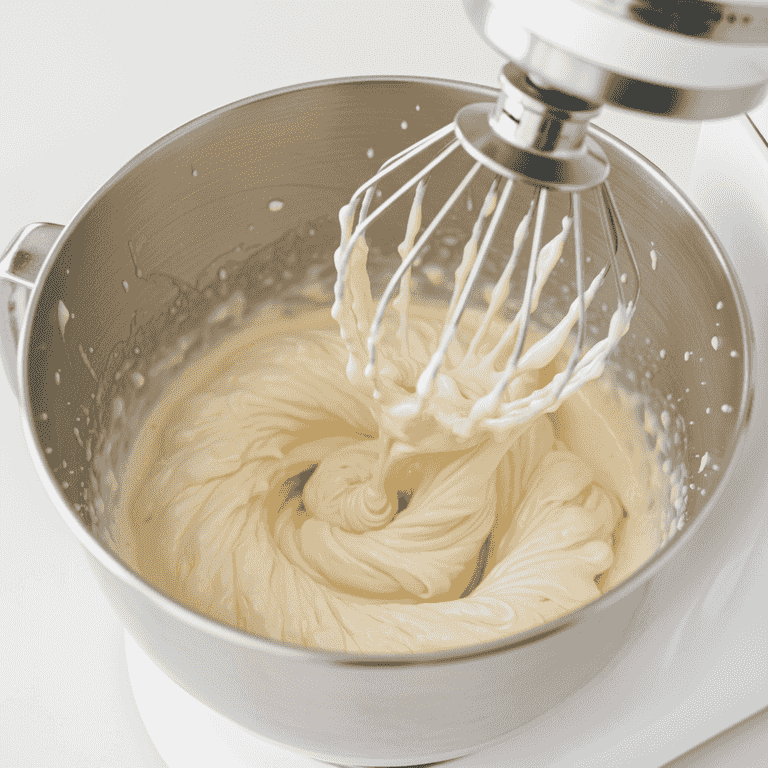
Whip the cream
5-8 minutesPour the cream into your food processor or stand mixer and turn it to medium-high speed.
The cream will first become whipped cream, then thicken significantly, and finally begin to look granular as it breaks down into butterfat and liquid buttermilk.
Do not leave the machine unattended, as the liquid will spray once the separation occurs.
Cover your mixer with a kitchen towel to prevent splashing as the liquid separates.
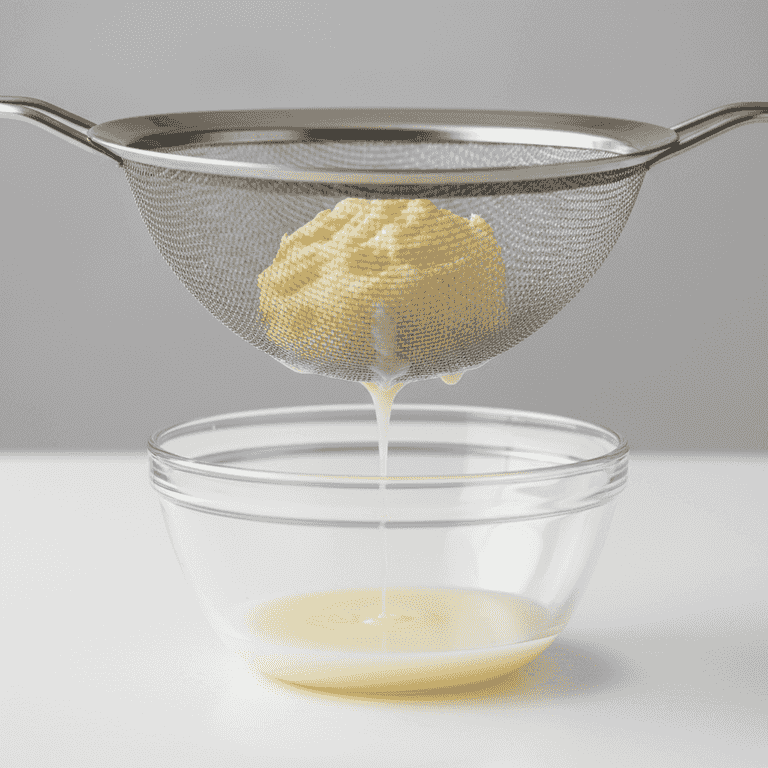
Drain the buttermilk
2 minutesPlace a fine mesh strainer over a bowl and pour the contents of the mixer into it.
The liquid that drains out is fresh buttermilk. Save this in a separate container, as it is excellent for baking biscuits or pancakes.
Press down on the butter solids with a spatula to extract as much buttermilk as possible.
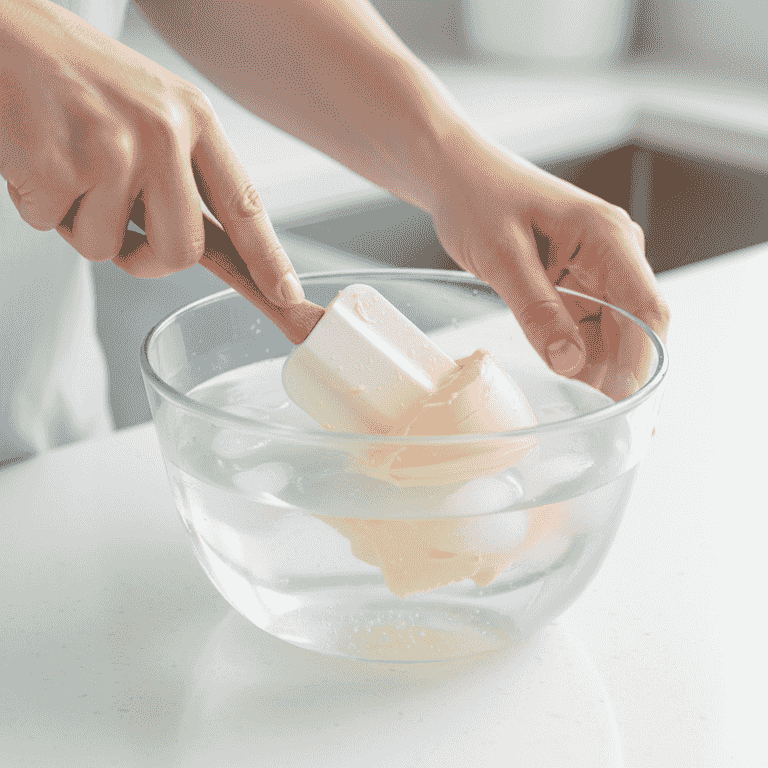
Rinse the butter
3 minutesPlace the butter solids into a bowl of ice-cold water and knead them gently with a spatula.
Rinsing removes the remaining buttermilk, which prevents the butter from spoiling quickly. Continue rinsing until the water runs clear.
Change the water if it turns cloudy to ensure the butter is thoroughly cleaned.
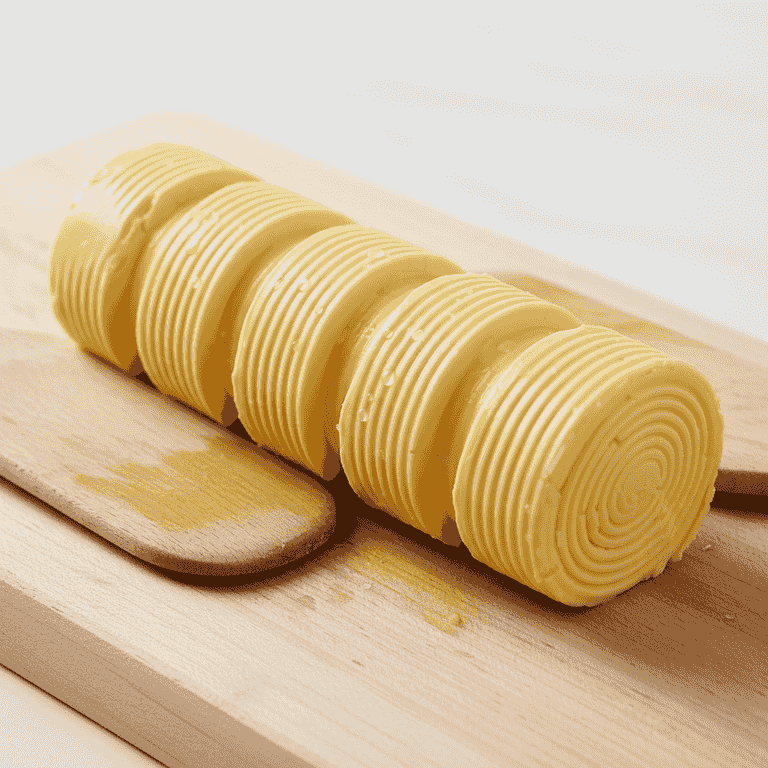
Season and store
2 minutesRemove the butter from the water, pat it dry with a paper towel, and fold in a pinch of salt if desired.
Shape your butter into a log or press it into a mold. Store it in an airtight container in the refrigerator.
Homemade butter has a shorter shelf life than commercial butter due to the lack of preservatives; consume within 1-2 weeks.
Add herbs or honey to the butter while folding for flavored varieties.
Pro Tips
- ●Always use high-quality heavy cream without carrageenan for the best texture.
- ●If the butter isn't separating, add a tablespoon of ice water to the mixture.
- ●The leftover buttermilk is 'sweet' buttermilk, which is much better for recipes than store-bought cultured buttermilk.
- ●For easier cleanup, rinse your bowl and attachments with cold water first; hot water will melt the butterfat and make it stick to everything.