How to Make Artisanal Sourdough Bread
Master the art of traditional sourdough baking by harnessing wild yeast. This guide walks you through the multi-day process of creating a crusty, airy loaf from scratch.
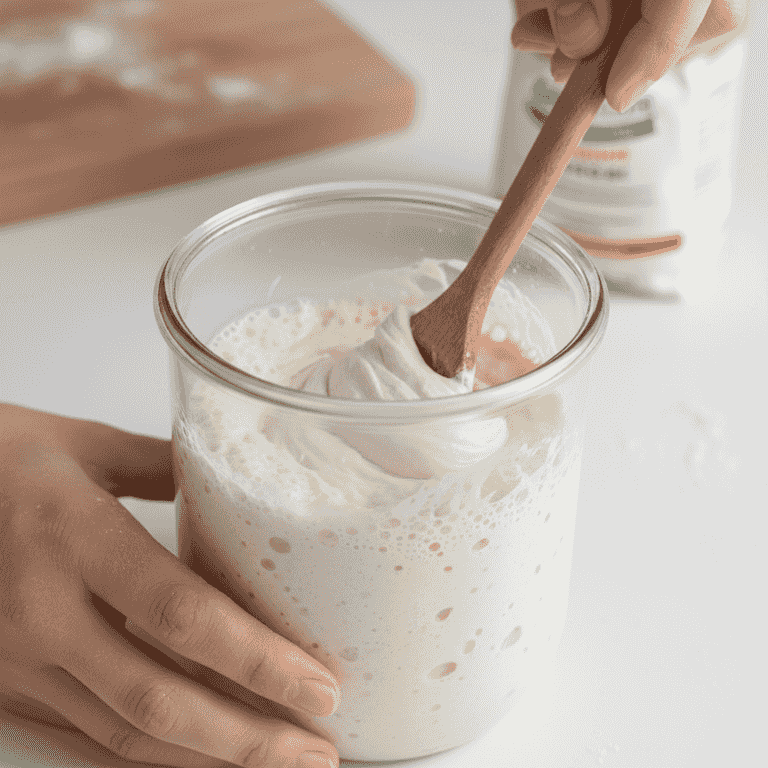
Prepare the active starter
4-8 hoursFeed your sourdough starter and wait for it to double in size.
Mix a small amount of mature starter with fresh flour and water. It is ready for baking when it is bubbly and passes the float test in water.
Use warm water to speed up the fermentation process if your kitchen is cold.
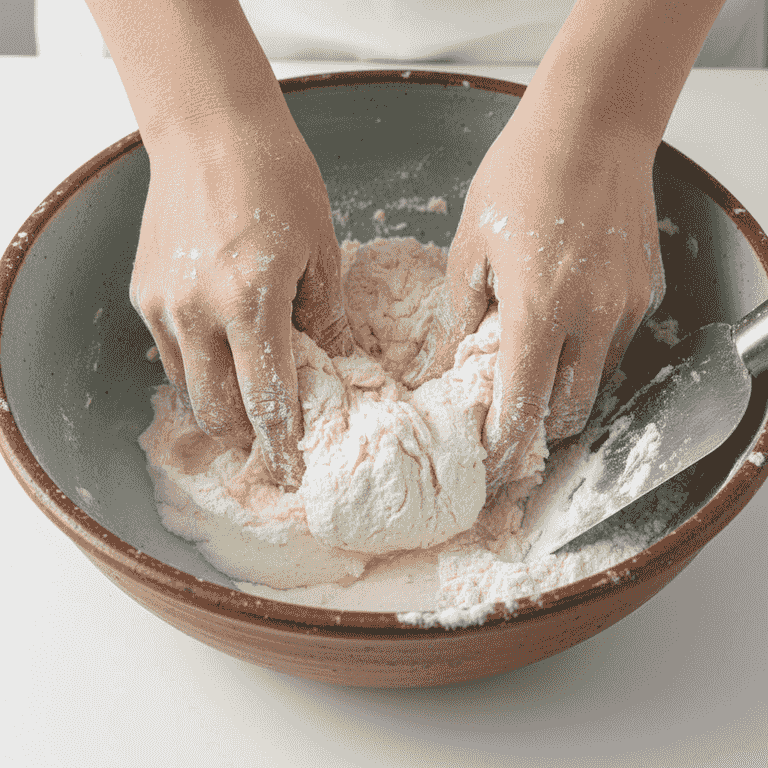
Mix the dough
10 minutesCombine the active starter, water, flour, and salt in a large bowl.
Use a digital kitchen scale to measure ingredients accurately. Mix until a shaggy, hydrated dough forms and no dry flour remains.
Autolyse the flour and water for 30 minutes before adding the starter to improve gluten development.
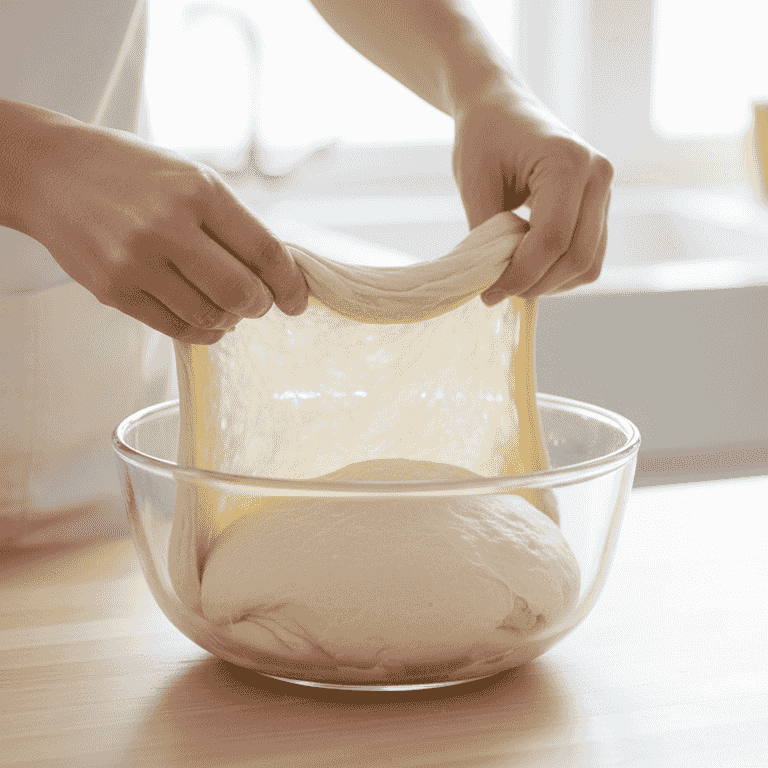
Perform stretch and folds
2 hoursStrengthen the dough by stretching the edges and folding them over the center.
Repeat this process every 30 minutes for a total of four sets. This builds structure without the need for intensive kneading.
Wet your hands slightly before touching the dough to prevent sticking.
Shape the dough
15 minutesTurn the dough onto a surface and form it into a tight boule.
Use a bench scraper to create tension on the outer surface of the dough. This tension is crucial for a good oven spring.
Do not overwork the dough; handle it gently to preserve the gas bubbles.
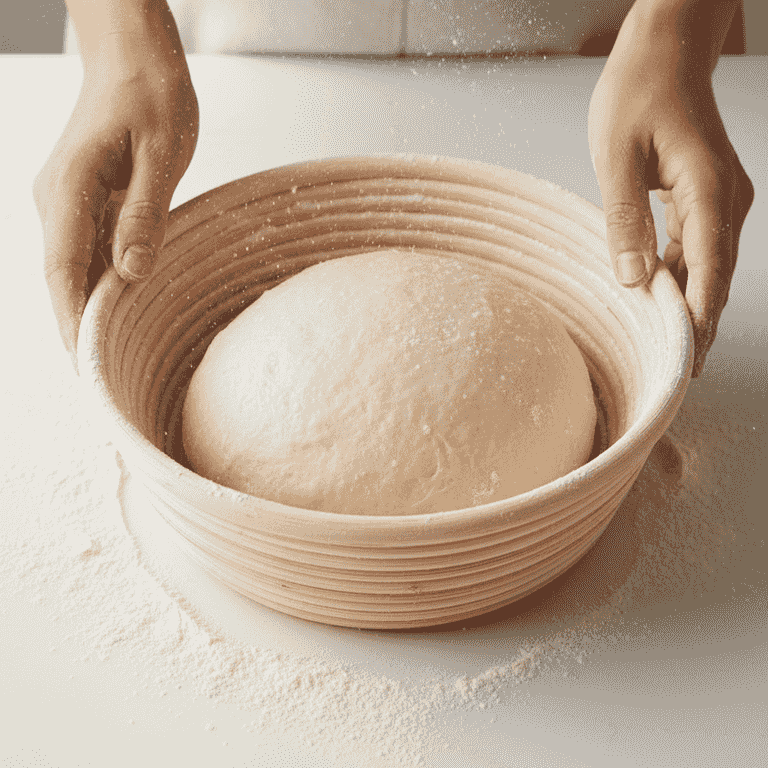
Cold proof the dough
12-24 hoursPlace the shaped dough into a floured proofing basket and refrigerate.
A long, cold proof develops the characteristic sour flavor and makes the dough easier to score before baking.
Cover the basket with a plastic bag to prevent the dough from drying out.

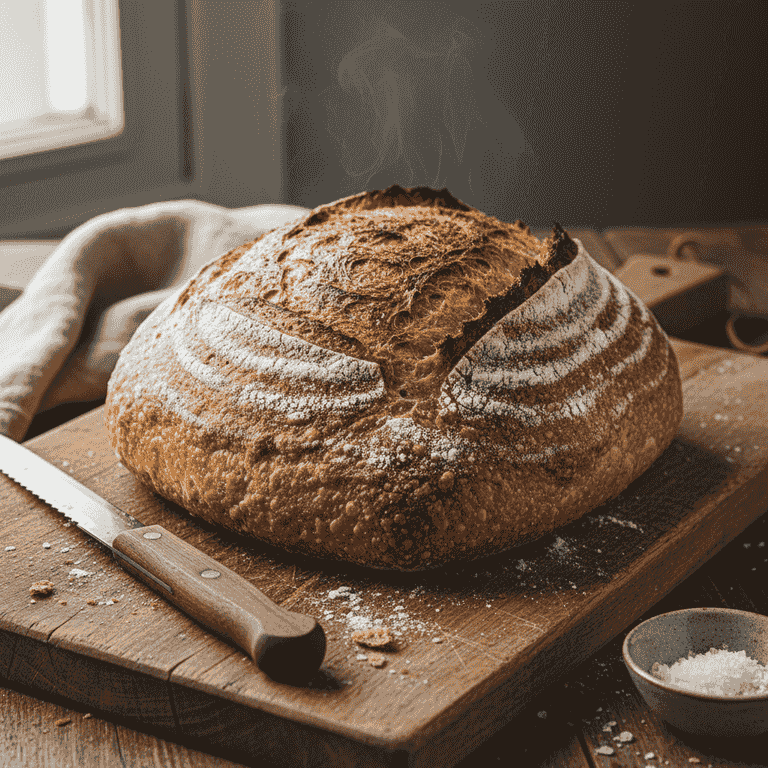
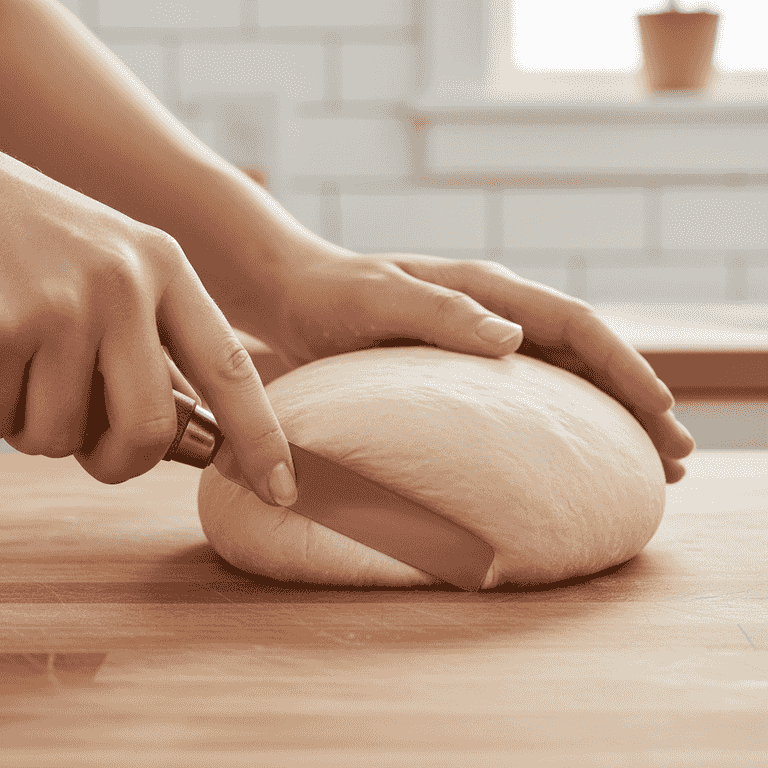
Score and bake
45 minutesScore the top of the dough and bake in a preheated Dutch oven.
Use a lame to create a deep slash on the surface. Bake with the lid on for 20 minutes, then remove the lid to brown the crust.
Use heavy-duty oven mitts when handling the scorching hot Dutch oven.
Keep the Dutch oven lid on during the first half to trap steam.
Pro Tips
- ●Always weigh your ingredients in grams for consistency.
- ●The ambient temperature of your kitchen significantly affects fermentation speed.
- ●Let the bread cool completely on a wire rack for at least one hour before slicing to prevent a gummy texture.
- ●Keep a baking journal to track hydration levels and fermentation times for future improvements.