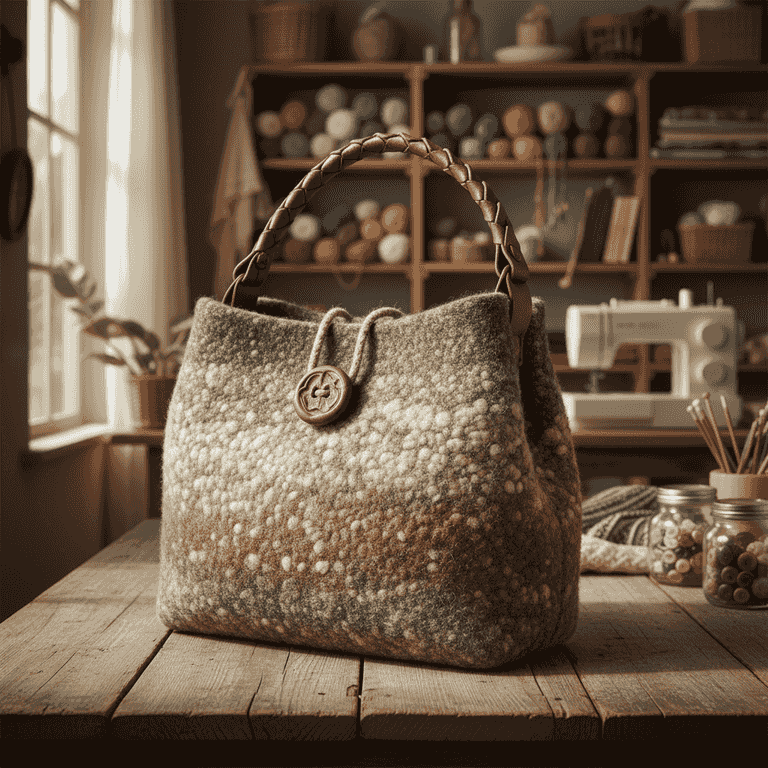
How to Make a Wet Felted Wool Bag
Create a durable, seamless wool bag using the wet felting technique. This craft uses raw wool fibers, soap, and water to agitate and bond fibers into a dense, custom fabric.
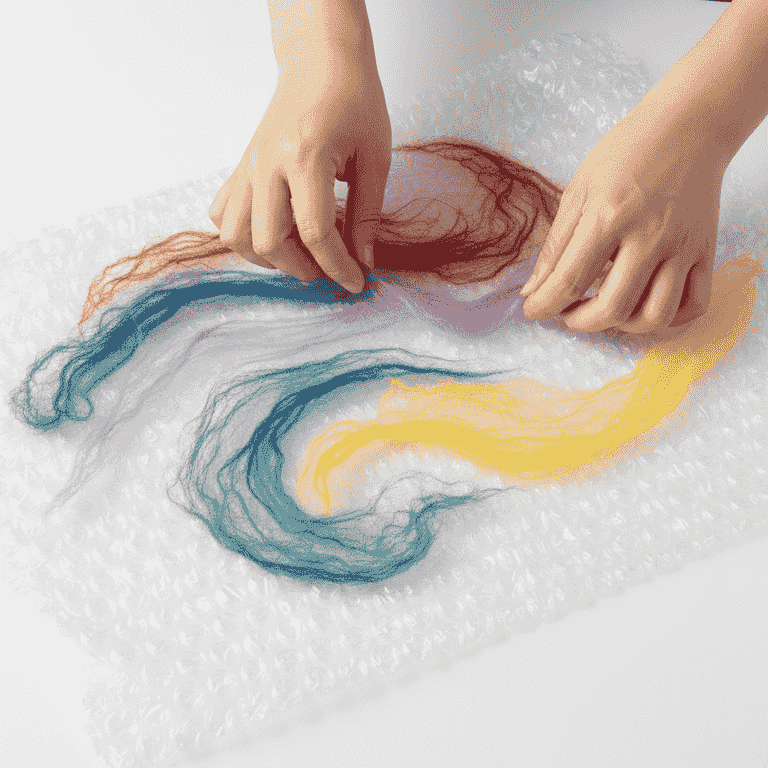
Layout the wool fibers
45 minutesSpread thin layers of wool roving onto the bubble wrap in a rectangular pattern.
Overlap the layers in alternating horizontal and vertical directions to ensure strength. This structure prevents the bag from tearing when it shrinks during the felting process.
Make your layout 30% larger than your desired final size to account for shrinkage.
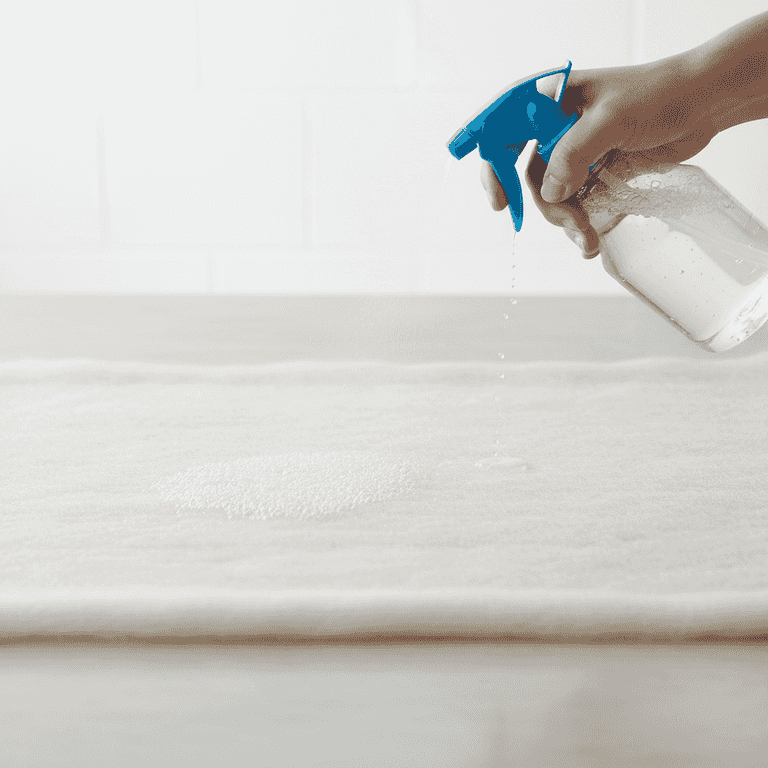
Wet the fibers
10 minutesMist the wool layout thoroughly with a mixture of warm water and a few drops of dish soap.
Ensure the wool is saturated but not swimming in water. Gently press down with your palms to remove air pockets without disturbing the layout.
Ensure the water is warm, not boiling, to prevent scalding.
Use a fine-mist spray bottle to avoid displacing the fibers with heavy water droplets.
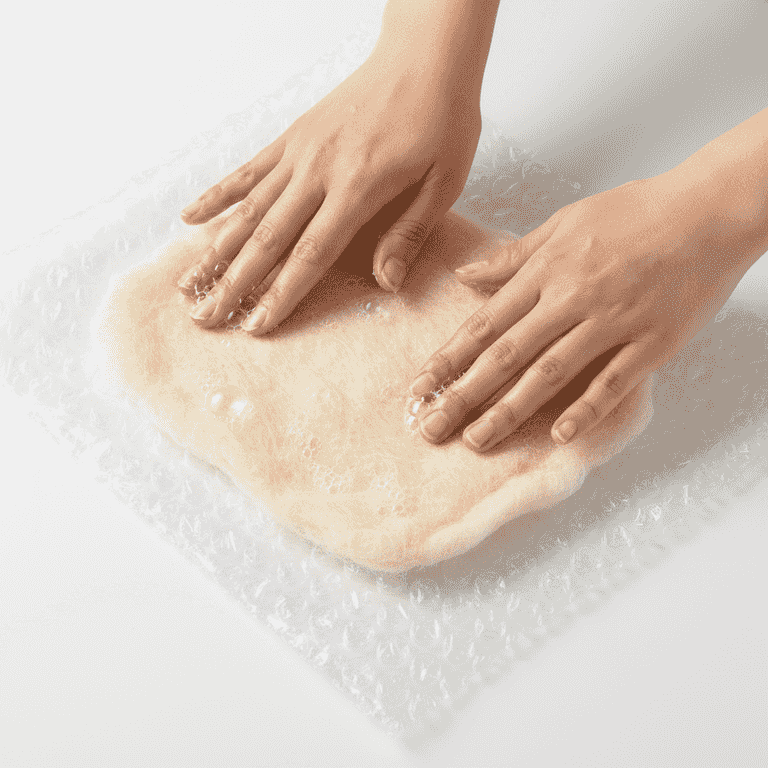
Agitate the fibers
30 minutesRub the surface of the wet wool gently with your hands in circular motions.
Start very softly until the fibers begin to lock together. Gradually increase pressure as the wool starts to feel like a cohesive fabric.
Place a piece of thin netting over the wool to keep fibers in place while rubbing.
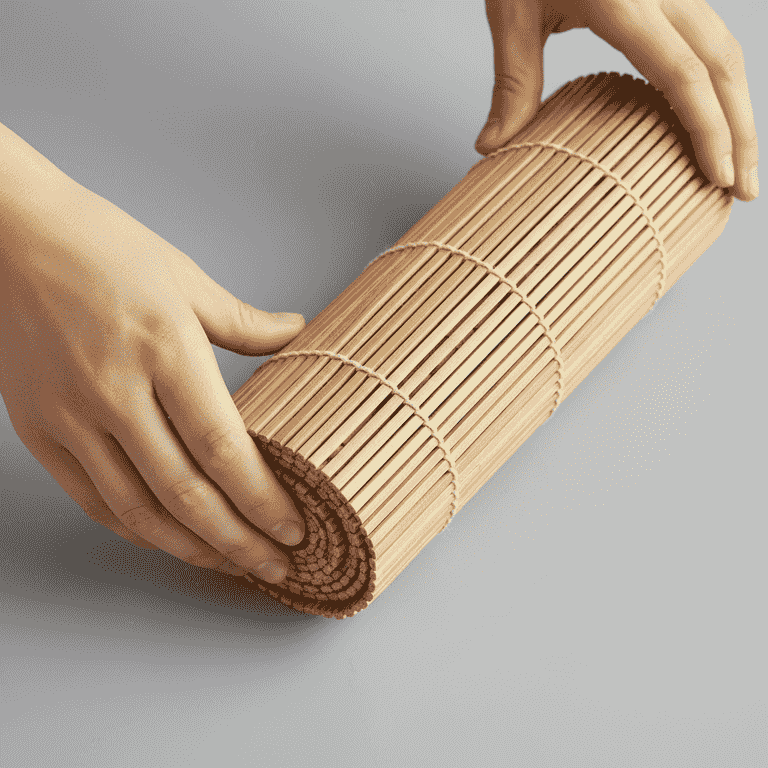
Roll the project
60 minutesRoll the bubble wrap and wool tightly inside a bamboo mat and secure it with rubber bands.
Roll the bundle back and forth on your table for several minutes. This mechanical action forces the wool scales to interlock tightly, creating a dense felt.
Unroll and rotate the piece every 50 rolls to ensure even shrinking.
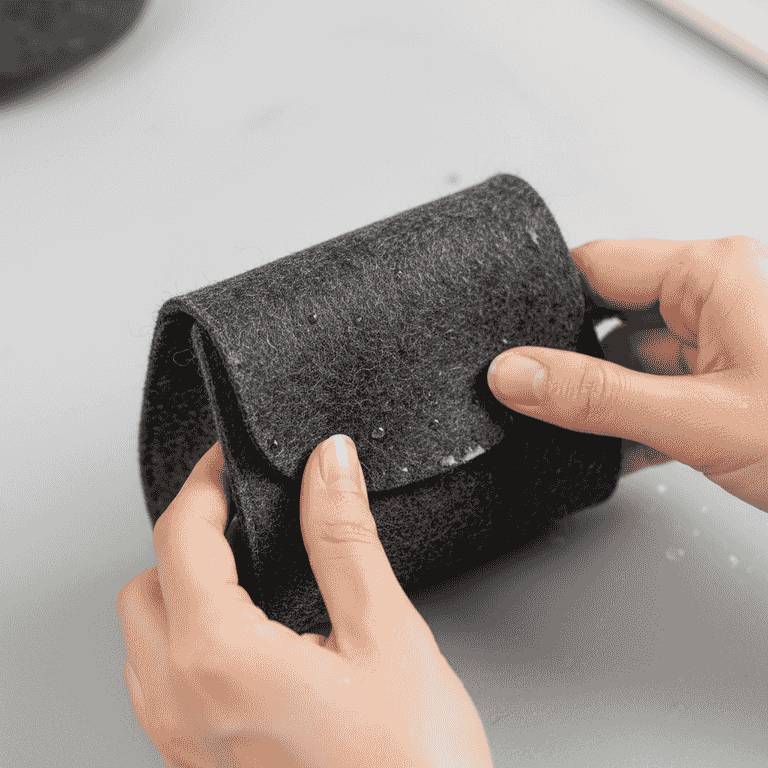
Fulling and shaping
45 minutesRemove the wool from the mat and manually stretch, fold, and drop it to shrink it to the final size.
This step, known as fulling, makes the felt dense and durable. Shape the damp felt into a bag form by smoothing edges and defining the base.
Check the size frequently against a paper template to ensure you don't over-shrink the bag.

Rinse and dry
20 minutesRinse the bag in clean, cool water until all soap is removed, then pat dry with a towel.
Squeeze the bag gently to remove excess water, then reshape it and allow it to air dry in a well-ventilated area.
Stuff the damp bag with a dry towel to help it maintain its shape while drying.
Pro Tips
- ●Always use 100% wool; synthetic fibers will not felt.
- ●The more you rub and roll, the thicker and stronger the felt becomes.
- ●Experiment with adding silk fibers or yarn during the layout phase for decorative textures.
- ●If the bag becomes too firm during fulling, add a tiny bit more soap to act as a lubricant.