
How to Make a Handmade Leather Bifold Wallet
Create a professional-quality, durable leather bifold wallet from scratch using traditional leatherworking techniques. This guide walks you through cutting, stitching, and finishing to produce a custom accessory built to last for years.
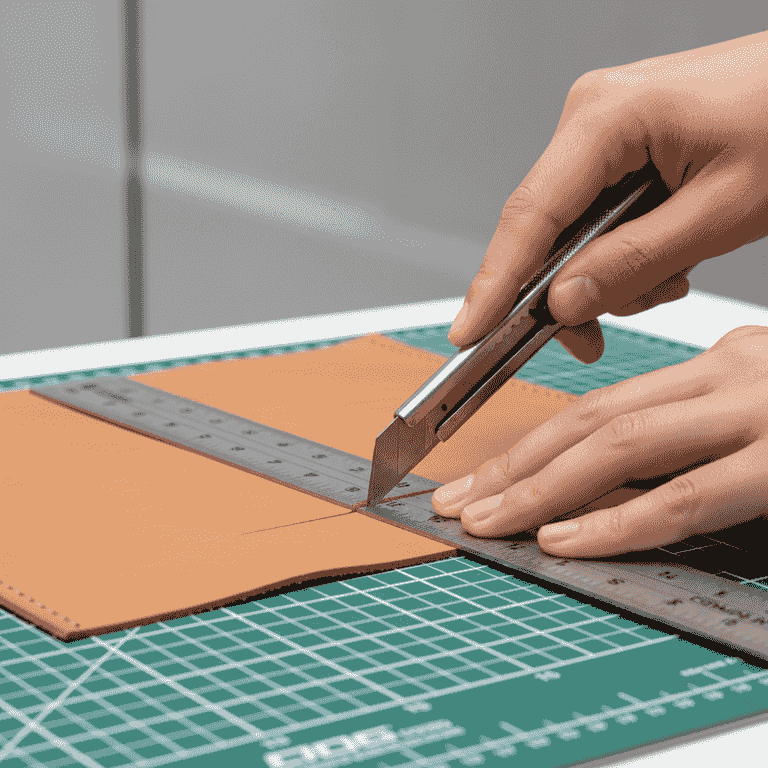
Prepare and cut the leather pieces
30 minutesMeasure and cut your leather panels according to your pattern template.
Use a sharp utility knife and a metal ruler to ensure perfectly straight edges. Ensure you are cutting against the grain for maximum structural integrity.
Keep fingers clear of the cutting path at all times.
Tape your paper template to the leather to prevent shifting while cutting.
Punch the stitching holes
45 minutesAlign your stitching chisel along the edge and strike it with a mallet to create holes.
Maintain a consistent distance from the edge for a professional look. Ensure the chisel is perfectly vertical so the holes align on both sides of the leather.
Do not twist the chisel while it is in the leather to avoid tearing.
Use a piece of scrap leather underneath to protect your chisel tips.
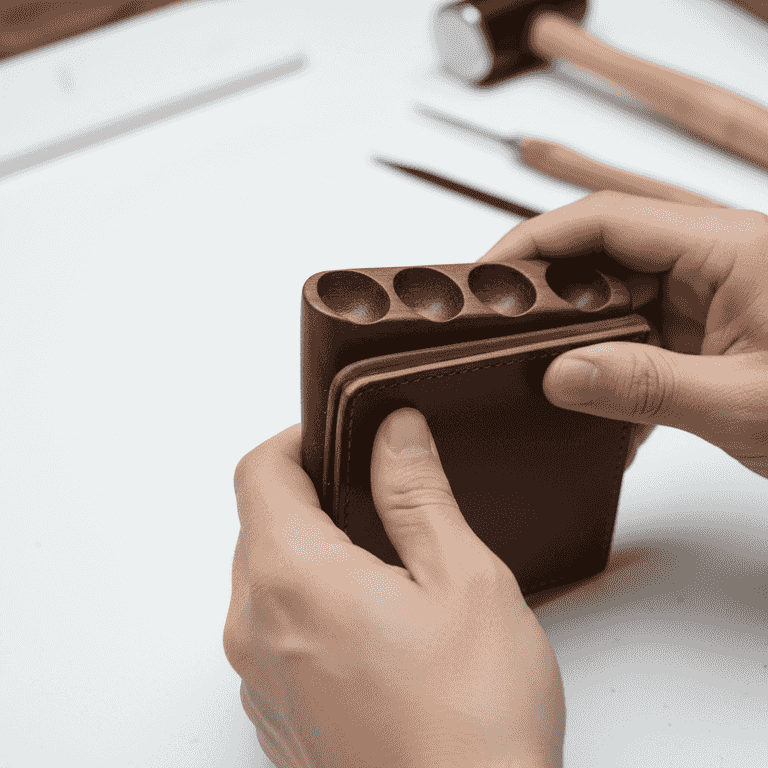
Perform the saddle stitch
90 minutesThread two needles on one piece of waxed thread and stitch through the pre-punched holes.
Pass both needles through each hole in opposite directions to create a strong, locked stitch. Pull the thread tight after every single stitch to maintain tension.
Waxing your thread helps it slide through the leather more easily.
Burnish the edges
30 minutesApply a small amount of water or burnishing gum to the edges and rub firmly with a burnishing tool.
Friction creates heat, which causes the leather fibers to compress and seal. Move the tool back and forth until the edge becomes smooth and glossy.
Use a piece of canvas cloth for a final buffing pass.
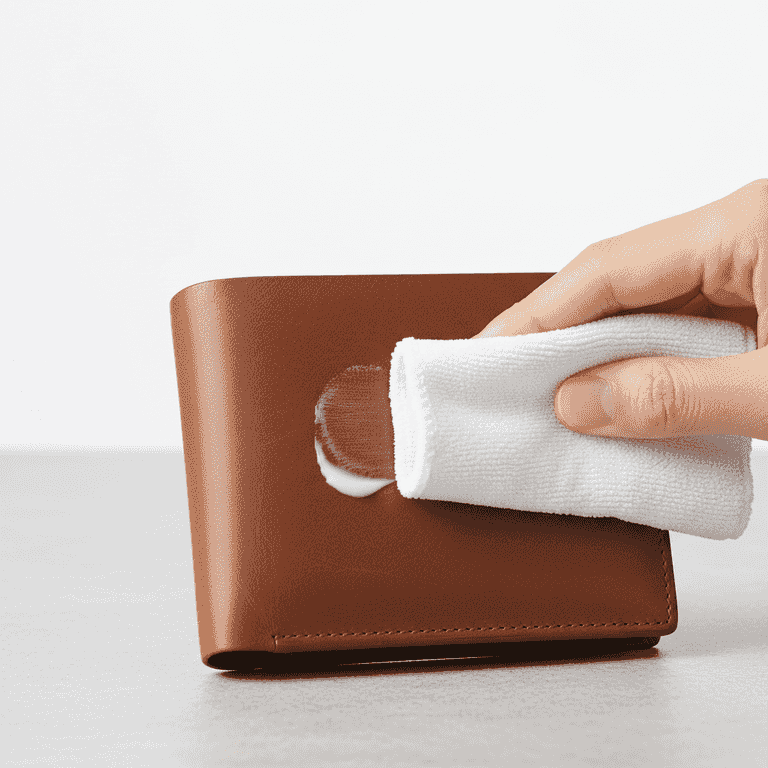
Apply leather conditioner
15 minutesRub a light coat of leather conditioner over the entire wallet surface.
Conditioning protects the leather from drying out and enhances the natural color. Wipe off any excess with a clean, dry cloth.
Test the conditioner on a small scrap piece first to ensure it doesn't darken the leather too much.
Pro Tips
- ●Always use vegetable-tanned leather for your first project as it is easier to work with and holds its shape well.
- ●Invest in high-quality stitching chisels; cheap ones will make hole-punching significantly harder.
- ●Keep your knife blade razor-sharp by stropping it frequently.
- ●Practice your saddle stitch on scrap leather before starting your final project.