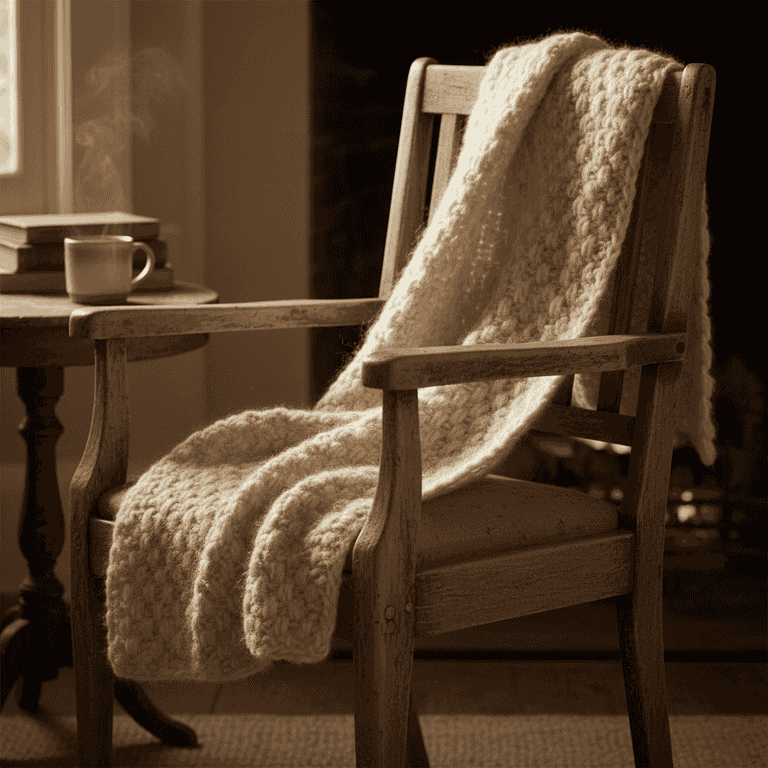
How to Knit a Basic Scarf
Create a cozy, handmade scarf using the fundamental garter stitch technique. This guide walks you through the essential process of casting on, knitting rows, and binding off to complete your first project.
Create a slip knot
2 minutesForm a slip knot and slide it onto one of your knitting needles.
The slip knot acts as your very first stitch. Tighten it gently against the needle, ensuring it can still slide back and forth easily.
Leave a 6-inch tail of yarn when making the knot to make weaving in the ends easier later.

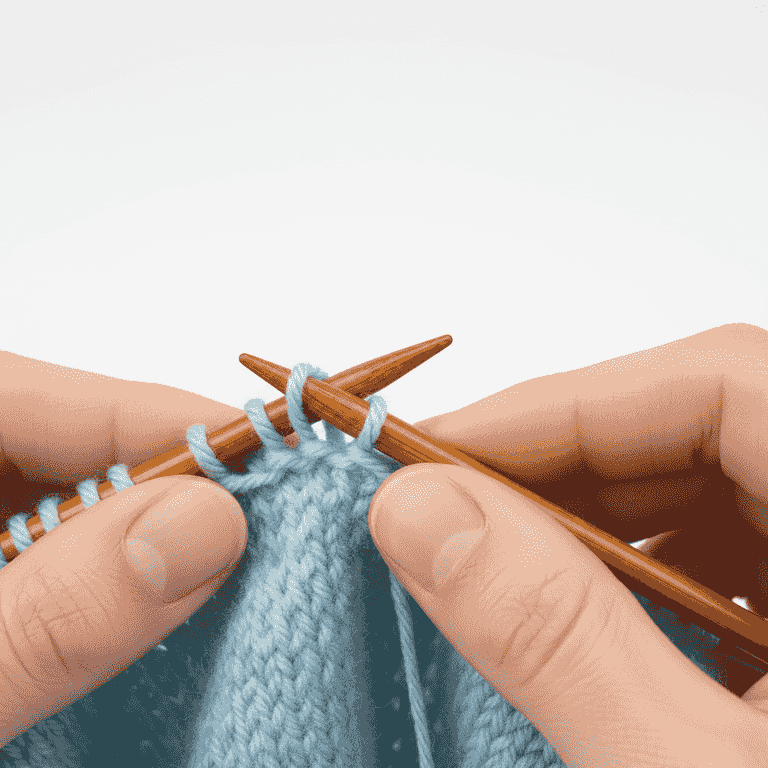
Cast on stitches
15 minutesAdd 20 to 30 stitches onto your needle using the 'knit-on' cast-on method.
Repeat the process of pulling a new loop through the previous stitch and placing it onto the left needle. This establishes the foundation width of your scarf.
Keep your tension consistent so the edge isn't too tight or too loose.
Knit the first row
20 minutesInsert your right needle into the first stitch, wrap the yarn, and pull through to create a new stitch.
Transfer the new loop to the right needle and drop the old stitch off the left needle. Continue this for every stitch on the left needle to complete the row.
Count your stitches at the end of every row to ensure you haven't accidentally added or dropped one.
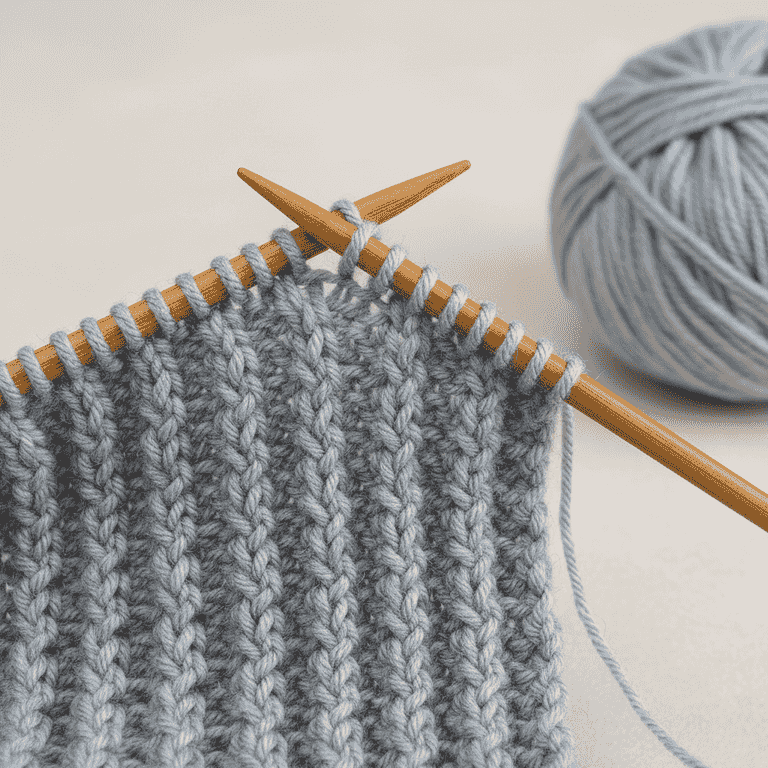
Continue knitting
6 hoursRepeat the knitting process for every row until the scarf reaches your desired length.
By knitting every stitch of every row, you create the 'garter stitch' pattern, which is stretchy and reversible. This will take several hours of consistent work.
If you need to stop, place a stitch marker or a piece of scrap paper between your needles so you don't lose your place.
Bind off the stitches
10 minutesKnit two stitches, then lift the first stitch over the second and off the needle.
Continue this process until only one loop remains on your right needle. This locks the stitches in place so your work doesn't unravel.
Bind off loosely to ensure the edge of your scarf remains flexible.
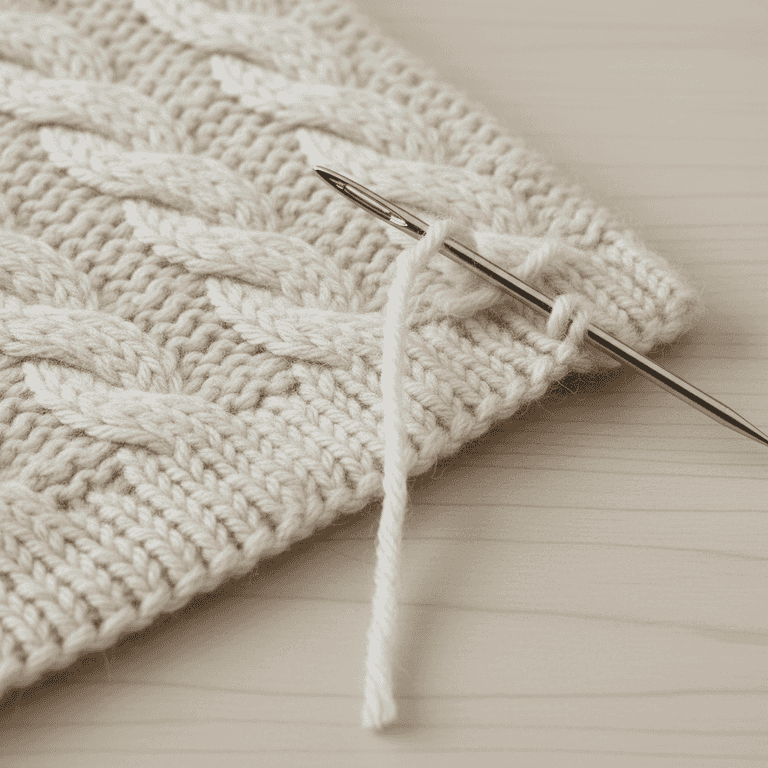
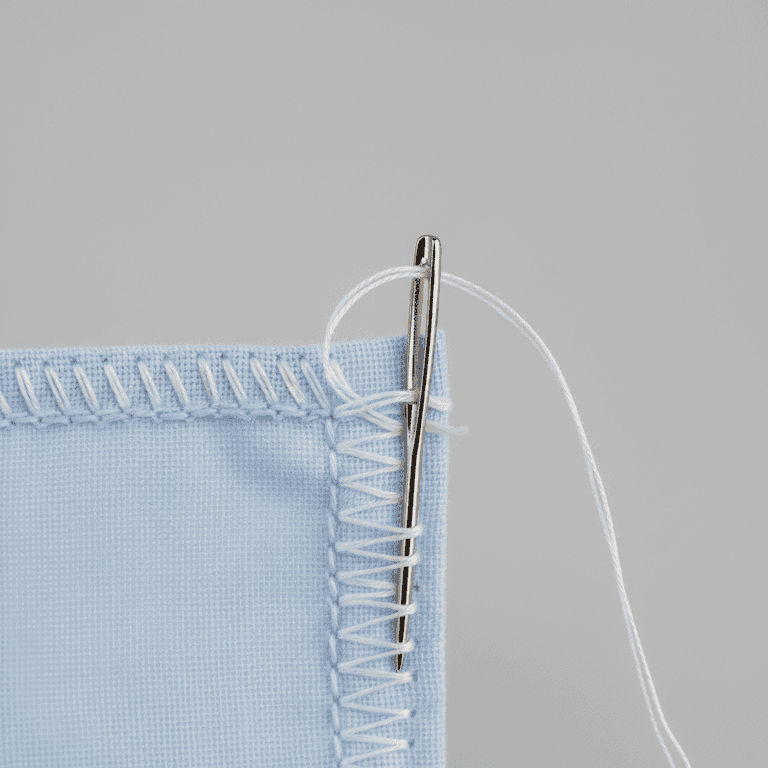
Secure the yarn ends
5 minutesCut the yarn, pull the tail through the final loop, and weave it into the fabric using a tapestry needle.
Thread the tail through the tapestry needle and weave it back and forth through the stitches on the back side of the scarf. Trim any excess yarn.
Ensure you do not pull the yarn too tightly, as this can pucker the fabric.
Weave in the ends in different directions to ensure they stay hidden and secure.
Pro Tips
- ●Use a lighter-colored yarn for your first project; dark yarn makes it difficult to see individual stitches.
- ●Try to knit for 20-30 minutes at a time to maintain consistent tension as your hand muscles adjust.
- ●If you drop a stitch, use a crochet hook to gently pull it back up through the rows.
- ●Don't worry about minor imperfections; they add character and prove your scarf is handmade.