How to Iron a Dress Shirt
Achieve a crisp, professional look by mastering the systematic approach to ironing a dress shirt. This guide breaks down the process into simple, manageable sections to ensure every crease is removed without damaging the fabric.
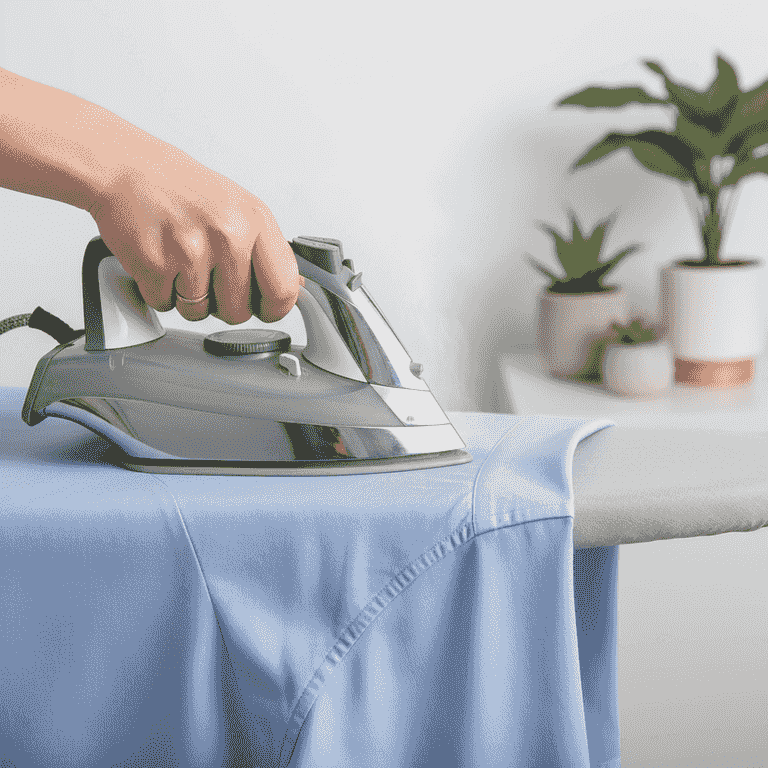
Prepare the shirt and iron
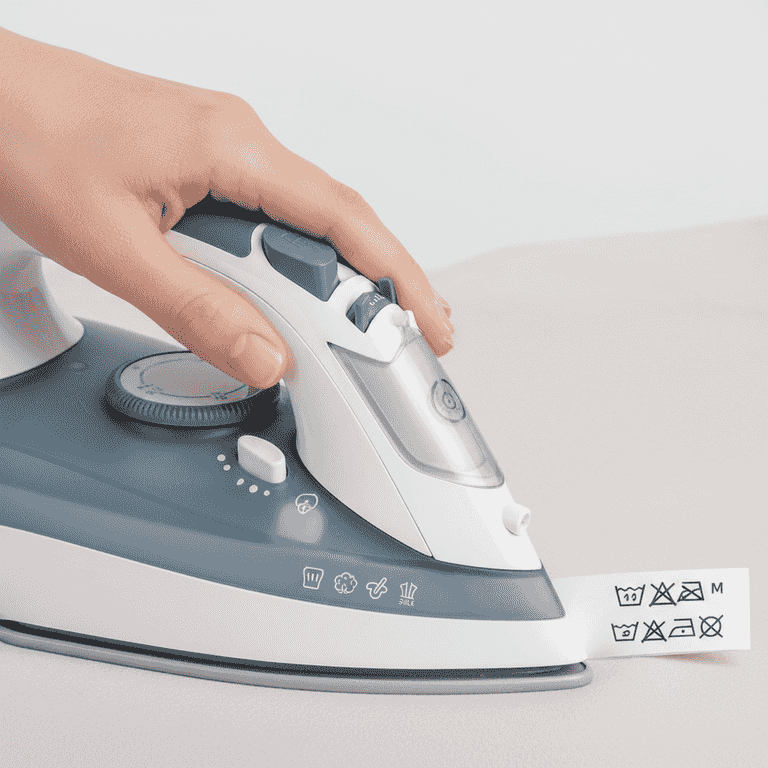
1 minuteCheck the garment's care label to determine the correct heat setting and fill your iron with distilled water.
Set your iron to the appropriate heat level for the fabric type, such as cotton or linen. Ensure your ironing board is set to a comfortable height to maintain good posture while working.
Always check the garment label to avoid melting synthetic fibers with excessive heat.
If the shirt is very dry, lightly mist it with a spray bottle before you begin.
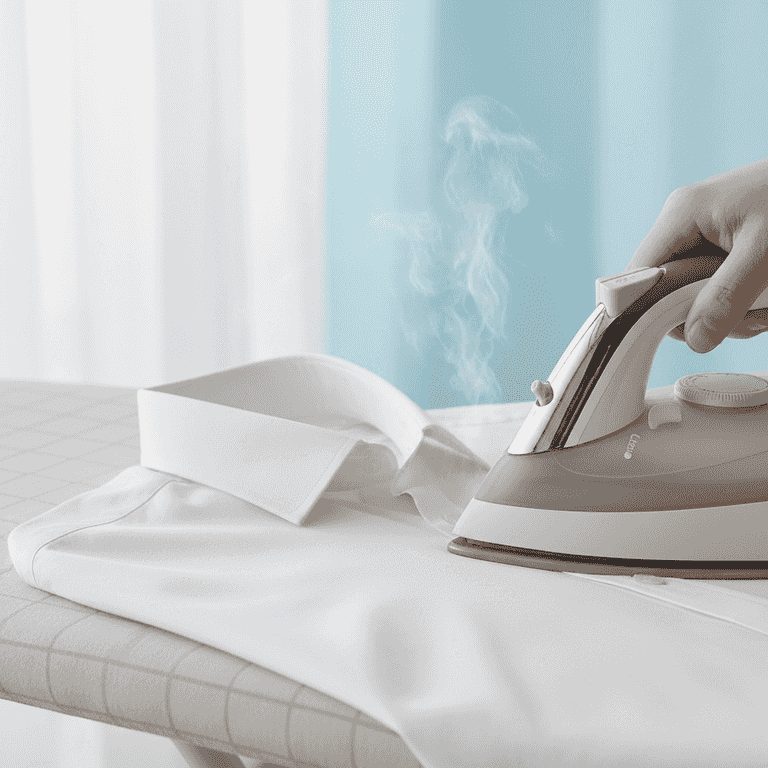
Iron the collar
1 minuteLay the collar flat on the board and iron from the outer edges toward the center.
Start on the underside of the collar first, then flip it over and iron the top side. This ensures the collar stays crisp and maintains its shape.
Avoid using too much steam on the collar to prevent it from becoming limp.

Press the cuffs
1 minuteUnbutton the cuffs and lay them flat on the board to iron both the inside and outside.
Pressing the cuffs flat ensures a clean, professional finish. Pay close attention to the area around the buttons, using the tip of the iron to reach tight spots.
Do not iron directly over the buttons, as they can scratch the iron's plate.
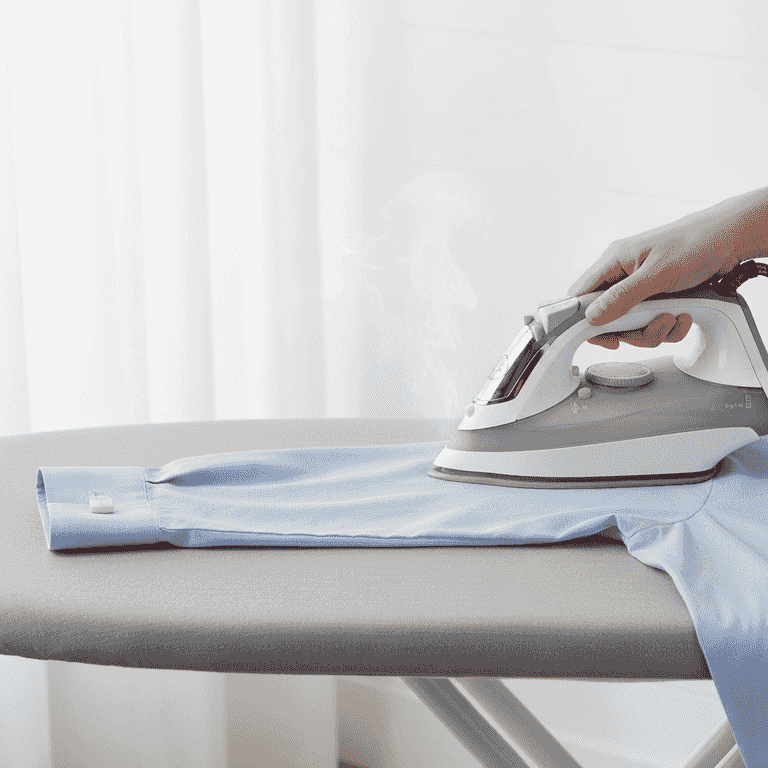
Iron the sleeves
2 minutesLay the sleeve flat with the seam facing down and smooth out any wrinkles from shoulder to cuff.
Ensure the fabric is flat against the board to avoid creating new creases. Repeat the process for the other sleeve.
Use a sleeve board if available to prevent a center crease from forming on the sleeve.
Press the back and yoke
3 minutesSlide the shoulder area of the shirt over the narrow end of the board and iron the yoke, then move to the back panel.
The yoke is the section across the shoulders. Iron this area first, then smooth the rest of the back panel by working from the top down.
Keep the shirt fabric taut as you move it across the board to prevent bunching.
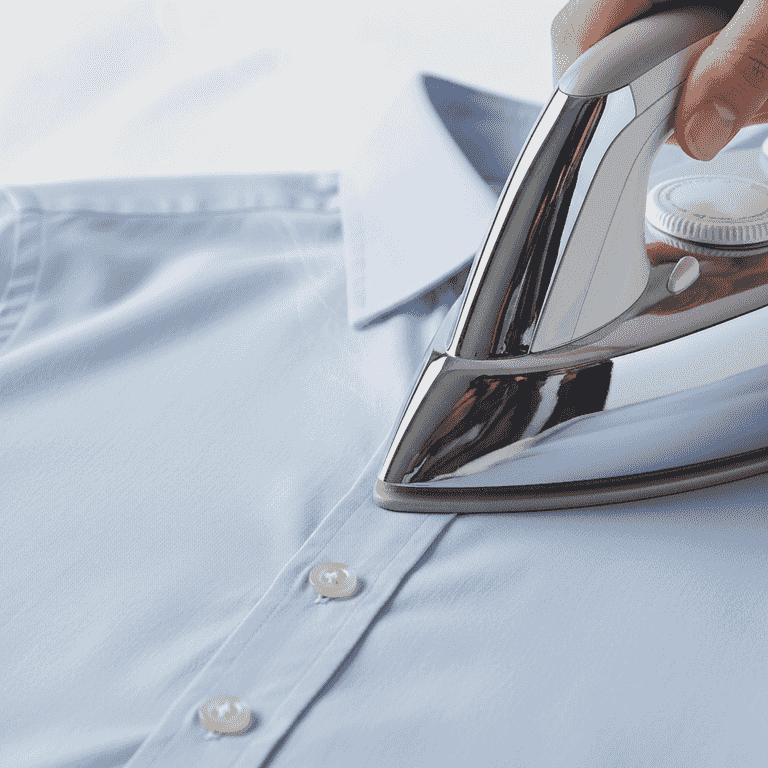
Finish the front panels
2 minutesIron the two front panels, starting with the side containing the buttons.
Carefully maneuver the iron between the buttons. Finally, iron the panel with the buttonholes, pulling the fabric taut to ensure a smooth, crisp finish.
Ensure the iron is set to the correct heat before touching the front placket to avoid scorching.
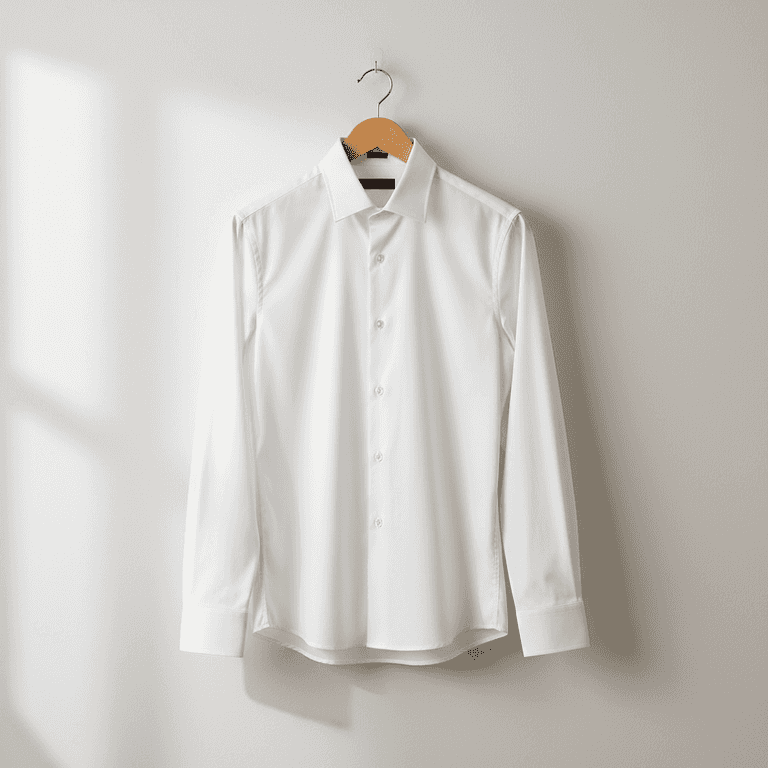
Hang the shirt on a hanger immediately after ironing to prevent new wrinkles from setting in.
Pro Tips
- ●Always iron from the smallest parts (collar, cuffs) to the largest parts (back, front).
- ●Use distilled water in your iron to prevent mineral buildup and staining.
- ●If you have a stubborn crease, hold the steam button down while hovering the iron slightly above the fabric.
- ●Hang your shirt on a high-quality wooden or padded hanger immediately to help it hold its shape.