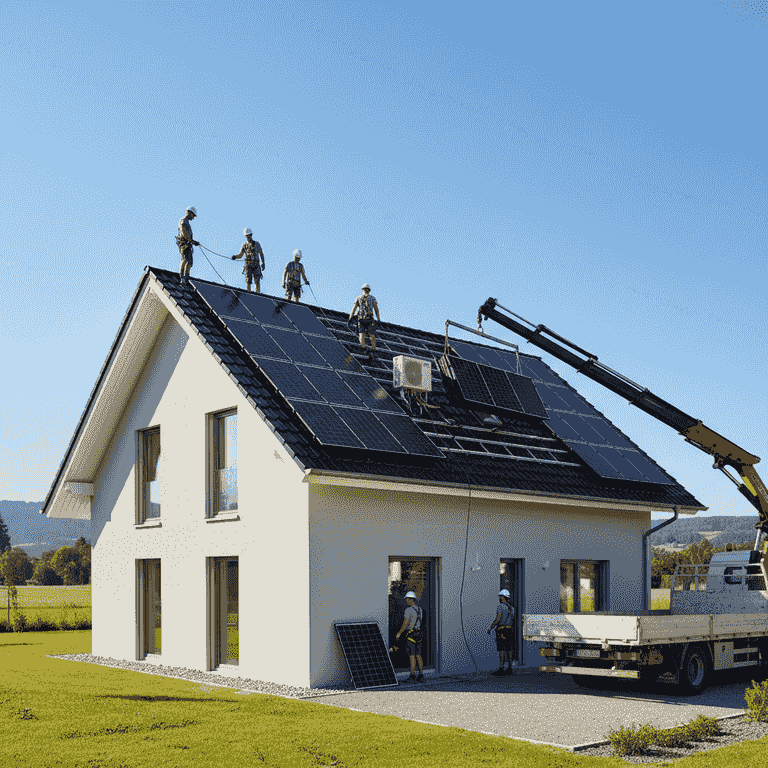
How to Install Solar Panels on a Roof
Installing solar panels is a complex project that requires structural planning, electrical knowledge, and safety precautions. This guide outlines the professional-grade workflow for mounting a grid-tied solar array on a residential roof.
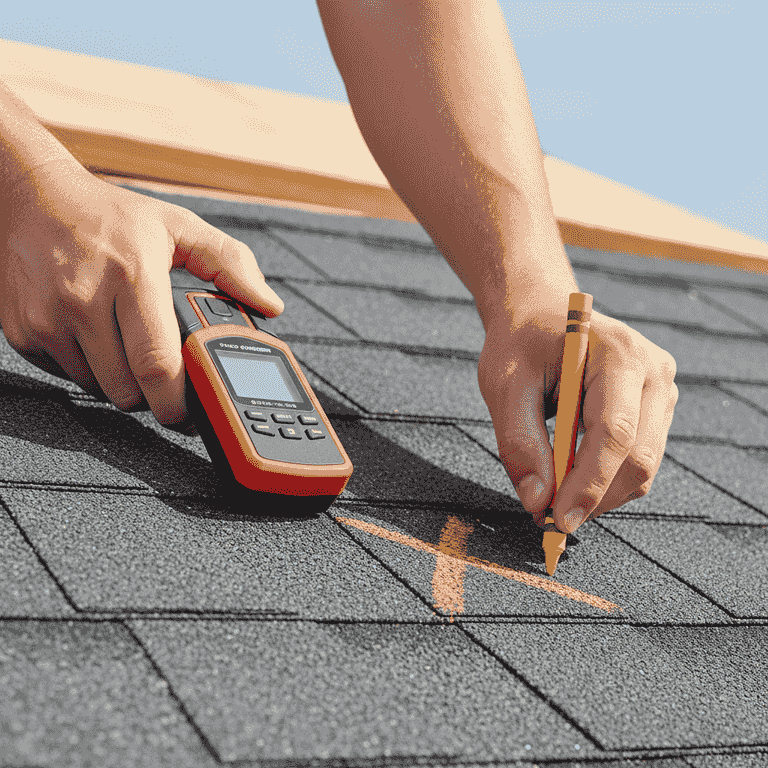
Mark rafter locations
2 hoursUse a stud finder to locate the roof rafters and mark their positions across the installation area.
Securing the mounting brackets directly into the rafters is critical for structural integrity. Misaligned mounts can lead to roof leaks or panel instability.
Do not drill into areas without a verified rafter underneath.
Snap a chalk line across the roof to ensure all mounts are perfectly aligned horizontally.

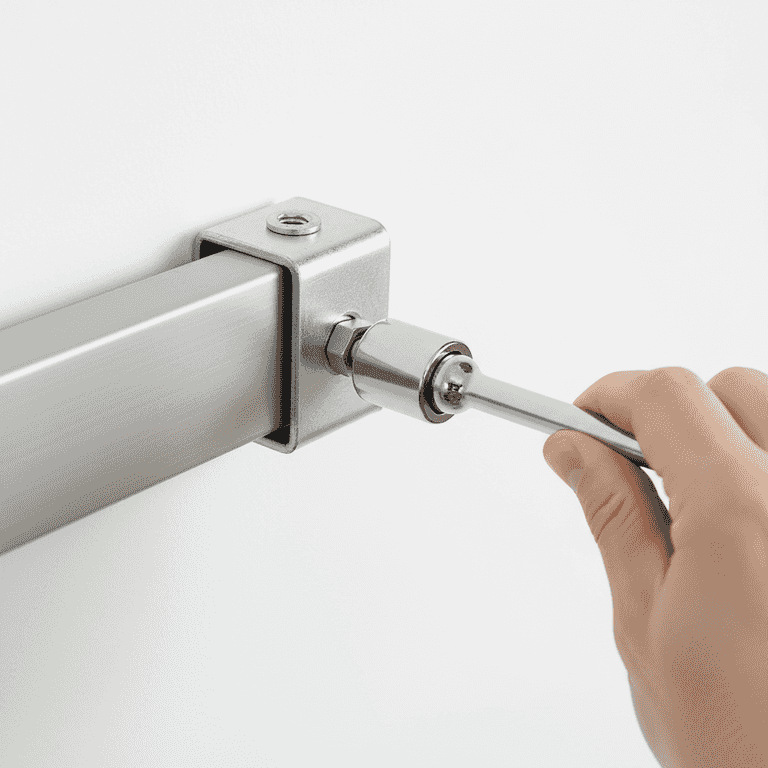
Install mounting brackets
4 hoursAttach the mounting brackets to the rafters using lag bolts and apply roofing sealant under the flashing.
The flashing must be installed correctly underneath the shingles to prevent water ingress. Apply a generous amount of sealant to the bolt holes before tightening.
Improper sealing will lead to roof leaks over time.
Ensure the flashing is tucked well under the existing shingles above the mount.
Mount the racking system
3 hoursBolt the metal rails onto the brackets to create a level frame for the solar panels.
The racking system serves as the foundation for the panels. Use a level to ensure the rails are perfectly straight, which makes attaching the panels much easier.
Ensure all bolts are torqued to the manufacturer's specifications.
Leave a small gap at the ends of the rails for thermal expansion.
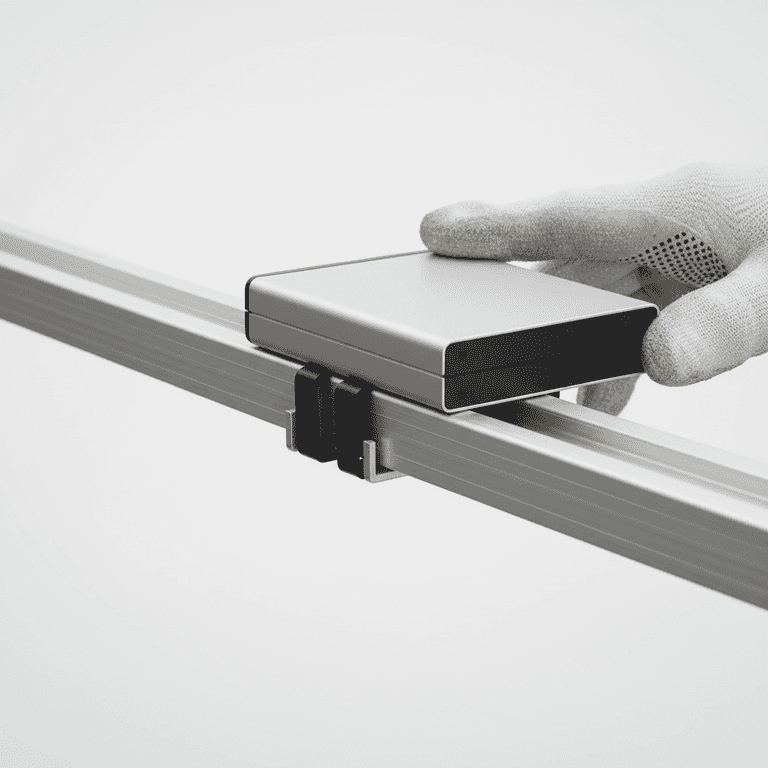
Install microinverters or optimizers
2 hoursSecure the microinverters or power optimizers to the racking system under each panel location.
These devices convert the DC power generated by the panels into AC power or optimize the DC output. They must be mounted securely to the rails to prevent vibration.
Do not leave wires hanging loose; use clips to secure them to the rails.
Check that the cabling reaches from one microinverter to the next before tightening.
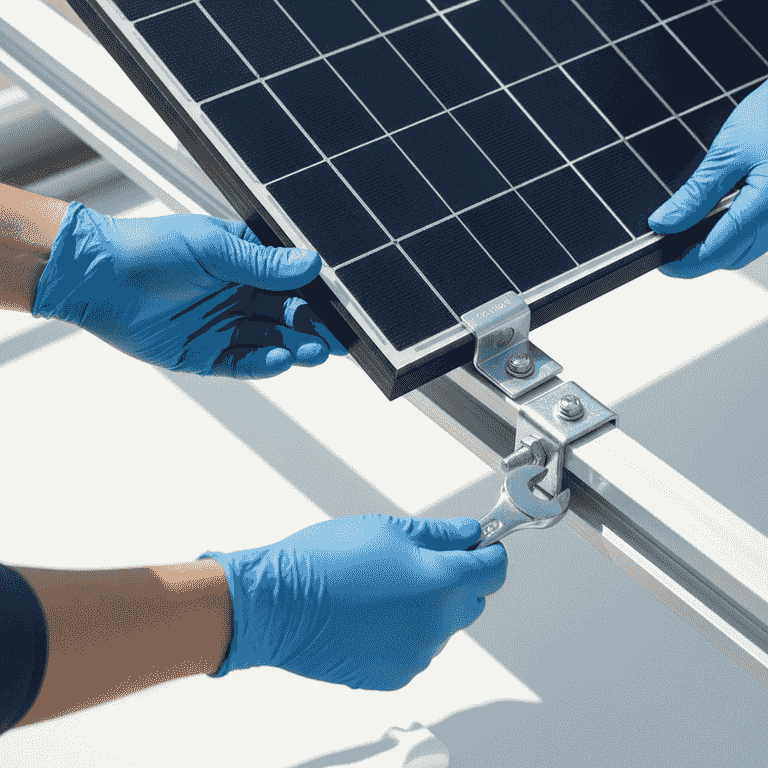
Place and secure solar panels
4 hoursLift the solar panels onto the racking and fasten them using mid-clamps and end-clamps.
Carefully slide the panels into place. Use the specified clamps to lock the panels into the rails, ensuring they are flush and secure against wind loads.
Solar panels are fragile; do not step on them or apply pressure to the glass surface.
Use a helper to lift the panels to avoid back injury or panel damage.
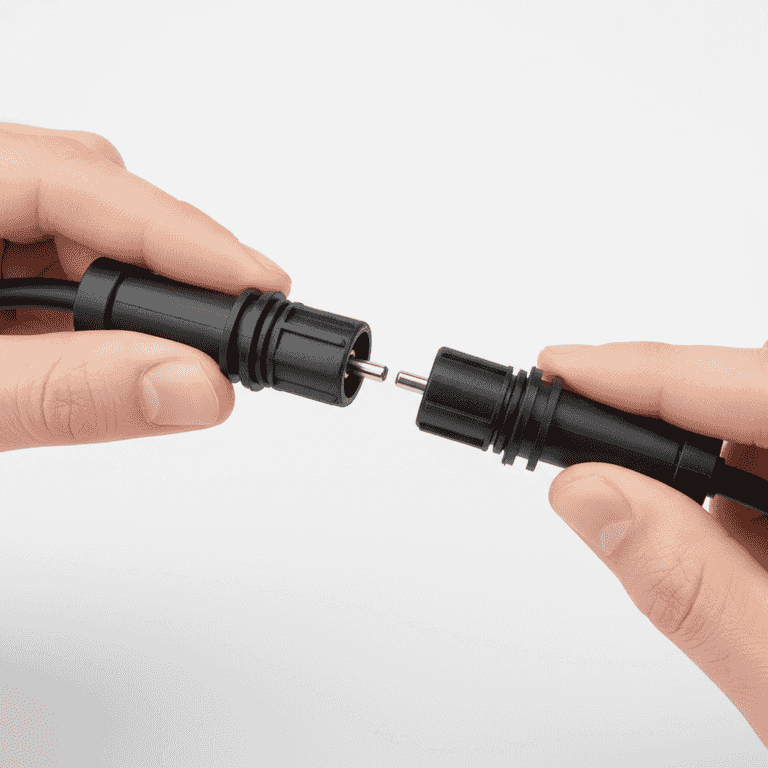
Connect electrical wiring
3 hoursPlug the panel leads into the microinverters and connect the system to the main electrical conduit.
Ensure all connectors click into place securely. Route the main electrical cable through the conduit to the inverter or electrical panel.
Always verify that the system is disconnected from the main breaker before final connections.
Use a multimeter to verify voltage output before closing the junction boxes.
Pro Tips
- ●Always check local building codes and obtain necessary permits before starting.
- ●Schedule your installation during dry, clear weather to prevent water damage.
- ●Use high-quality stainless steel hardware to prevent rust and corrosion.
- ●Consider installing a monitoring system to track energy production in real-time.