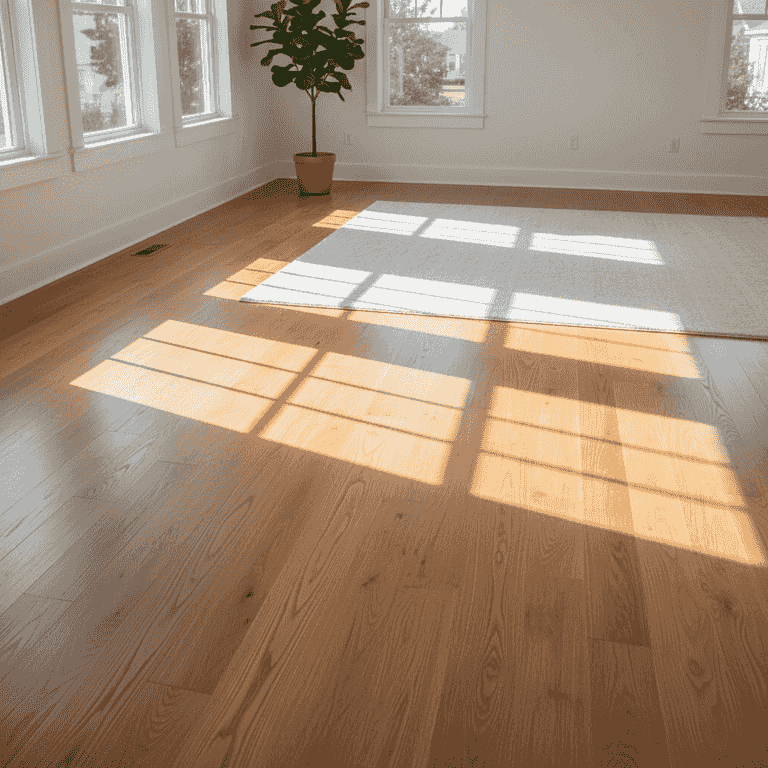
How to Install Hardwood Flooring
Transform your space with the timeless elegance of hardwood flooring. This guide walks you through the essential process of preparing your subfloor, laying the underlayment, and securing your planks for a professional-grade finish.
Prepare the subfloor
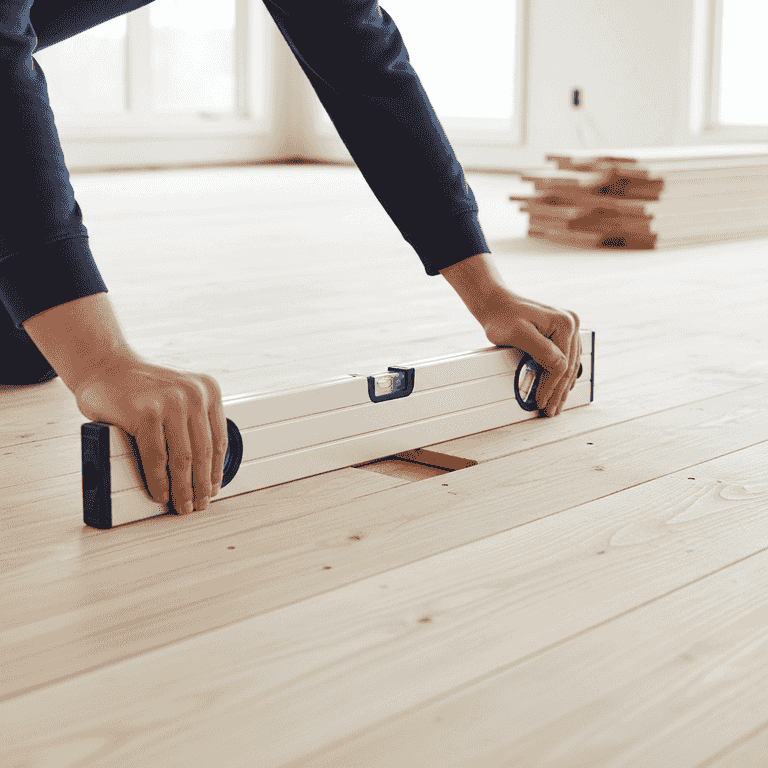
2-4 hoursClean the subfloor thoroughly and ensure it is flat, dry, and structurally sound.
Sweep away all debris and check for any high spots or dips. Use a level to ensure the surface is even; if necessary, sand down high spots or fill low areas with a leveling compound.
Do not install over uneven surfaces as this will cause squeaking or plank separation.
Check the subfloor moisture content to prevent future warping.
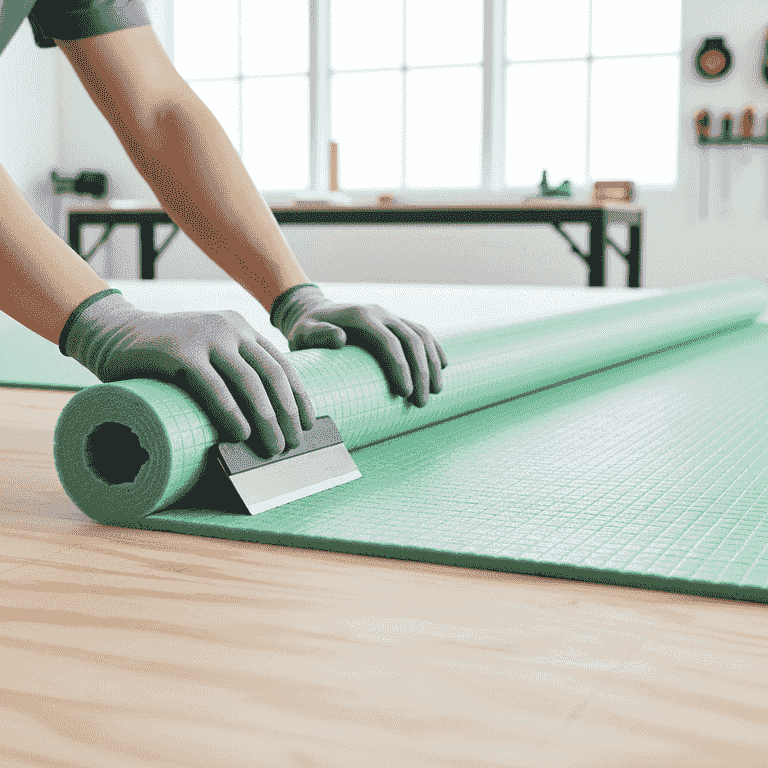
Install underlayment
1 hourRoll out the flooring underlayment across the entire subfloor area.
The underlayment provides a moisture barrier and sound insulation. Ensure the edges overlap slightly and secure them with moisture-resistant tape.
Align the underlayment with the longest wall of the room for easier installation.
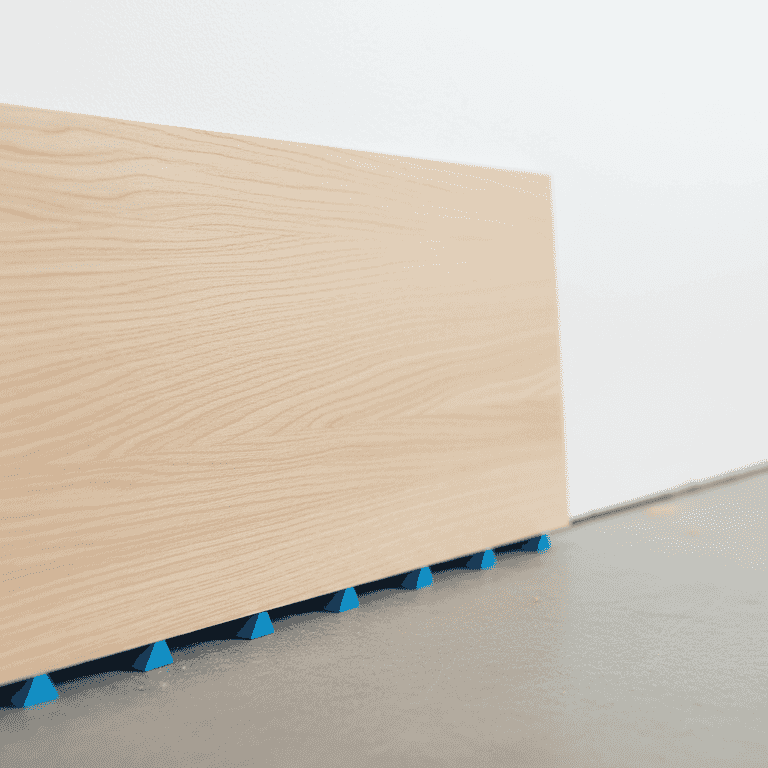
Layout the first row
1-2 hoursPlace the first row of planks along the starting wall with the tongue side facing out.
Use spacers to maintain a 1/2-inch expansion gap between the wood and the wall. This gap is crucial to allow the wood to expand and contract with temperature changes.
Neglecting the expansion gap can cause the floor to buckle.
Select planks from different boxes to ensure a natural color variation.
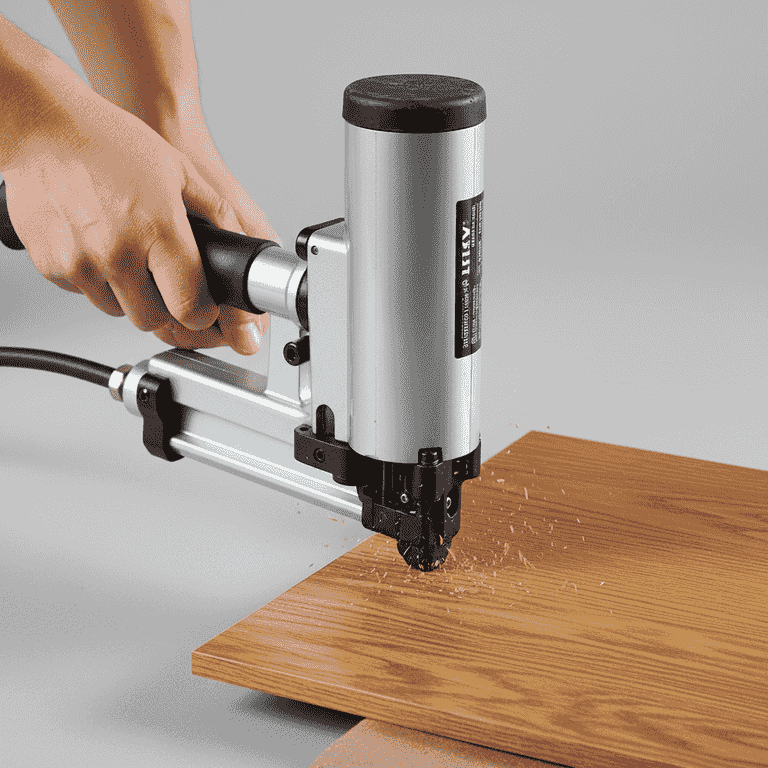
Secure the planks
4-6 hoursUse the flooring nailer to fasten the planks to the subfloor through the tongue at a 45-degree angle.
Position the nailer against the tongue of the plank and strike it with the mallet. Ensure the nail is driven deep enough so the next plank can fit snugly into the groove.
Ensure the nailer is properly seated to avoid damaging the wood surface.
Always nail every 8 to 10 inches along the length of each plank.
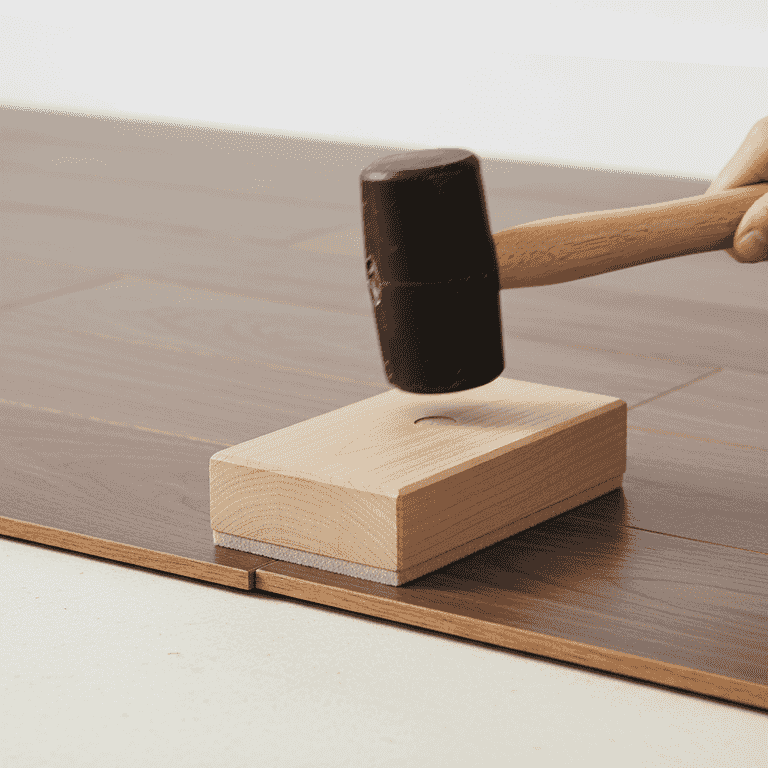
Install remaining rows
8-12 hoursContinue installing subsequent rows, staggering the end joints by at least 6 inches.
Use the tapping block and rubber mallet to gently nudge each new plank into the groove of the previous row. Keep the joints staggered to improve structural integrity and aesthetic appeal.
Avoid hitting the plank directly with the mallet, as it will dent the wood.
Use a pull bar to tighten planks against the wall in the final rows where the nailer won't fit.
Pro Tips
- ●Always acclimate your hardwood flooring in the room where it will be installed for at least 48 hours.
- ●Use a miter saw with a sharp finish blade to get clean, chip-free cuts on your planks.
- ●Staggering your joints randomly creates a more natural, professional appearance.
- ●Remove all baseboards before starting to ensure a clean look that hides the expansion gap.