
How to Install a Tile Backsplash
Transform your kitchen aesthetic by installing a durable, stylish tile backsplash. This guide walks you through the essential process of surface preparation, adhesive application, and precise tile placement for a professional-looking finish.
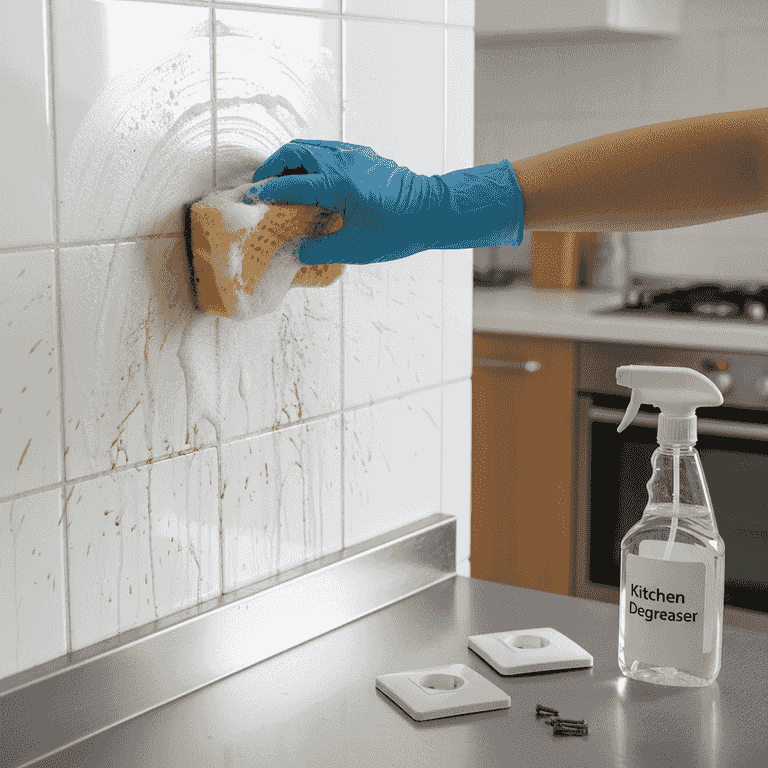
Prepare the wall surface
30 minutesClean the wall thoroughly and remove all outlet covers and switch plates.
Ensure the wall is free of grease, dust, and loose paint. If the wall is damaged, patch it and let it dry completely to ensure the mortar adheres properly.
Turn off power to the kitchen outlets at the breaker before removing plates.
Use a degreaser to ensure the best bond for the thin-set.
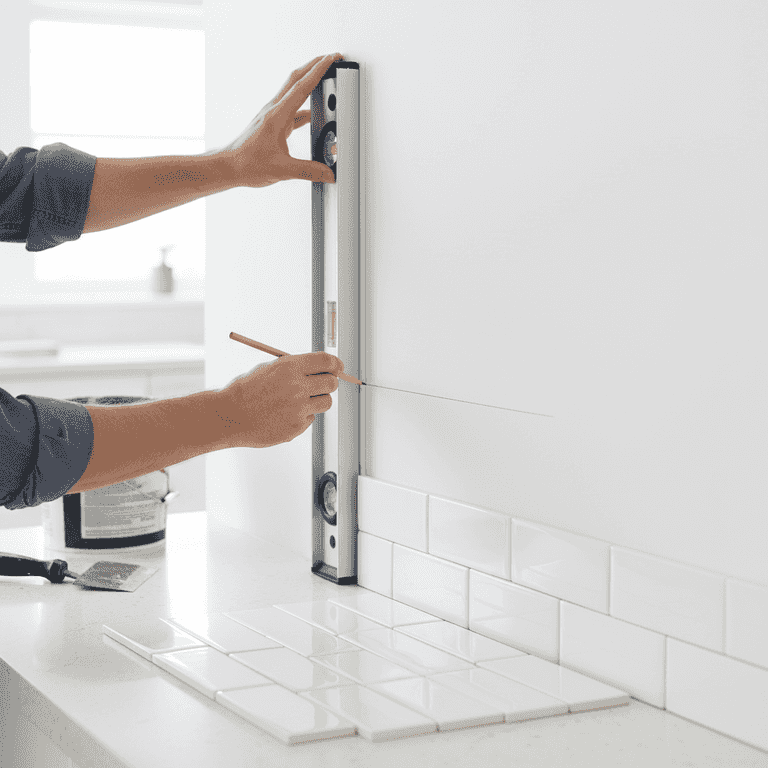
Plan the layout
45 minutesMeasure the area and determine the starting point for your tiles.
Find the center of the wall and mark a vertical plumb line using your level. This ensures your pattern remains balanced across the entire workspace.
Dry-lay your tiles on the counter to check the fit and pattern before applying mortar.
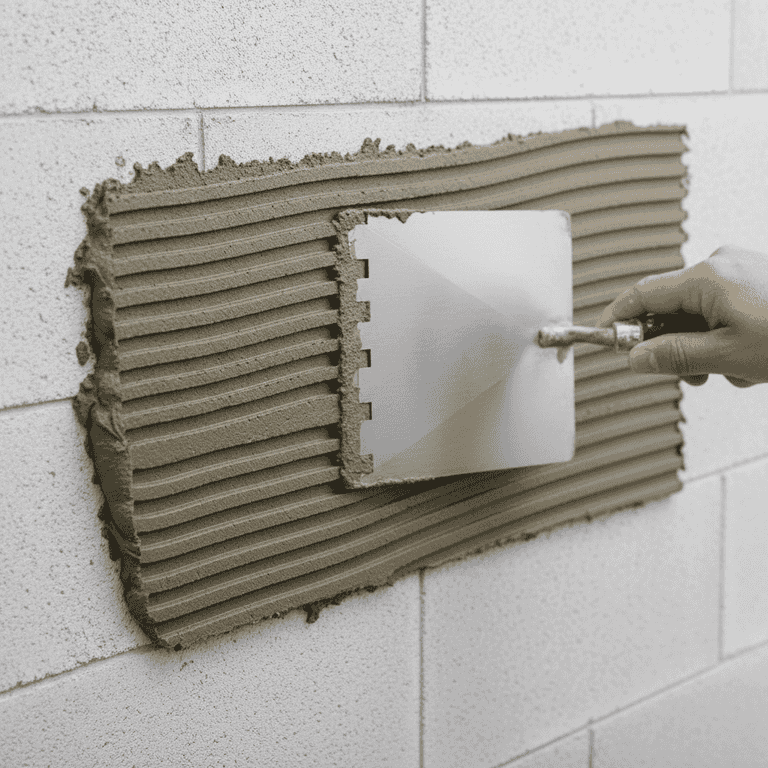
Apply the thin-set mortar
1 hourSpread thin-set mortar onto the wall using the notched trowel.
Work in small sections so the mortar does not dry out before you place the tiles. Hold the trowel at a 45-degree angle to create even ridges.
Only apply enough mortar to cover about 2-3 square feet at a time.
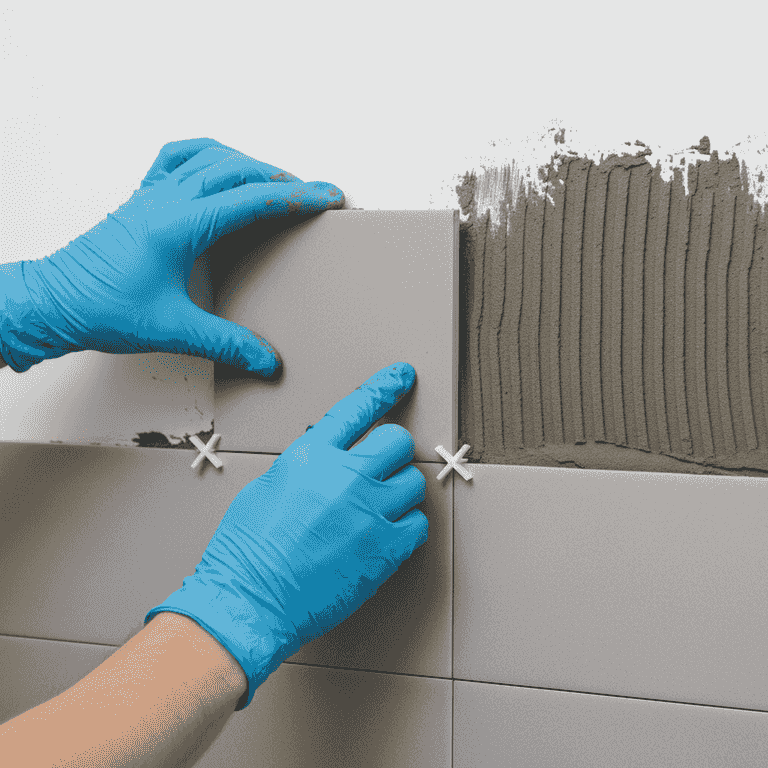
Set the tiles
2-3 hoursPress the tiles firmly into the mortar, using spacers to maintain gaps.
Start from the center line and work outward. Use a slight twisting motion when placing each tile to ensure full contact with the mortar.
Do not push too hard or you may squeeze mortar into the grout lines.
Check your level every few rows to ensure the tiles haven't shifted.
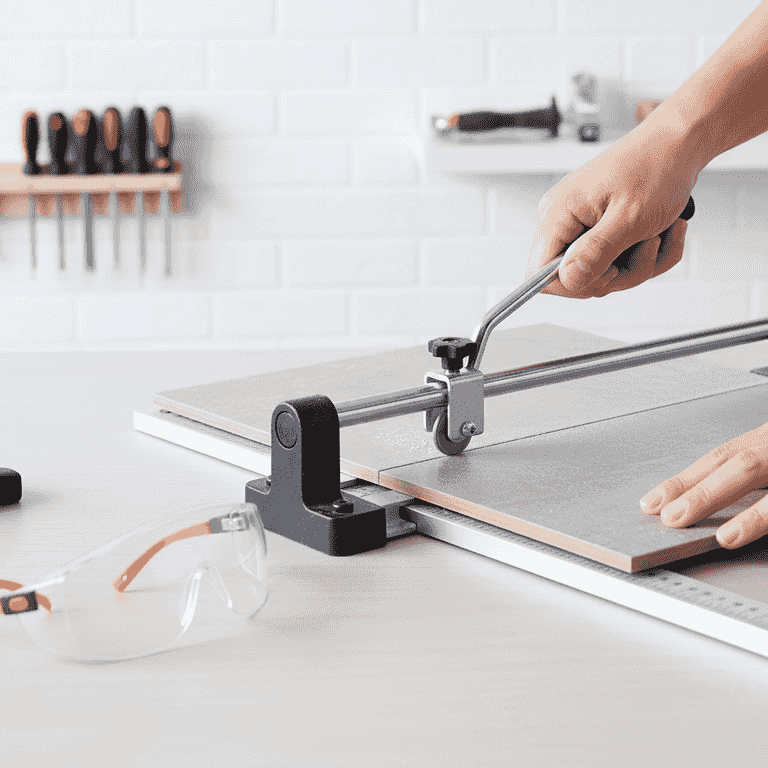
Cut tiles for edges
1 hourMeasure and cut tiles to fit around corners, outlets, and edges.
Mark your cut lines clearly on the tile surface. Use a wet saw or manual tile cutter to achieve precise, clean edges.
Keep fingers clear of the cutting blade at all times.
Always wear safety glasses when cutting tiles to protect against debris.

Grout the joints
1.5 hoursRemove spacers and fill the gaps with grout using a rubber float.
Hold the float at a 45-degree angle and press the grout firmly into the joints. Once finished, wipe away excess grout with a damp sponge.
Wait 24 hours for the mortar to cure before applying grout.
Pro Tips
- ●Always buy 10-15% more tile than you think you need to account for cuts and breakage.
- ●Use a high-quality sealant on your grout after it fully cures to prevent staining.
- ●If using natural stone, remember to seal the tiles before grouting to prevent staining.
- ●Keep a bucket of clean water and a sponge handy at all times to wipe up mortar smears immediately.