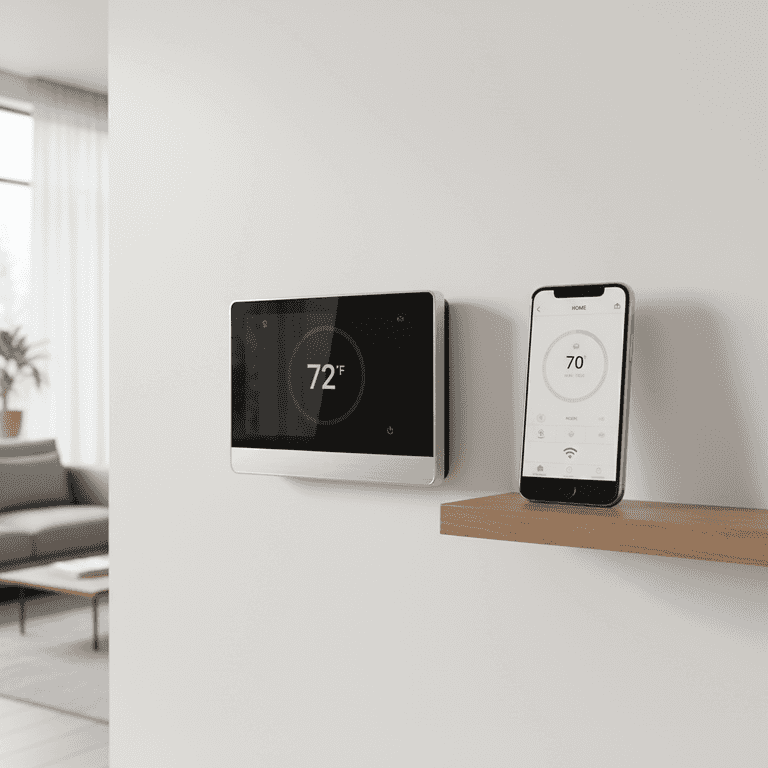
How to Install a Smart Thermostat
Upgrade your home climate control with a smart thermostat to improve energy efficiency and comfort. This guide walks you through the safe removal of your old unit and the wiring of your new smart device.
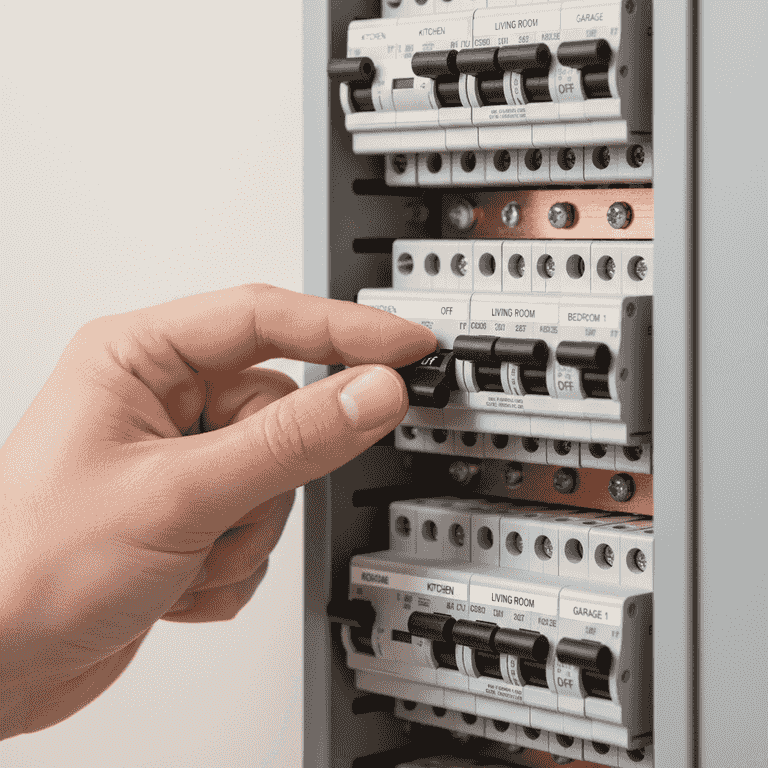
Turn off the power
2 minutesLocate your home's circuit breaker panel and switch off the power to your HVAC system.
Safety is paramount. Ensure the power is off by attempting to adjust your current thermostat; if the display is blank and the system does not respond, the power is successfully cut.
Never skip this step, as live wires can cause severe electrical shock or damage your HVAC control board.
If you are unsure which breaker controls the HVAC, turn off the main power to the house.
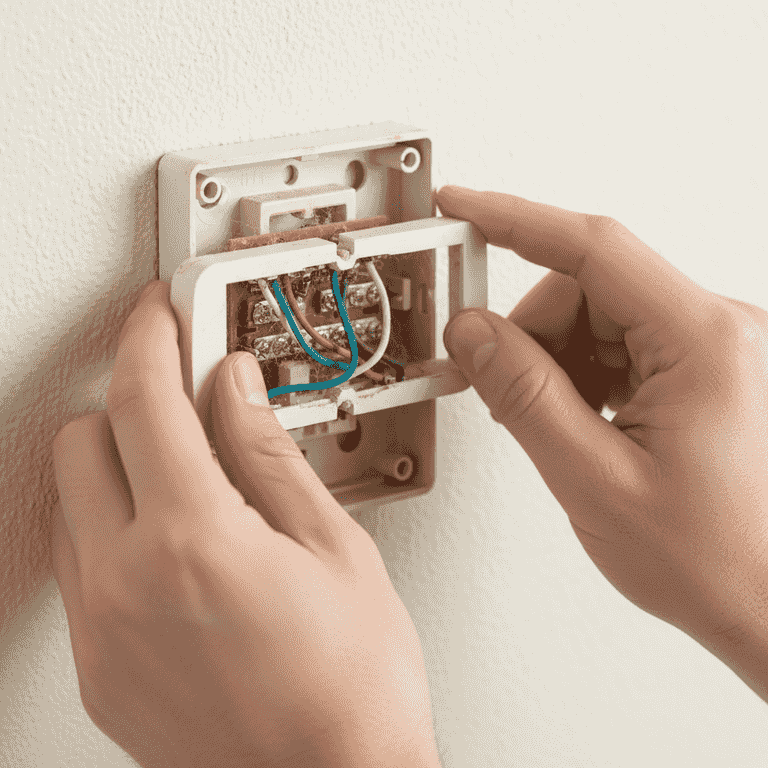
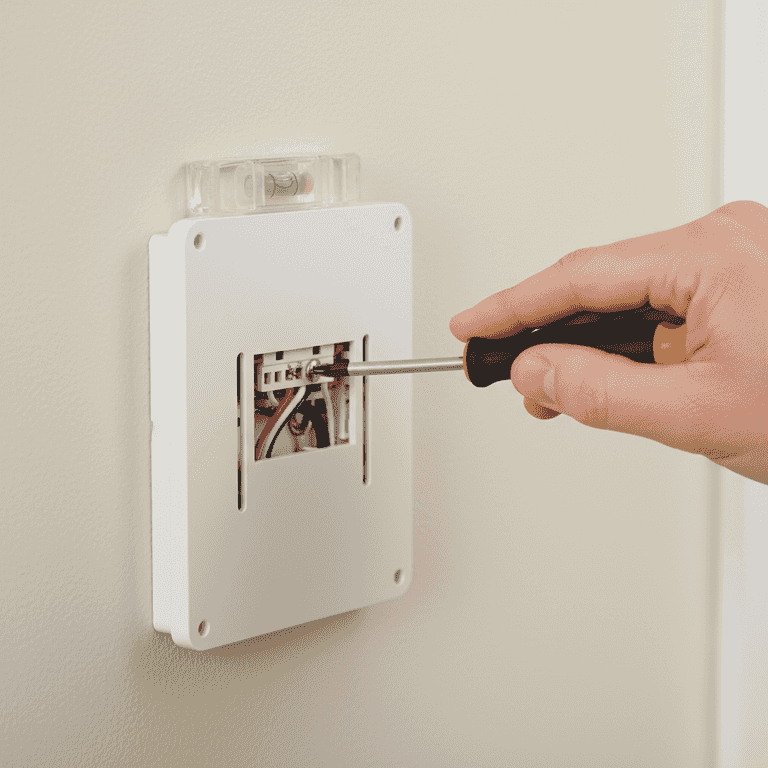
Remove the old thermostat cover
5 minutesGently pull the cover of your existing thermostat off the wall or unscrew it if necessary.
Most covers snap off, but some older models may have small screws holding them in place. Once removed, you will see the wiring terminals.
Take a high-resolution photo of the existing wiring before disconnecting anything.
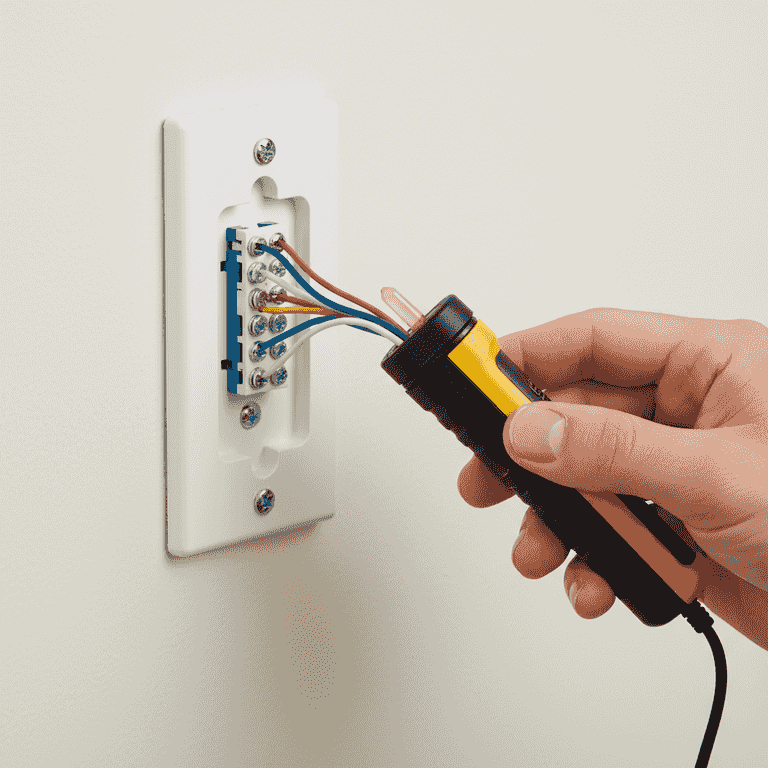
Verify power and label wires
10 minutesUse your voltage tester to confirm no current is flowing, then label each wire according to the terminal letter it is currently attached to.
Use painter's tape to wrap each wire with its terminal label (e.g., R, W, Y, G, C). This ensures you can correctly match them to the new device.
If you do not find a 'C' wire (Common wire), check if your smart thermostat kit included a power extender kit.
If a wire is not labeled, use a piece of tape to mark it immediately so it doesn't get lost in the wall.
Remove the old base and install the new one
10 minutesUnscrew the old baseplate from the wall and install the new smart thermostat backplate.
Use the provided wall anchors and screws if the holes do not align with the existing ones. Use a level to ensure the backplate is perfectly horizontal.
Stuff a small piece of insulation or putty into the hole behind the wires to prevent drafts from affecting the thermostat's sensor.
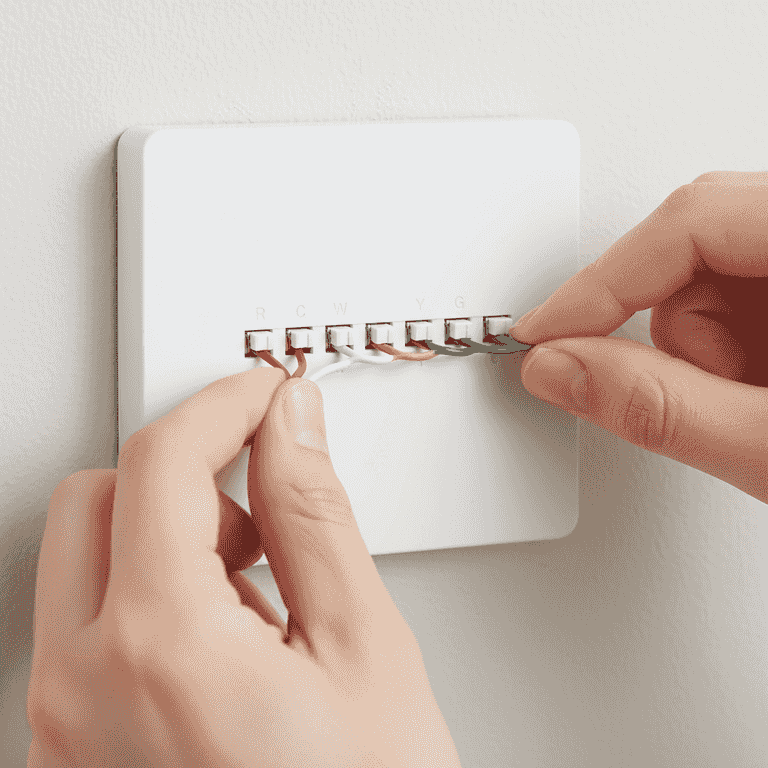
Connect the wires
8 minutesInsert each labeled wire into the corresponding terminal on the new thermostat backplate.
Push the wires firmly into the terminals until they click or are secured by the lever. Ensure no stray wire strands are touching other terminals.
Do not force the wires; if a terminal does not open, check the release mechanism on the backplate.
Consult your wiring photo from step 2 if you are unsure which wire goes where.
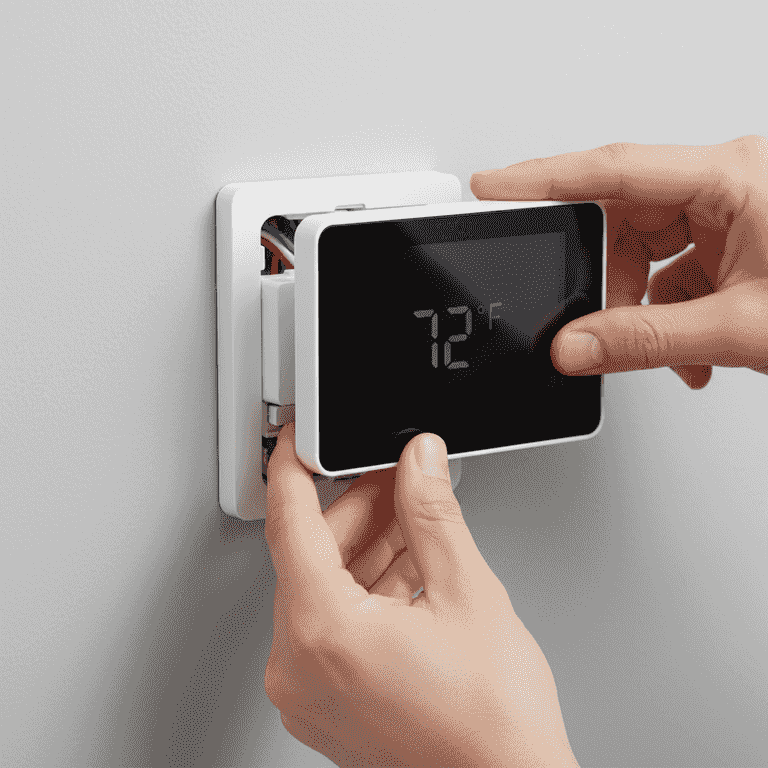
Attach the thermostat display and power on
10 minutesSnap the smart thermostat display onto the backplate, then return to the breaker panel to restore power.
Once the display is attached, the device should boot up. Follow the on-screen instructions to connect to your Wi-Fi and complete the initial setup.
If the thermostat does not turn on, double-check that the display is seated firmly against the backplate pins.
Pro Tips
- ●Always check your HVAC system's compatibility with the smart thermostat's website before purchasing.
- ●If your home lacks a 'C' wire, consider using a C-wire adapter kit rather than trying to repurpose other wires.
- ●Place the thermostat away from direct sunlight, vents, or doorways for the most accurate temperature readings.
- ●Keep your original wiring photo for at least a year in case you need to troubleshoot or reinstall the old unit.