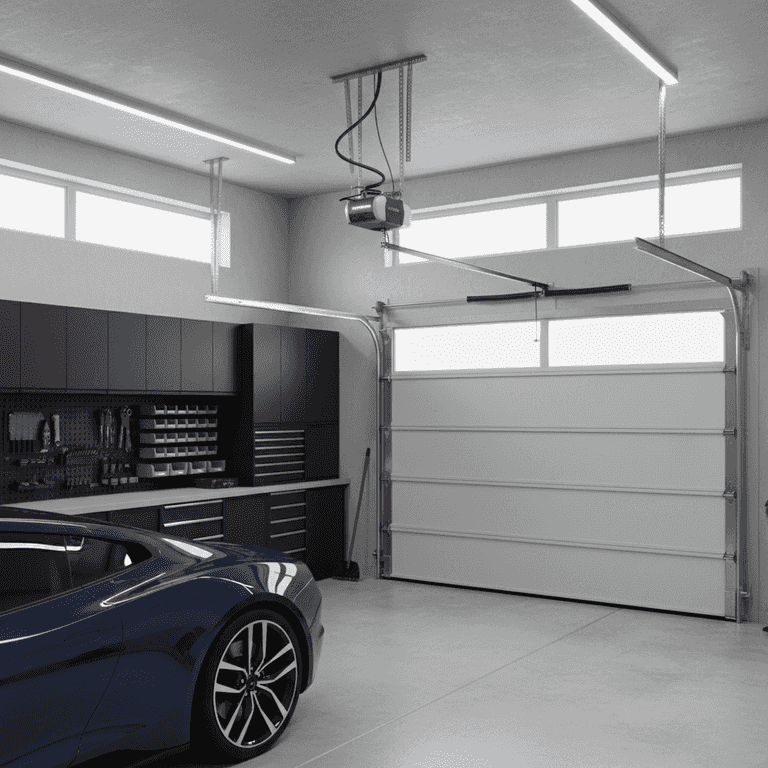
How to Install a Garage Door Opener
Installing a garage door opener is a manageable home improvement project that significantly enhances your home's security and convenience. This guide walks you through the assembly, mounting, and calibration of a standard overhead garage door opener system.
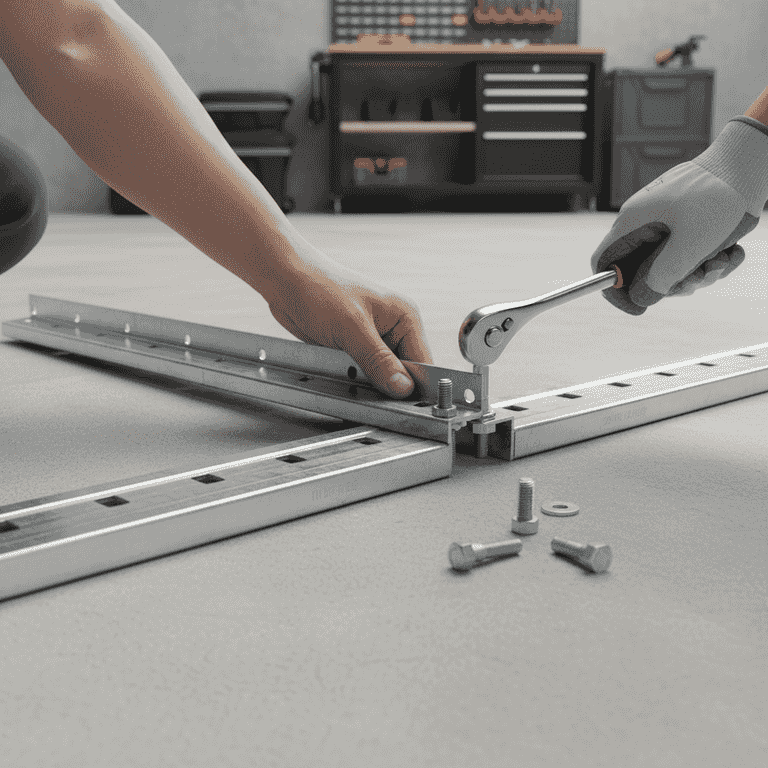
Assemble the rail system
30 minutesConnect the rail sections according to the manufacturer's instructions and attach the carriage assembly.
Lay the rail sections out on the garage floor. Slide the carriage onto the rail and ensure all fasteners are tightened securely to prevent noise or binding during operation.
Apply a small amount of white lithium grease to the rail track before assembly to ensure smooth movement.
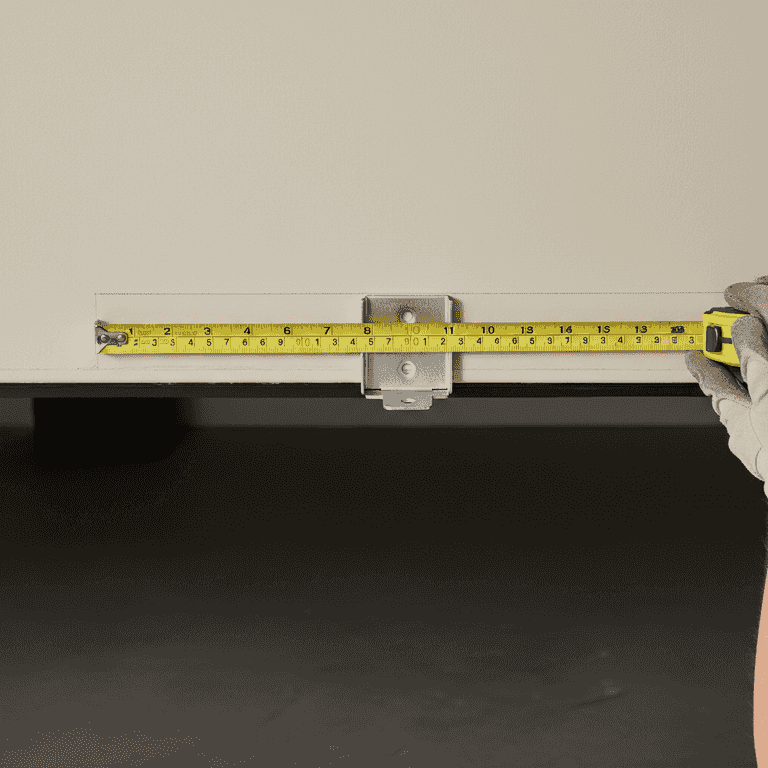
Mount the header bracket
45 minutesLocate the center of the garage door and install the header bracket on the wall above the door.
Use a tape measure to find the exact center point of your door. Mount the bracket securely into the wall header board, ensuring it is level and centered to prevent uneven door pull.
Ensure the bracket is anchored into a solid structural header board, not just the drywall.
Pre-drill pilot holes into the wall stud to prevent the wood from splitting.
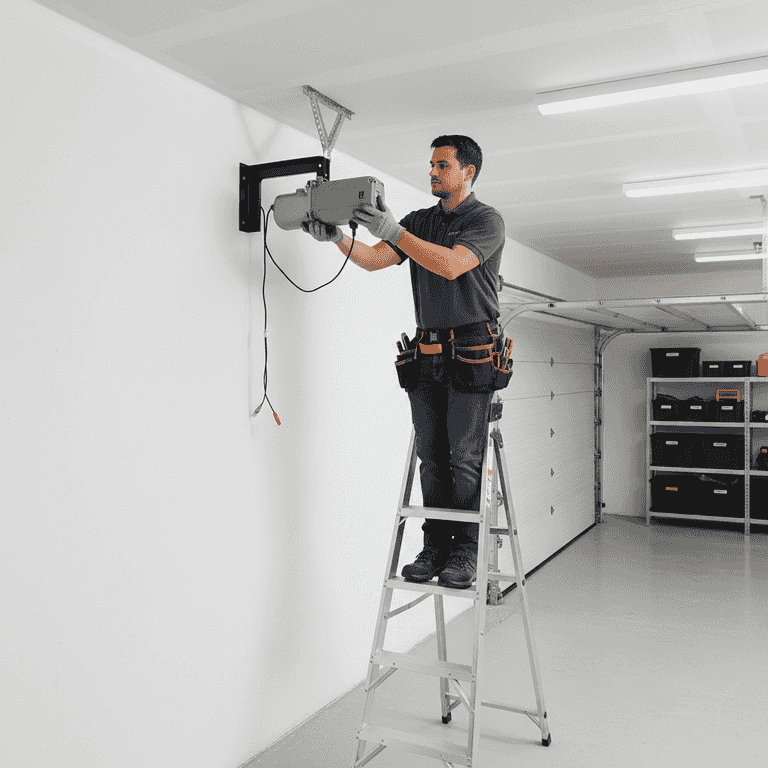
Attach the motor unit
60 minutesLift the motor unit and attach the rail to the header bracket, then support the motor with a ladder.
Slide the rail bracket onto the header bracket pin. Use a step ladder to hold the motor unit in place while you prepare to secure it to the ceiling joists.
The motor unit is heavy; ensure the ladder is stable before placing weight on it.
Have a second person assist you in lifting the motor unit to avoid strain or accidental drops.
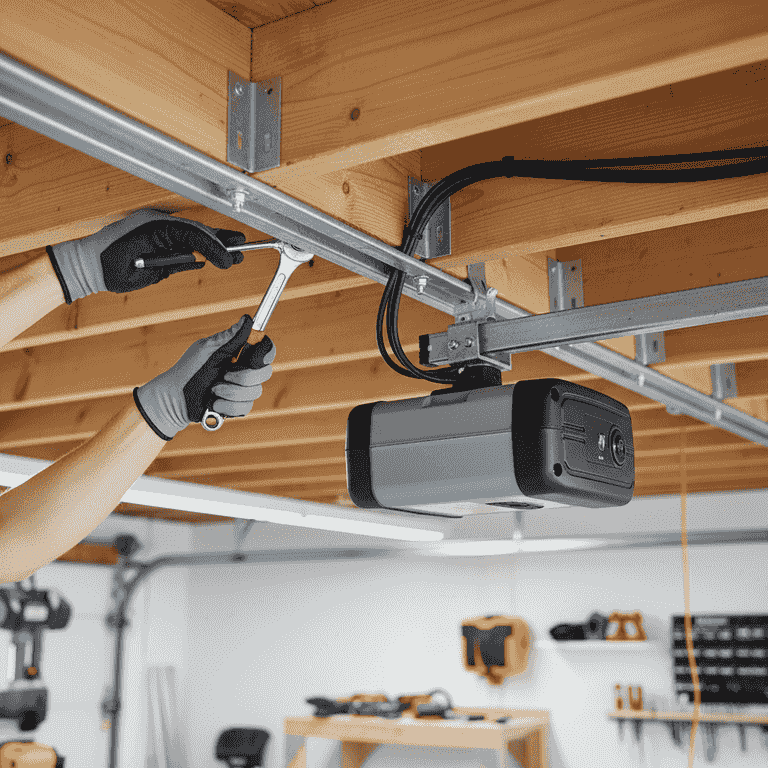
Secure the motor to the ceiling
60 minutesUse perforated steel angle iron to hang the motor unit from the ceiling joists.
Measure the distance from the motor to the ceiling and cut the angle iron to size. Bolt the iron to the ceiling joists and then to the motor housing, ensuring the entire assembly is level.
Use a level to confirm the rail is perfectly horizontal before final tightening.

Install the door arm and safety sensors
45 minutesConnect the door arm to the door bracket and install the safety infrared sensors near the floor.
Attach the curved arm to the door bracket and the straight arm to the carriage. Mount the safety sensors on both sides of the door tracks, ensuring they are perfectly aligned to face each other.
The door will not close if the safety sensors are misaligned or blocked.
Check the sensor alignment by looking for the steady indicator light on the sensor unit.
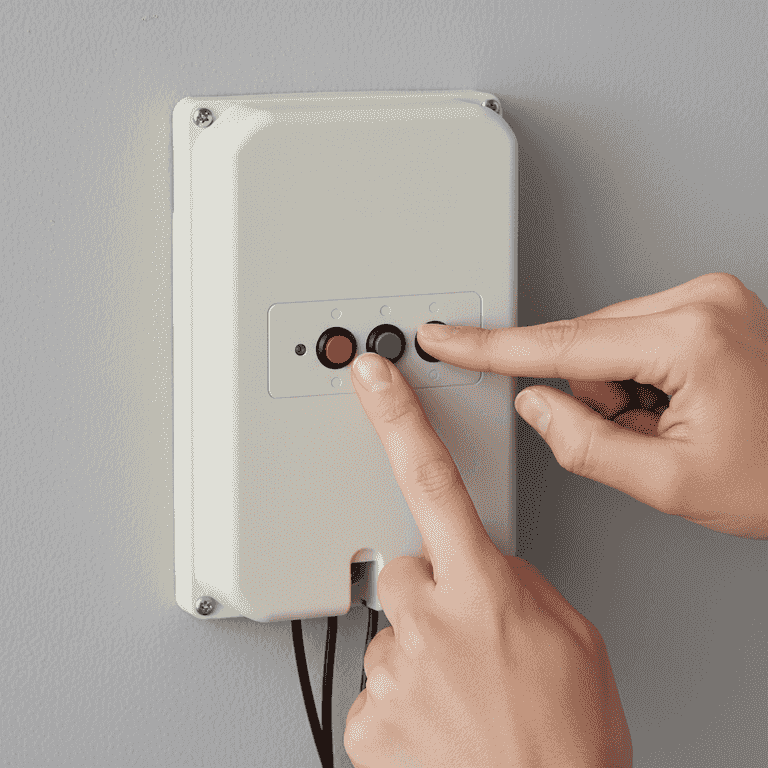
Program the limits and force
30 minutesSet the open and close limits on the motor unit to define the door's travel range.
Follow the manufacturer's programming sequence to set where the door stops when fully open and when fully closed. This prevents the door from slamming or failing to seal.
Incorrect force settings can cause the door to crush objects or fail to reverse if obstructed.
Test the door multiple times to ensure it stops exactly at the floor without excessive pressure.
Pro Tips
- ●Test the safety reverse feature monthly by placing a 2x4 piece of wood on the floor; the door should reverse immediately upon contact.
- ●Lubricate the door hinges and rollers annually with silicone spray to reduce strain on the new motor.
- ●If your opener is chain-driven, periodically check the chain tension to prevent sagging.
- ●Keep your remotes and keypad codes updated for enhanced home security.