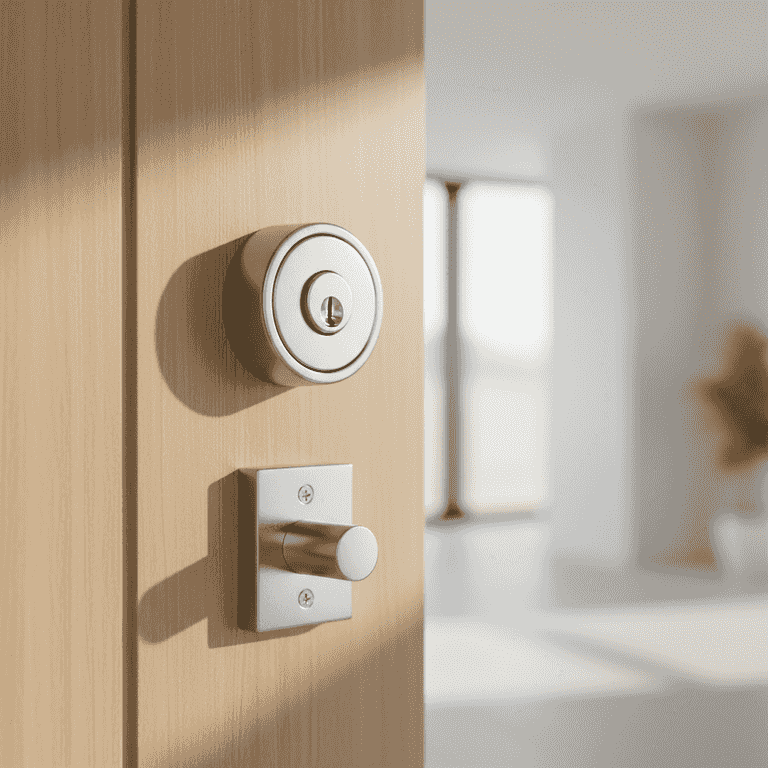
How to Install a Deadbolt Lock
Enhance your home security by installing a new deadbolt lock. This guide covers the essential steps to professionally mount a deadbolt on a standard residential door.
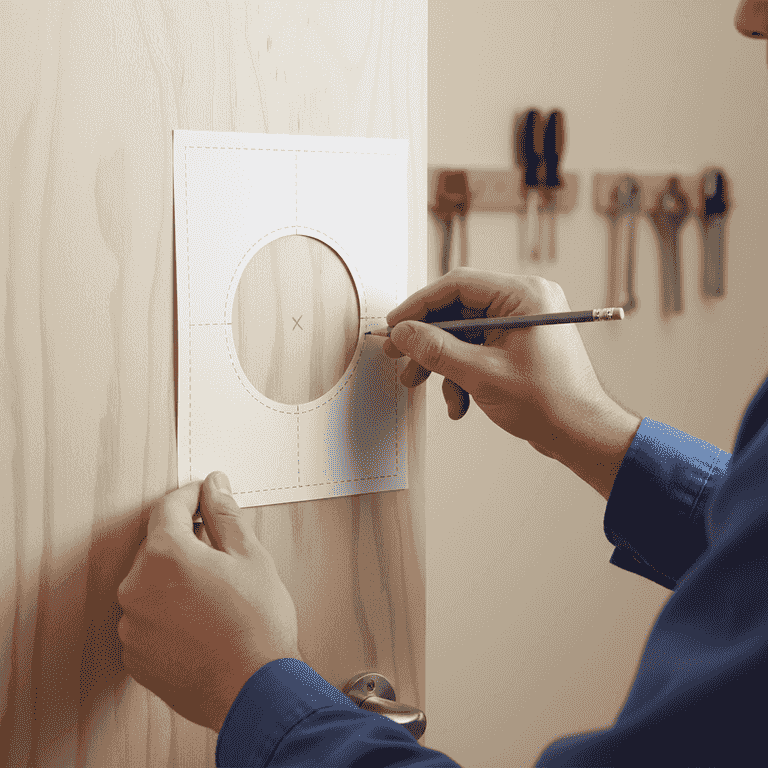
Mark the door for the deadbolt
5 minutesUse the provided paper template to mark the center hole for the deadbolt on the door face and the door edge.
Most deadbolts are installed 36 to 44 inches from the floor. Ensure the template is aligned correctly with the door edge to maintain the proper backset.
Double-check your measurements against the manufacturer's instructions before marking, as backset requirements can vary.
Use a piece of masking tape over the spot where you will drill to prevent the wood finish from chipping.
Bore the holes
10 minutesDrill the holes for the deadbolt cylinder and the latch bore using the appropriate hole saw and spade bit.
Drill from both sides of the door once the pilot bit breaks through to ensure a clean hole without splintering the door surface.
Do not force the drill bit; let the tool do the work to avoid damaging the door material.
Keep the drill perfectly perpendicular to the door face to ensure the lock operates smoothly.
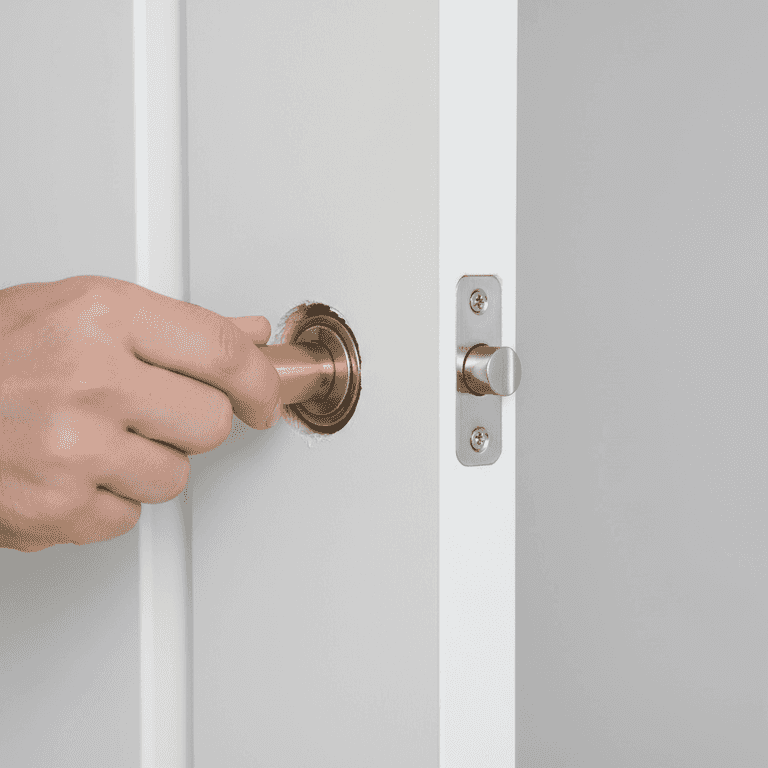
Install the latch
5 minutesInsert the deadbolt latch into the hole on the edge of the door and secure it with the provided screws.
Ensure the latch bolt is facing the correct direction so that it extends into the door frame. The faceplate should sit flush with the door edge.
Ensure the latch is centered so the bolt moves freely without rubbing.
If the latch is not flush, use a chisel to slightly deepen the mortise area.
Mount the lock cylinder and interior plate
10 minutesSlide the exterior cylinder through the latch and attach the interior mounting plate.
Align the tailpiece of the lock with the slot in the latch mechanism. Tighten the mounting screws evenly to hold the assembly in place.
Do not over-tighten the screws, as this can cause the lock to bind or the internal components to crack.
Test the key operation before fully tightening the screws to ensure the mechanism is not binding.
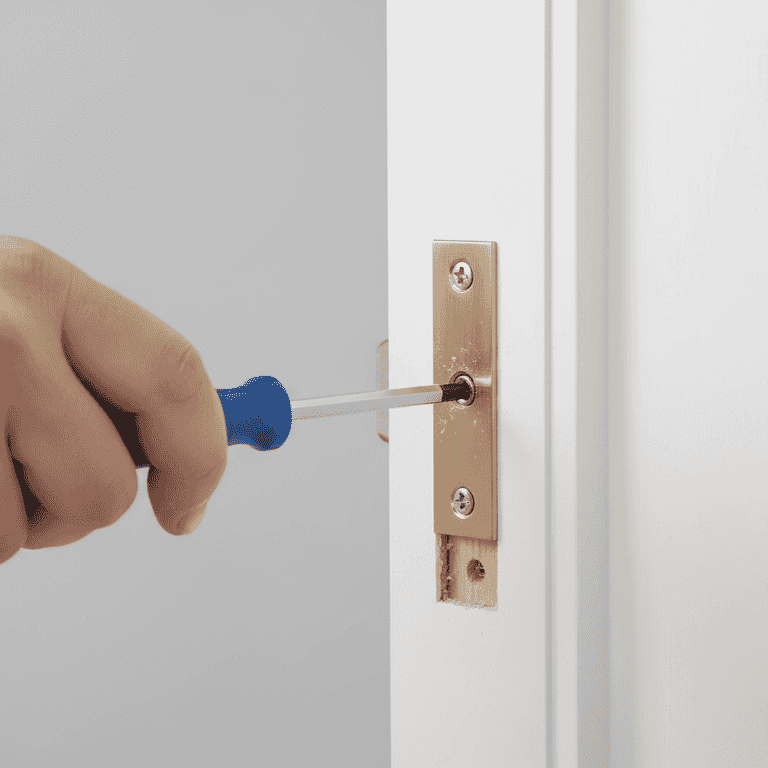
Install the strike plate
10 minutesAttach the strike plate to the door frame where the deadbolt aligns.
Mark the outline of the plate on the door frame, chisel out a shallow recess, and screw the plate securely into the stud.
Ensure the strike plate is aligned perfectly with the deadbolt to prevent the door from rattling.
Use long screws (at least 3 inches) for the strike plate to anchor it into the wall stud for maximum security.
Pro Tips
- ●Always check the backset (2 3/8 or 2 3/4 inches) before buying the lock to ensure it fits your door.
- ●Use a manual screwdriver for the final tightening of the lock screws to prevent stripping the threads.
- ●Lubricate the lock mechanism with a dry graphite spray for smooth operation.
- ●Ensure the strike plate is reinforced with long screws to improve kick-in resistance.