
How to Install a Ceiling Fan
Upgrade your home's comfort and energy efficiency by installing a new ceiling fan. This guide provides a clear, step-by-step approach to safely mounting and wiring a fan in an existing ceiling junction box.
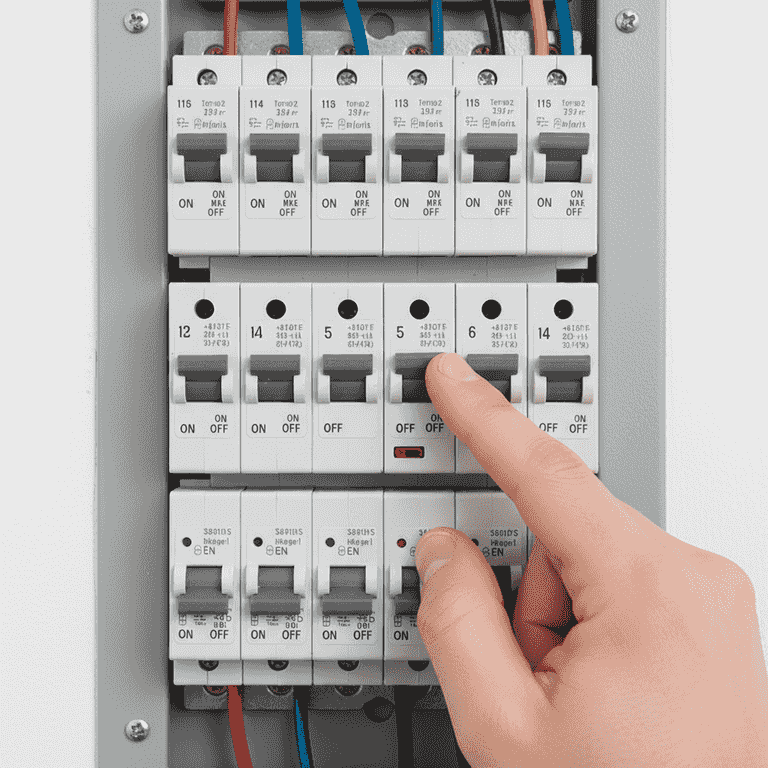
Turn off the power
5 minutesSwitch off the power to the room at your home's main electrical breaker panel.
Locate the breaker corresponding to the ceiling light and flip it to the 'Off' position. Use a voltage tester on the existing wall switch to confirm no current is flowing before proceeding.
Never assume the power is off; always verify with a non-contact voltage tester.
Place a piece of tape over the breaker switch to prevent anyone from accidentally turning it back on while you work.
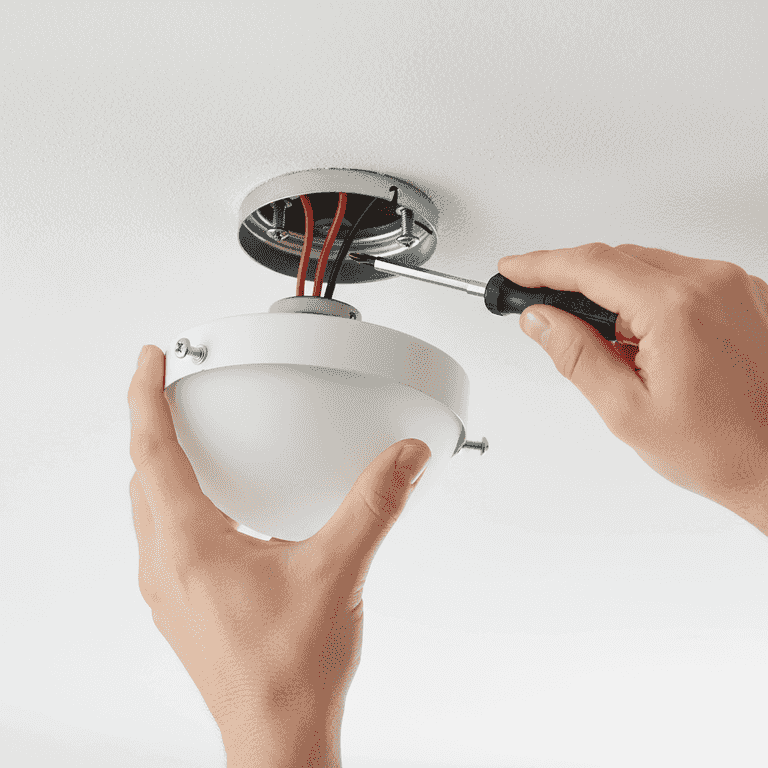
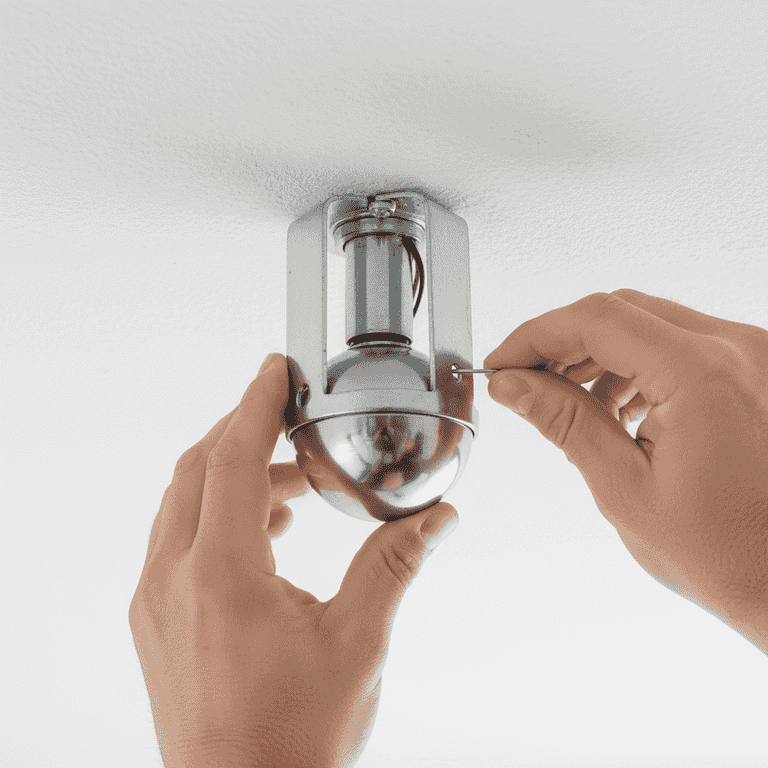
Remove the existing fixture
15 minutesUnscrew and lower the existing light fixture to expose the electrical wires and junction box.
Carefully remove the canopy and mounting screws. Support the fixture while disconnecting the wires to prevent it from falling and damaging the ceiling.
Ensure the fixture is supported as you remove the final mounting screws.
Use a piece of masking tape to label the wires before disconnecting them if the color coding is unclear.
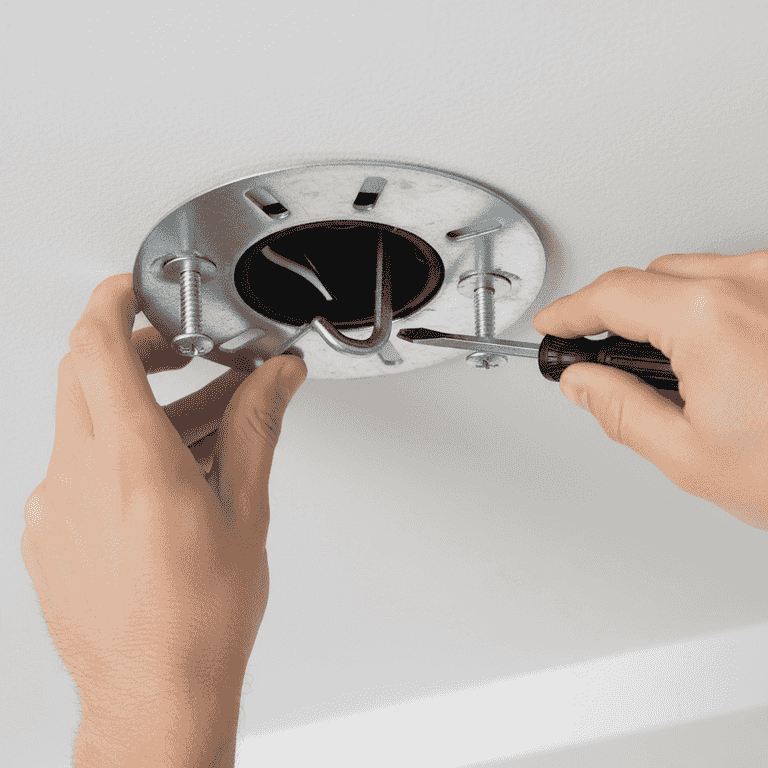
Install the fan mounting bracket
20 minutesAttach the fan's mounting bracket to the junction box using the provided screws.
Ensure the bracket is centered and securely tightened to the ceiling box. This bracket will bear the weight of the fan, so verify it is rated for fan use.
If your junction box is not specifically rated for ceiling fans, replace it with an approved fan-rated box.
Check that the bracket is perfectly level to prevent the fan from wobbling later.
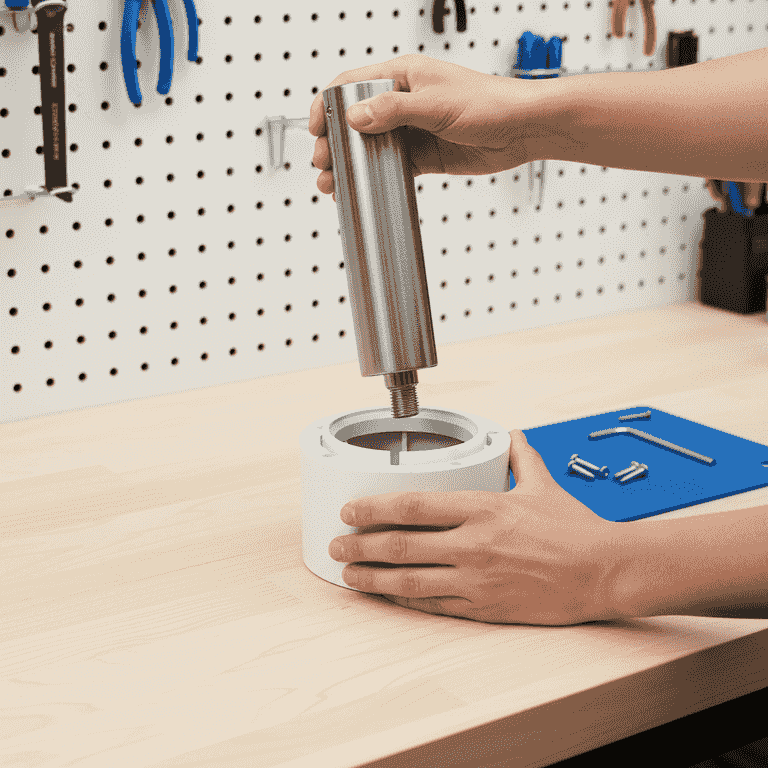
Assemble the fan motor
30 minutesPrepare the fan motor housing and downrod according to the manufacturer's instructions.
Thread the wires through the downrod and attach it to the motor housing. Secure the canopy and any decorative covers before lifting the unit to the ceiling.
Ensure all set screws on the downrod are tightened firmly to prevent vibration.
Perform this assembly on a table or the floor to make the process easier than working above your head.
Hang the motor unit
10 minutesLift the fan motor assembly and hook the downrod ball into the mounting bracket slot.
The ball joint is designed to sit in the bracket, allowing the fan to hang hands-free while you wire it. Rotate the motor until the groove on the ball locks into the bracket tab.
Do not let the motor hang by the wires; ensure the downrod ball is fully seated in the bracket.
If the fan is heavy, have a second person assist you in lifting it to the ceiling.
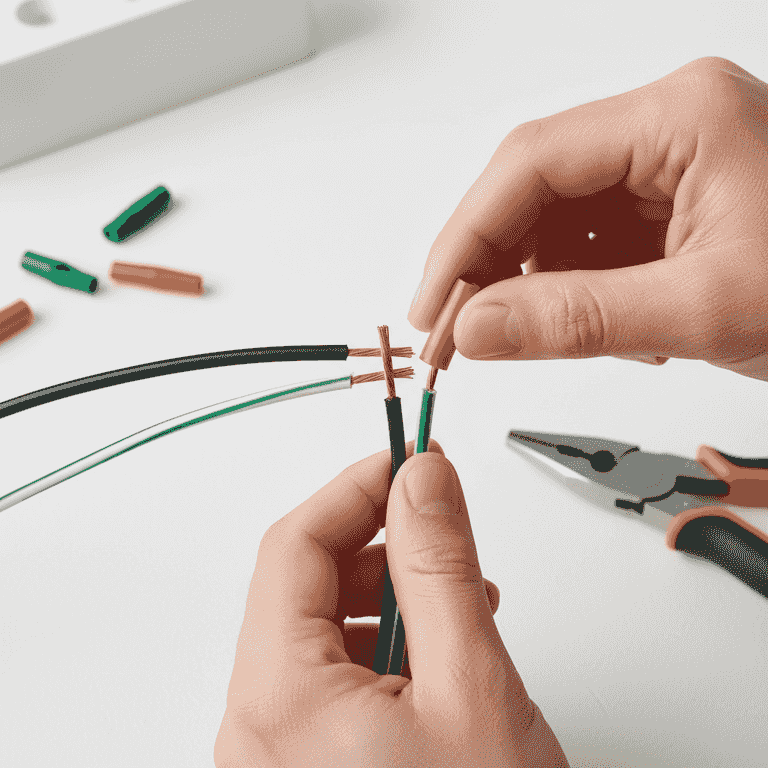
Connect the wiring
20 minutesJoin the fan wires to the house wires using wire nuts.
Match the black (hot) wires, white (neutral) wires, and green or bare (ground) wires. Twist the ends together and secure them with wire nuts, then wrap with electrical tape for extra safety.
Ensure no bare wire strands are exposed outside of the wire nuts.
Tuck the wires neatly into the junction box so they do not get pinched when installing the canopy.
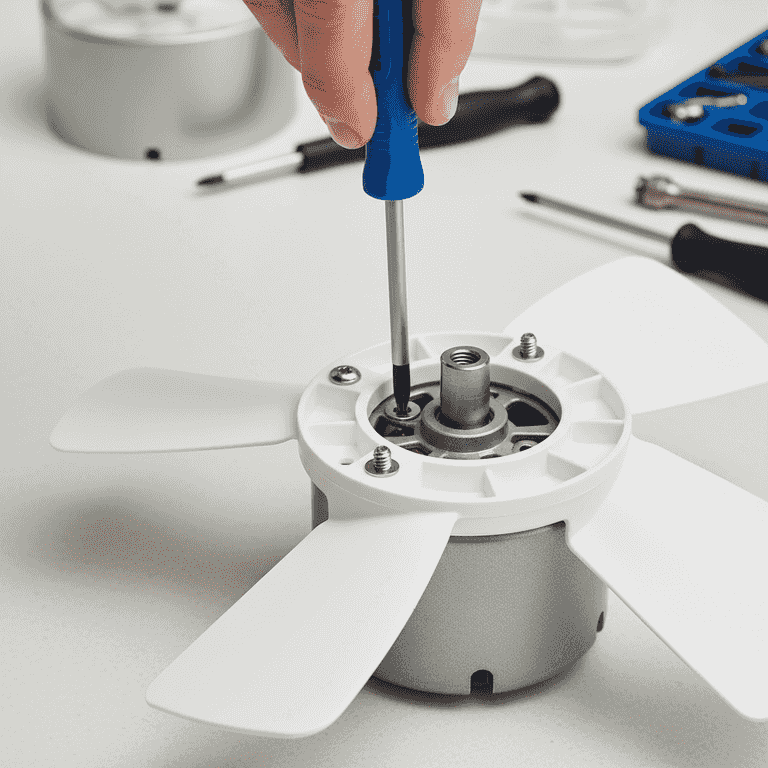
Attach blades and light kit
30 minutesInstall the fan blades and the light kit to the motor housing.
Screw the blades into the blade arms and then attach the arms to the motor. Once the blades are secure, connect the light kit wiring and attach the glass shade or cover.
Do not over-tighten screws into the motor housing as this can strip the threads.
Tighten blade screws in a star pattern to ensure even pressure and balance.
Pro Tips
- ●Always use a fan-rated junction box to prevent ceiling damage and potential safety hazards.
- ●Check the balance of your blades after installation; if the fan wobbles, use a balancing kit.
- ●Tighten all screws after the first few hours of operation, as initial vibrations can cause them to loosen slightly.
- ●Ensure the fan switch is set to the correct rotation for the season (counter-clockwise for summer, clockwise for winter).