
How to Install a Bathroom Vanity
Upgrade your bathroom aesthetic and storage by installing a new vanity. This guide walks you through the process of removing your old unit and securing a new one with proper plumbing connections.
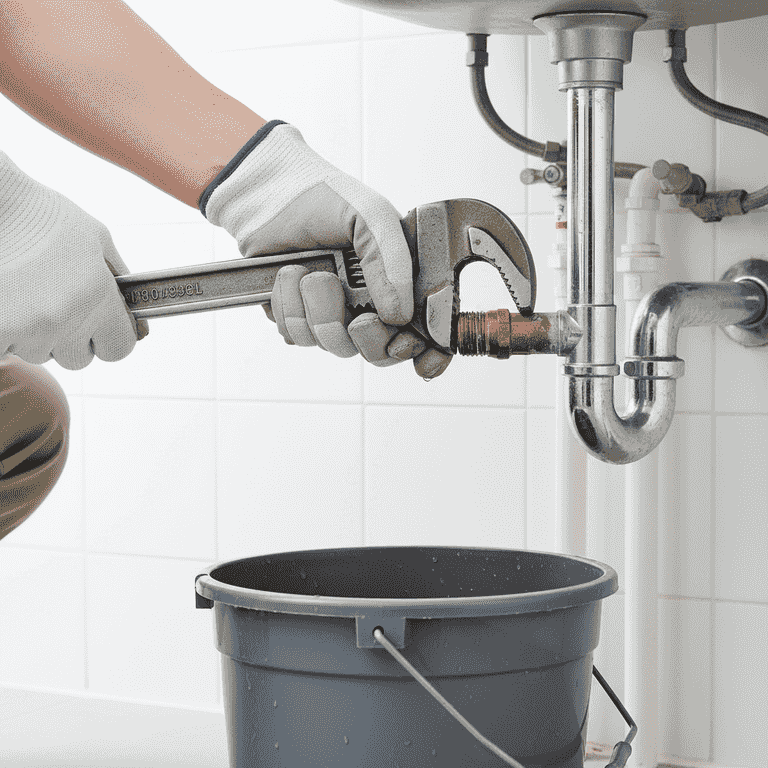
Disconnect the plumbing
30 minutesTurn off the water supply valves under the sink and disconnect the supply lines and P-trap.
Place a bucket under the pipes to catch residual water. Use an adjustable wrench to loosen the nuts connecting the lines to the faucet and drain.
Ensure the water is completely off by testing the faucet after closing the valves.
Keep a rag handy to wipe up drips immediately.
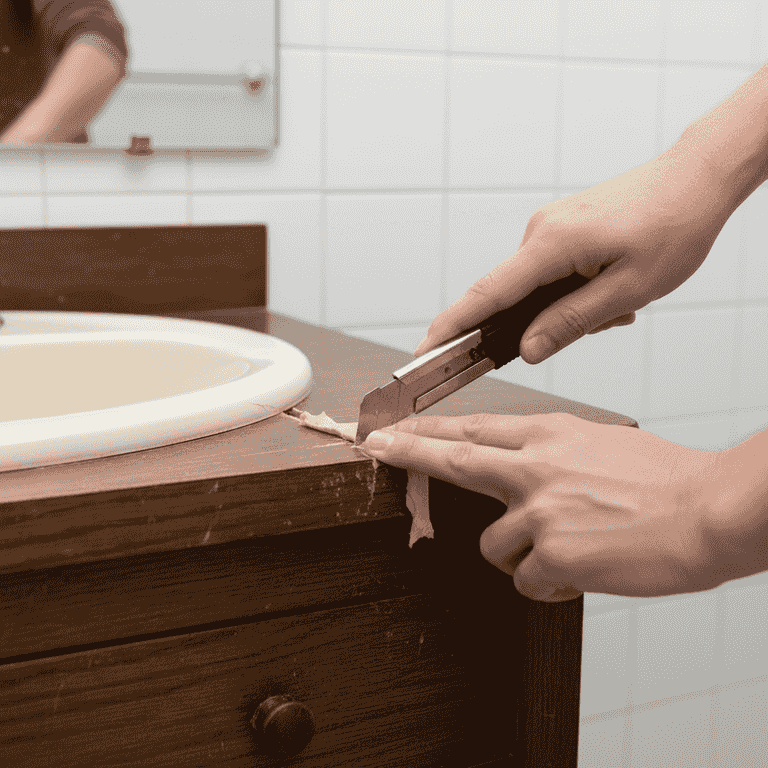
Remove the old vanity
45 minutesCut the caulk seal around the edges and unscrew the vanity from the wall studs.
Use a utility knife to slice through the caulk between the vanity backsplash and the wall. Remove any screws holding the vanity frame to the wall.
Be careful not to damage the drywall when prying the vanity away from the wall.
Ask a partner for help lifting the old vanity out to avoid back strain.
Prepare the site
30 minutesClean the area where the vanity sat and patch any holes in the wall.
Scrape away old caulk residue and debris from the floor and wall. Ensure the floor is level; if not, use shims later.
If the wall is damaged, use spackle to patch it so the new backsplash sits flush.
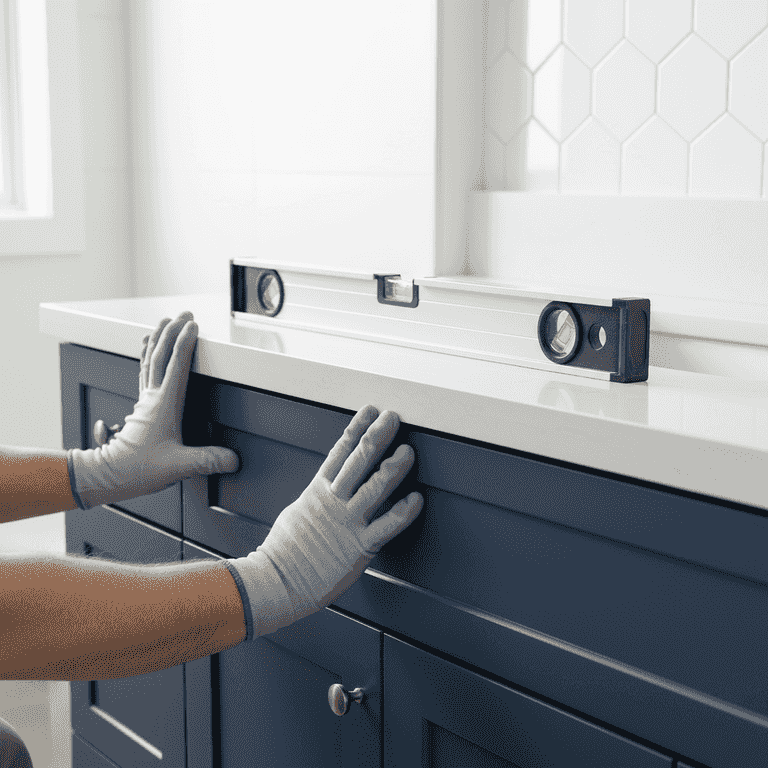
Position the new vanity
20 minutesPlace the new vanity cabinet in its permanent location and check for level.
Align the vanity with the existing plumbing pipes. Use a level on top of the cabinet to ensure it is straight; adjust with shims under the base if necessary.
Always check for level from front-to-back and side-to-side.

Secure the vanity to the wall
30 minutesDrill pilot holes through the vanity back frame and screw it into the wall studs.
Locate the studs in your wall using a stud finder. Use the drill to drive screws through the vanity's rear mounting strip into the studs.
Ensure you are hitting solid wood studs; using drywall anchors alone is insufficient for heavy vanities.
Use washers with your screws to prevent the screw head from pulling through the wood frame.
Install the countertop and faucet
60 minutesAttach the sink or countertop to the vanity and install the faucet hardware.
Apply a thin bead of silicone to the top of the cabinet frame, then place the countertop. Install the faucet and drain assembly according to the manufacturer's instructions.
Do not overtighten the faucet nuts, as this can crack the porcelain or stone countertop.
It is much easier to install the faucet onto the sink before placing the sink onto the vanity cabinet.
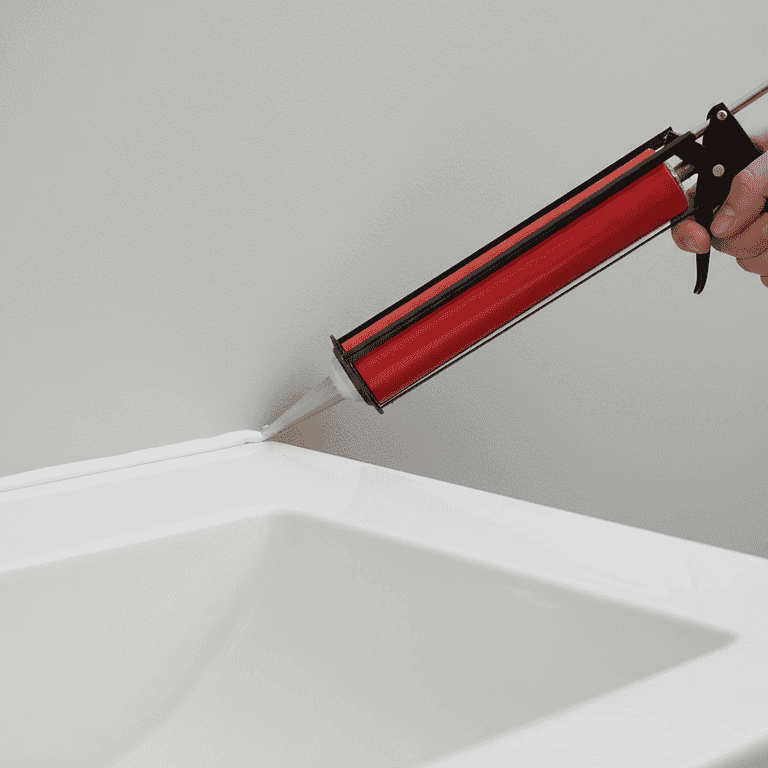
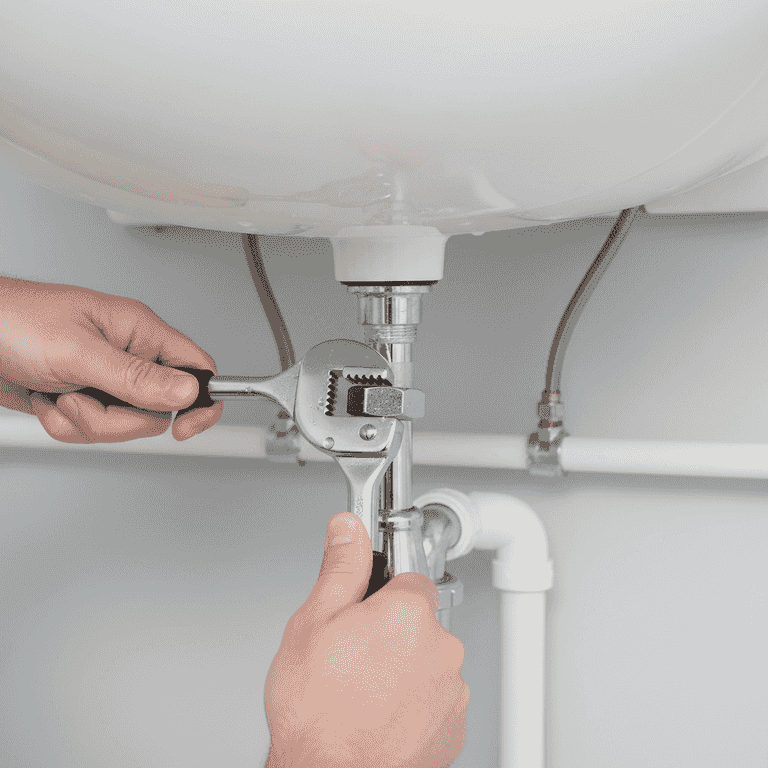
Reconnect plumbing and seal
40 minutesReconnect the supply lines and drain, then caulk the vanity edges.
Attach supply lines to the shut-off valves and reconnect the P-trap. Apply a bead of silicone caulk along the backsplash and sides where the vanity meets the wall.
Check for leaks by running water and placing a dry paper towel under the P-trap for a few minutes.
Use a damp finger to smooth out the caulk bead for a professional finish.
Pro Tips
- ●Always measure your space twice, especially the distance from the wall to the drain pipes.
- ●If you have a stone countertop, use a silicone-based adhesive that is specifically rated for stone to prevent staining.
- ●Replace your old shut-off valves with new quarter-turn valves while the water is off; they are more reliable.
- ●Consider installing a mirror or medicine cabinet while the vanity area is already clear.