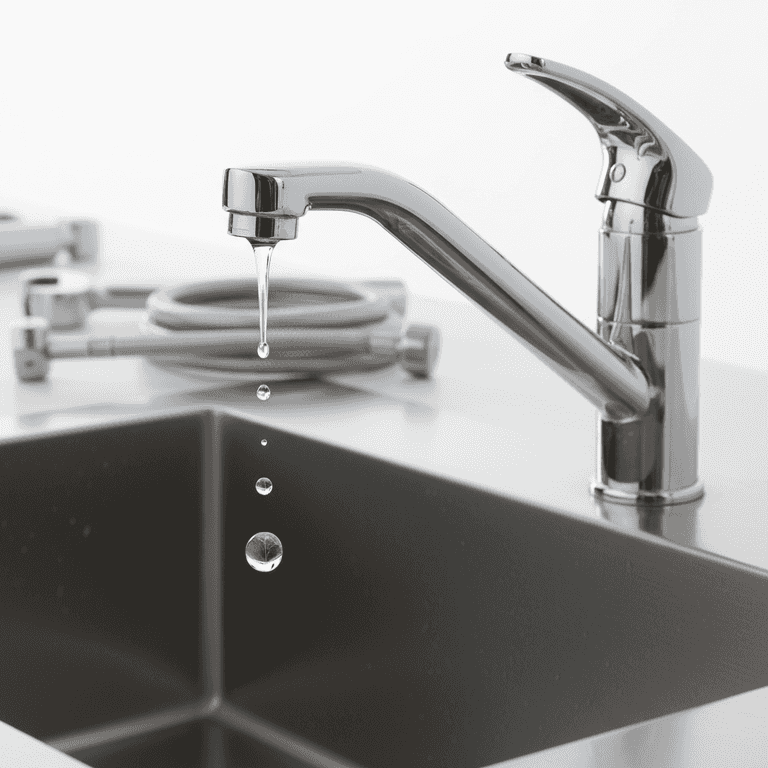
How to Fix a Dripping Faucet
A dripping faucet is a common household annoyance that wastes water and can increase your utility bills. Follow this guide to identify the source of the leak and replace worn-out components to restore your faucet to proper working order.
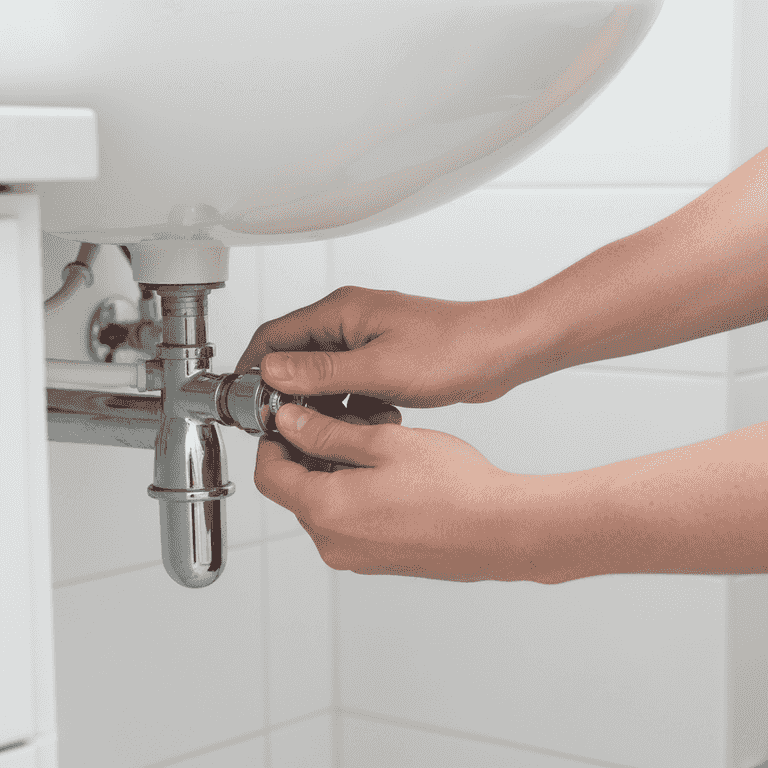
Shut off the water supply
2 minutesLocate the shut-off valves under the sink and turn them clockwise until they are fully closed.
If there are no valves under the sink, turn off the main water supply to the house. Open the faucet to drain any remaining water in the pipes.
Failure to shut off the water will result in significant water spray once the faucet is disassembled.
Test that the water is off by turning the faucet handle to the 'on' position; if no water comes out, you are ready to proceed.
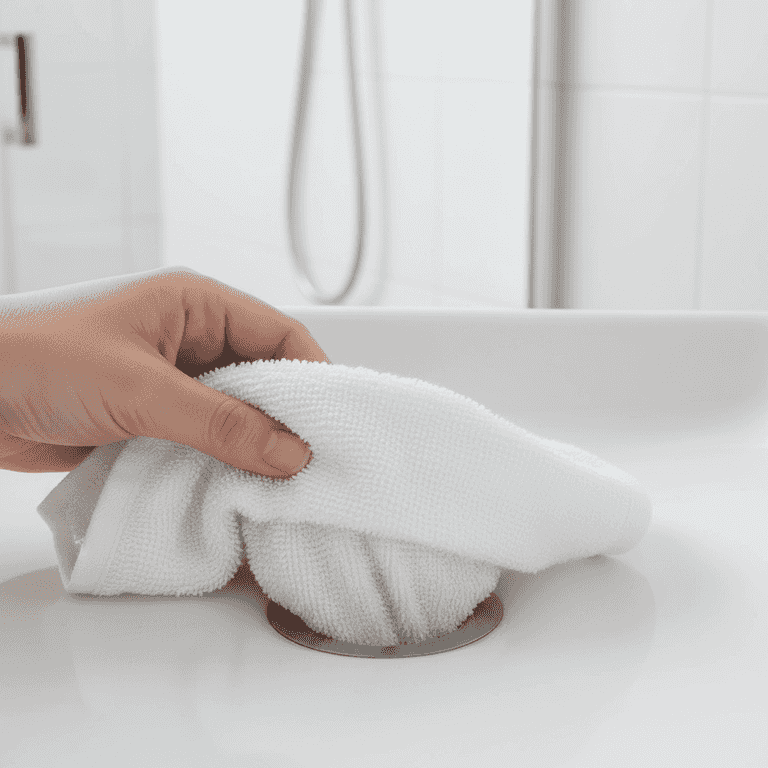
Plug the drain
1 minutePlace a towel or a sink stopper securely over the drain opening.
Small screws and washers can easily fall down the drain during disassembly. Covering the drain prevents these parts from being lost forever.
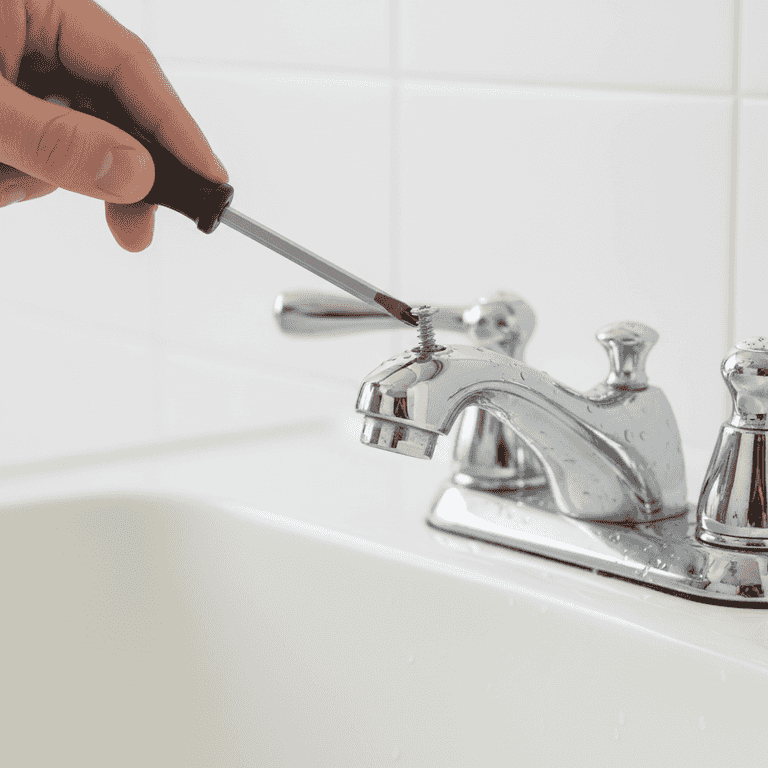
Remove the faucet handle
5 minutesUse a screwdriver to remove the screw hiding under the decorative cap or directly on the handle.
Pry off the decorative cap with a flathead screwdriver if necessary, then loosen the screw to lift the handle off the valve stem.
Do not force the handle if it feels stuck, as you may damage the underlying cartridge or stem.
If the handle is stuck, gently wiggle it back and forth to loosen it from the stem.
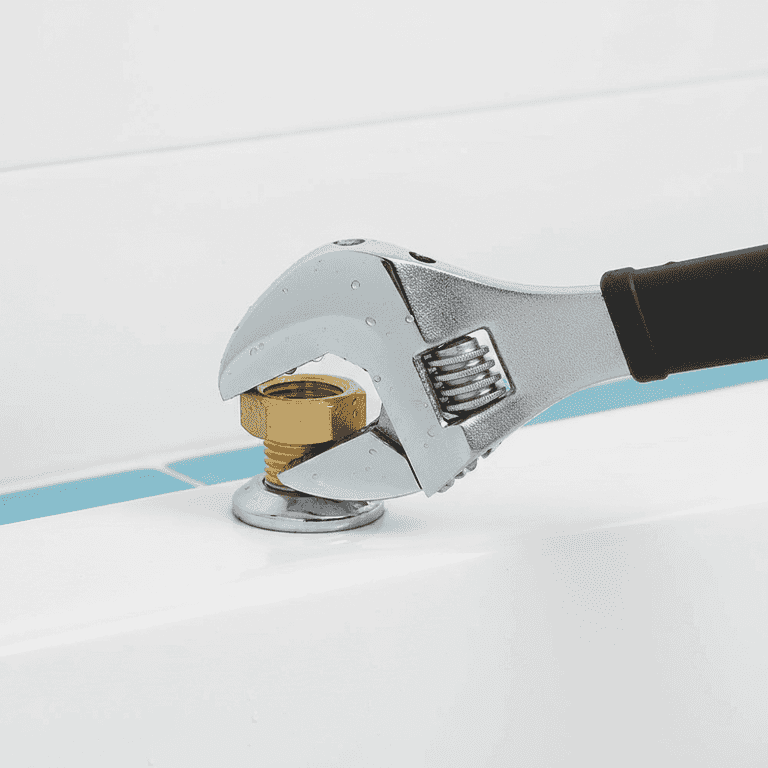
Unscrew the packing nut
5 minutesUse an adjustable wrench to loosen the packing nut holding the valve stem in place.
Rotate the wrench counter-clockwise to unscrew the nut. Once loose, pull the valve stem assembly straight out of the faucet body.
Wrap a cloth around the wrench jaws to prevent scratching the finish on the faucet nut.
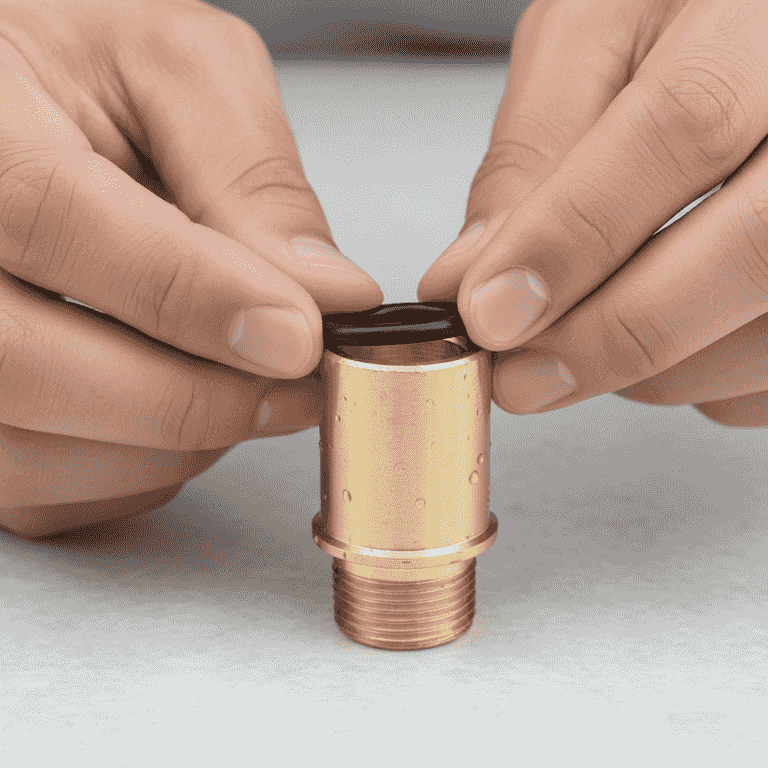
Replace the washer or O-ring
10 minutesIdentify the worn washer or O-ring at the base of the stem and remove it.
Take the old part to the hardware store to ensure you purchase the exact size match. Slide the new part onto the stem, ensuring it is seated correctly.
Ensure the replacement part is identical in thickness and diameter to the original.
Apply a light coating of plumber's grease to the new O-ring to help it seal better and last longer.
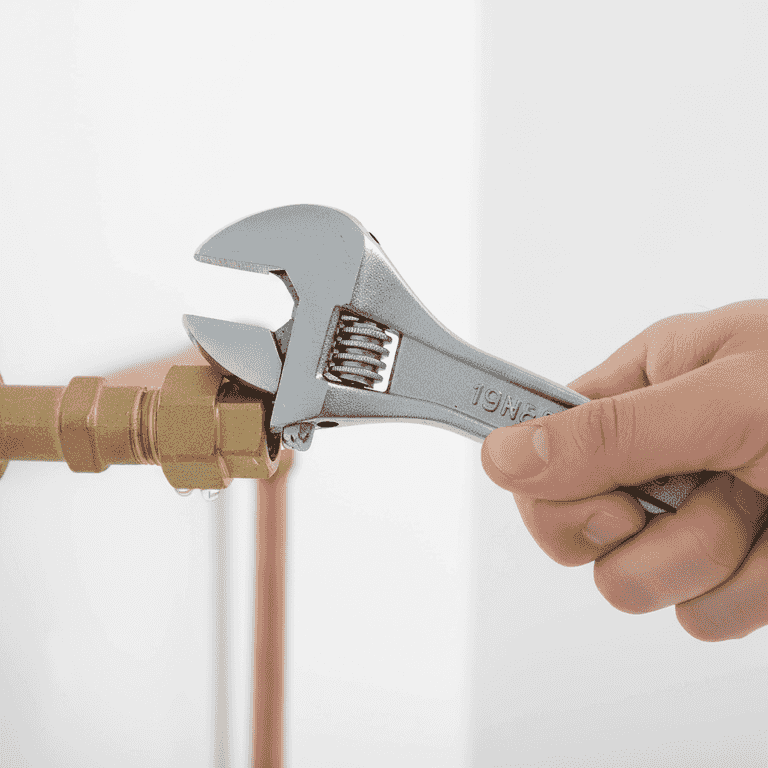
Reassemble the faucet
5 minutesInsert the valve stem back into the faucet body and tighten the packing nut.
Reattach the handle, tighten the screw, and replace the decorative cap. Ensure all components are firm but do not over-tighten.
Over-tightening can crack the faucet housing or strip the threads.
Clean any mineral deposits or debris from the threads before reattaching the nut.
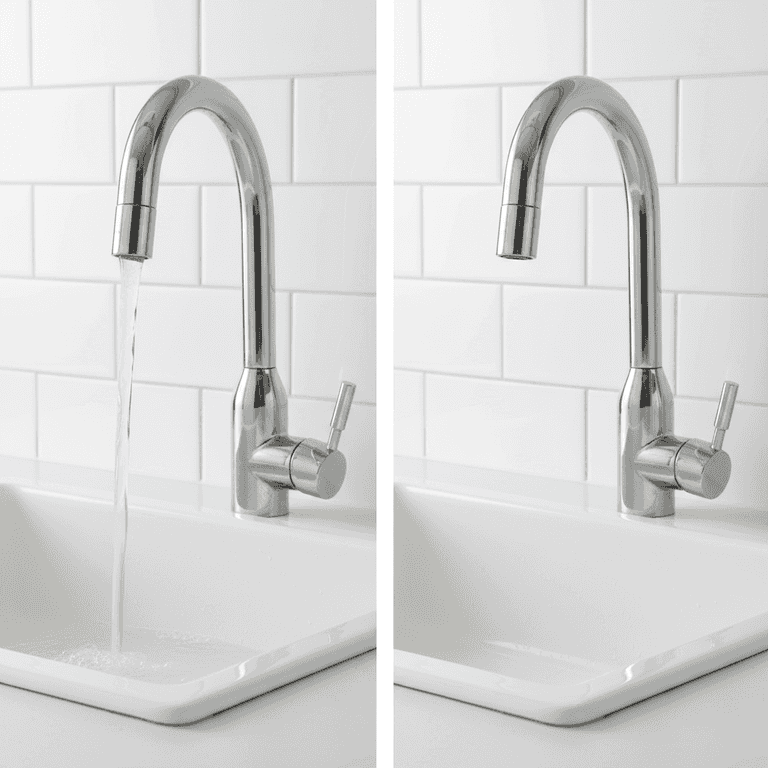
Test the repair
3 minutesTurn the water supply back on slowly and check for leaks.
Turn the faucet handle on to let air escape, then turn it off and observe the spout for any dripping. If it still leaks, repeat the process or check for worn valve seats.
If water sprays from the handle area, turn the water off immediately and check that the packing nut is tightened correctly.
Check for leaks at the base of the handle as well as the spout.
Pro Tips
- ●Always take the old part with you to the hardware store to get a perfect match.
- ●If the faucet still leaks after replacing the washer, the valve seat may be pitted and need professional attention.
- ●Use a rag to protect the chrome finish from wrench teeth.
- ●Keep a record of your faucet brand and model for easier future part identification.