How to Deep Clean Tile Grout
Restore the appearance of your tiled surfaces by removing embedded dirt, mold, and discoloration. This guide walks you through effective cleaning techniques to make your grout look brand new again.
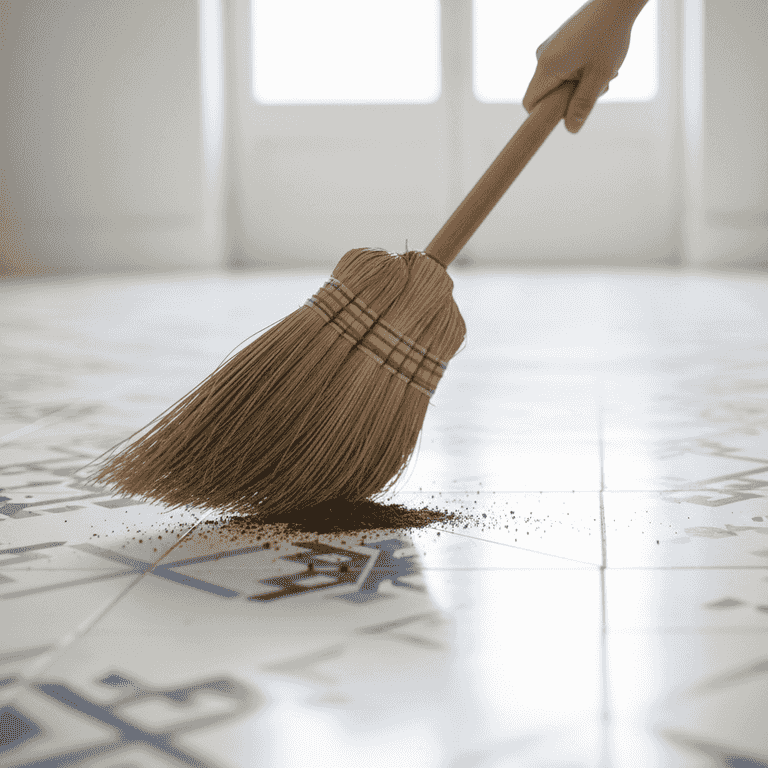
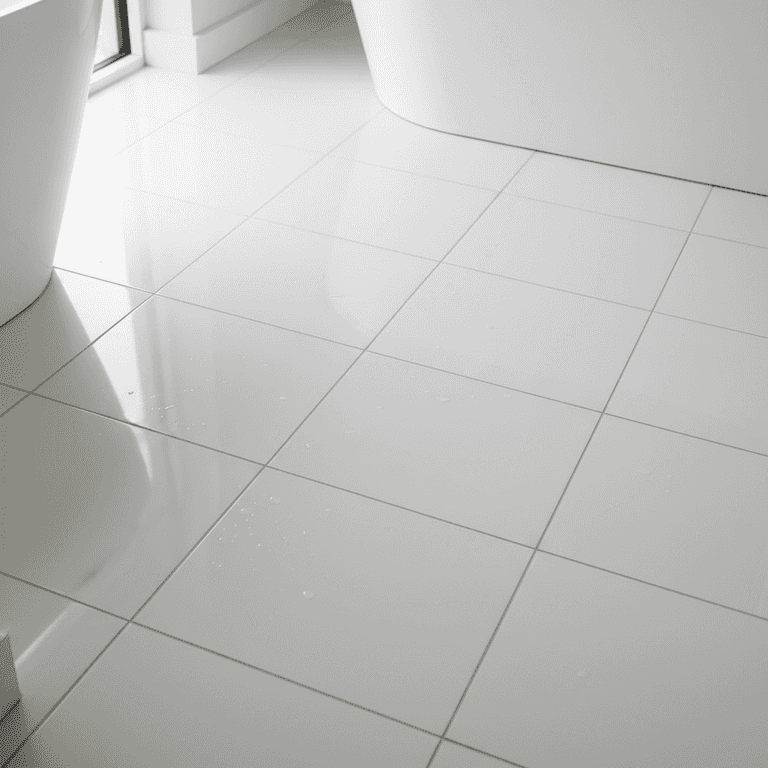
Clear and sweep the area
5 minutesRemove all furniture and sweep the tile floor to clear away loose debris.
Cleaning grout is much easier when the surface is free of dust and loose particles. A clean start prevents you from grinding dirt back into the grout lines.
Use a vacuum with a soft brush attachment for the best results.
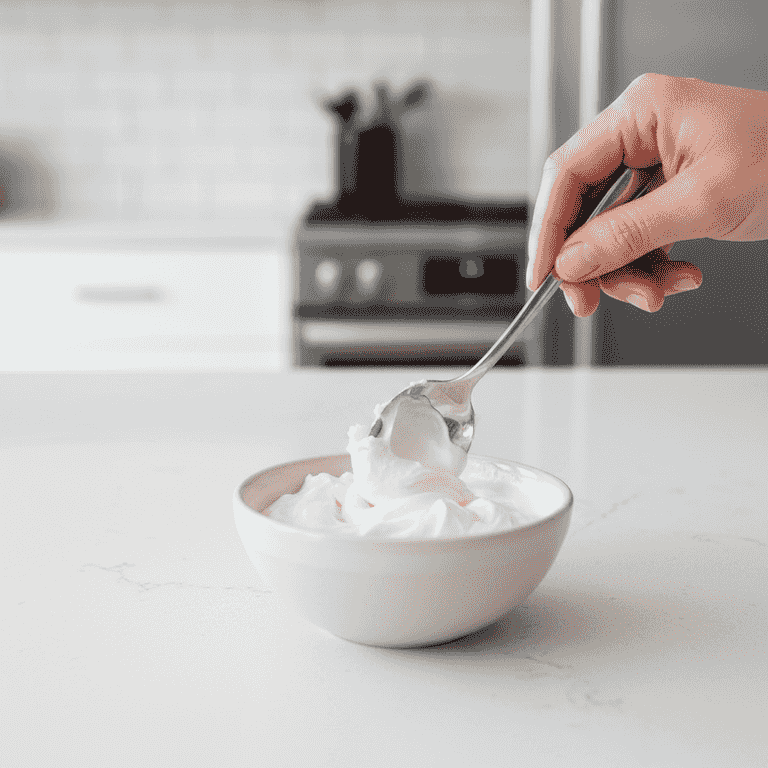
Prepare the cleaning solution
5 minutesMix your chosen cleaning agent according to the package instructions or create a paste using baking soda and water.
For a natural approach, a paste of three parts baking soda to one part water is highly effective. If using a commercial cleaner, ensure you follow the manufacturer's dilution ratios.
Wear rubber gloves before handling any chemical cleaning agents.
Test a small, inconspicuous area first to ensure the cleaner does not discolor the tile.
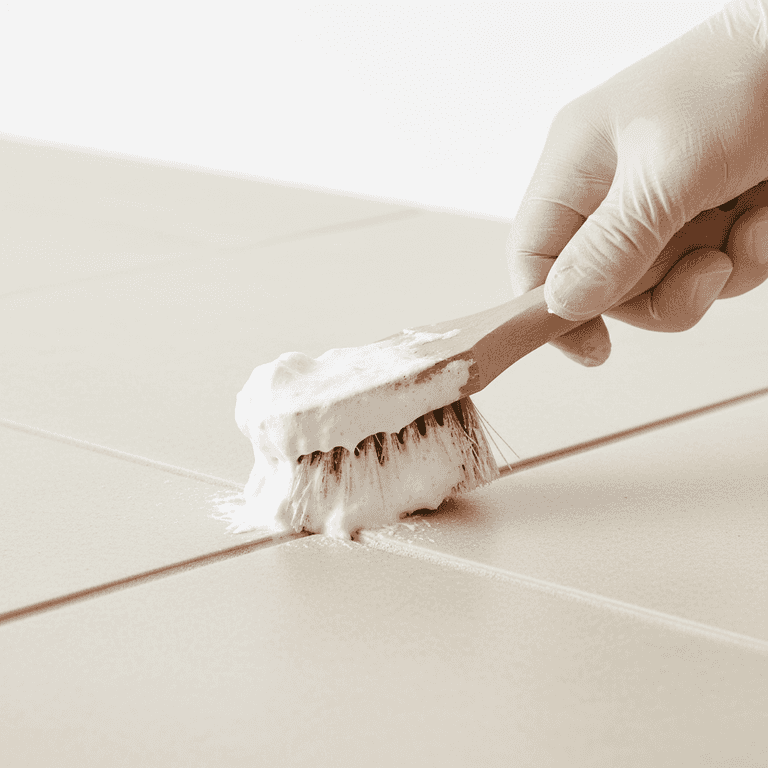
Apply the cleaner to grout lines
10 minutesSpread the cleaning paste or solution directly onto the grout lines.
Apply the cleaner generously so that the grout is fully covered. A thin layer is usually sufficient, but stubborn stains may require a thicker application.
Use an old toothbrush or a grout brush to push the solution into the crevices.
Allow the cleaner to dwell
20 minutesLet the cleaning solution sit on the grout for 15 to 30 minutes.
Dwell time is crucial as it allows the chemicals or baking soda to break down grease and grime. Do not let the cleaner dry out completely during this period.
If the solution begins to dry, lightly mist it with a spray bottle filled with water.
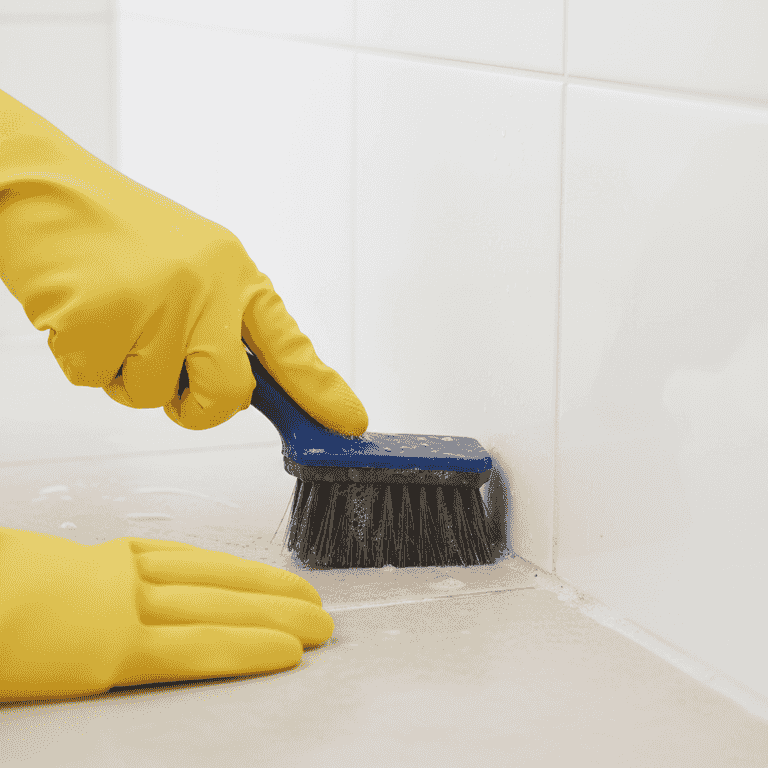
Scrub the grout lines
20 minutesScrub the grout lines vigorously using the grout brush.
Use a back-and-forth motion to lift the loosened dirt from the grout pores. Work in small sections to ensure you don't miss any spots.
Apply firm pressure, but avoid scrubbing so hard that you scratch the surrounding tiles.
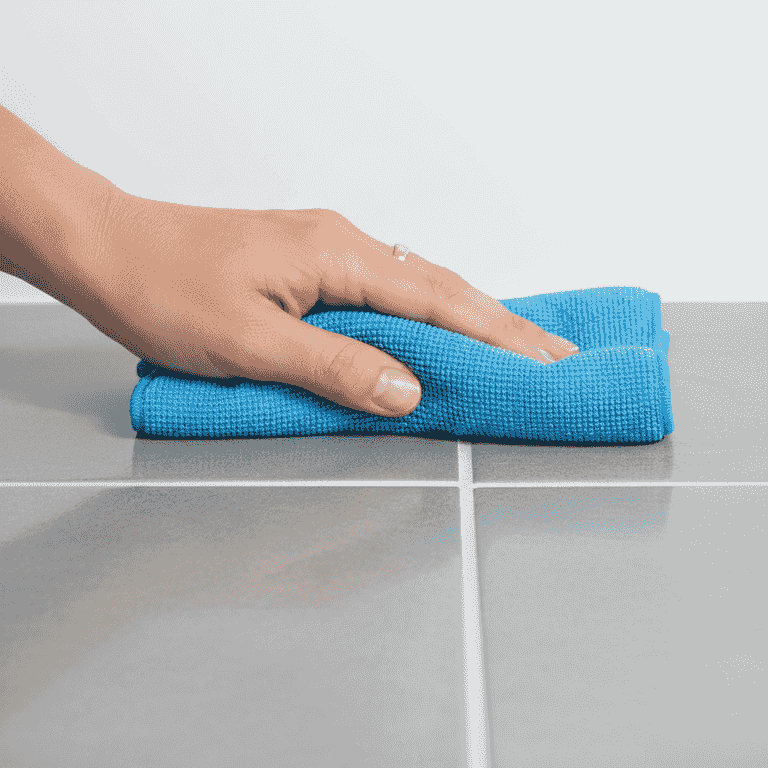
Wipe away residue and rinse
10 minutesWipe the area clean with a damp microfiber cloth and rinse with fresh water.
Removing the residue is important to prevent a filmy layer from remaining on the floor. Repeat the rinsing process if the surface feels slippery or looks cloudy.
Change your rinse water frequently to ensure you are always using clean water.
Pro Tips
- ●Apply a grout sealer after cleaning to prevent future stains and moisture absorption.
- ●Avoid using harsh acidic cleaners on natural stone tiles, as they can cause permanent etching.
- ●Steam cleaning is a great chemical-free alternative for regular maintenance.
- ●Keep a dedicated grout brush in your cleaning kit to make spot-cleaning easier in the future.