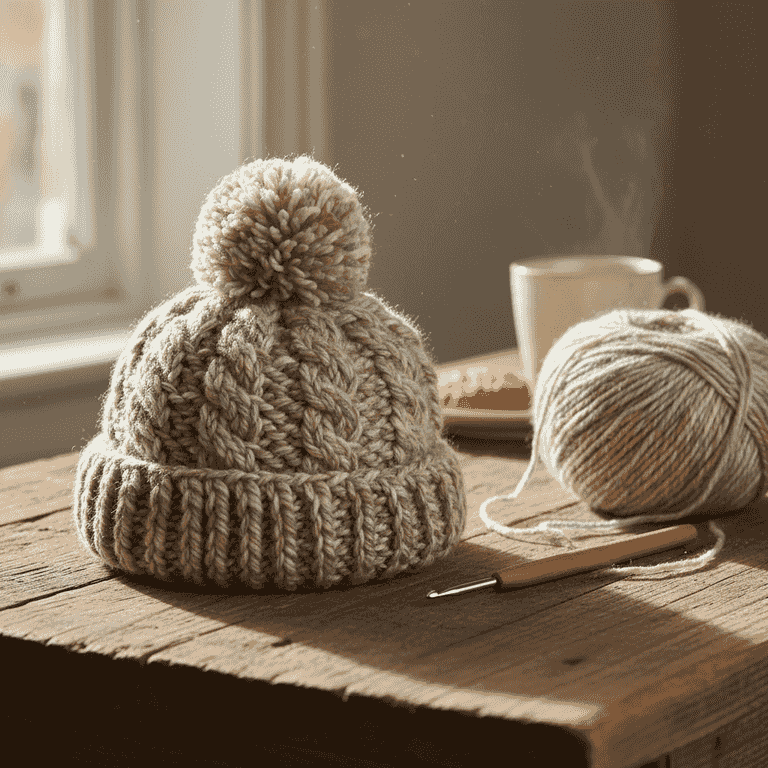
How to Crochet a Classic Beanie
Create a cozy, handmade beanie using basic crochet stitches. This project is perfect for beginners looking to practice working in the round and shaping a garment.
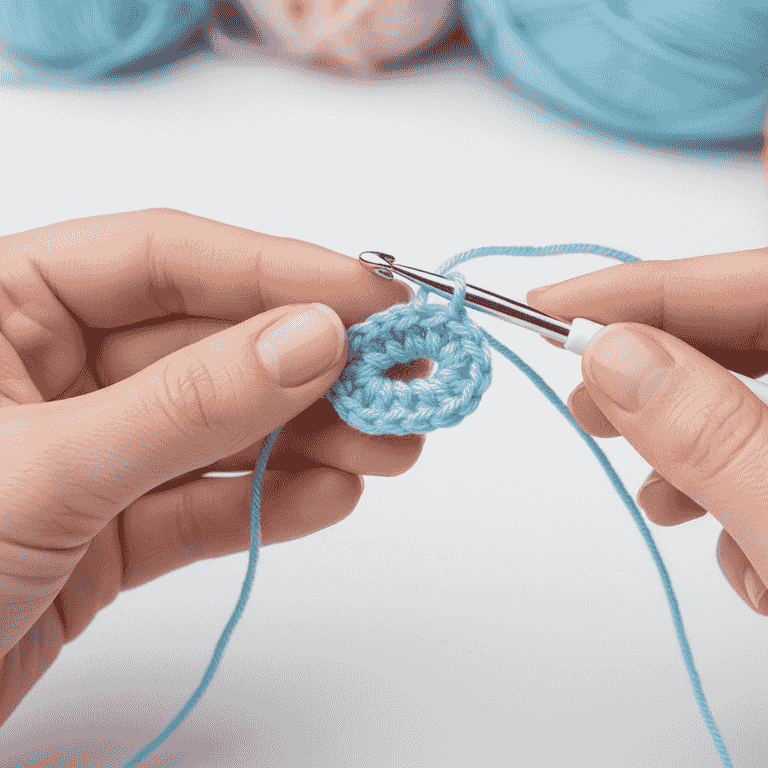
Create a magic ring
5 minutesForm a magic ring with your yarn to begin the crown of the beanie.
Wrap the yarn around your fingers to create a loop. Insert your hook into the loop, pull up a strand, and chain one to secure it.
If the magic ring is too difficult, chain 4 and join with a slip stitch to form a small circle instead.
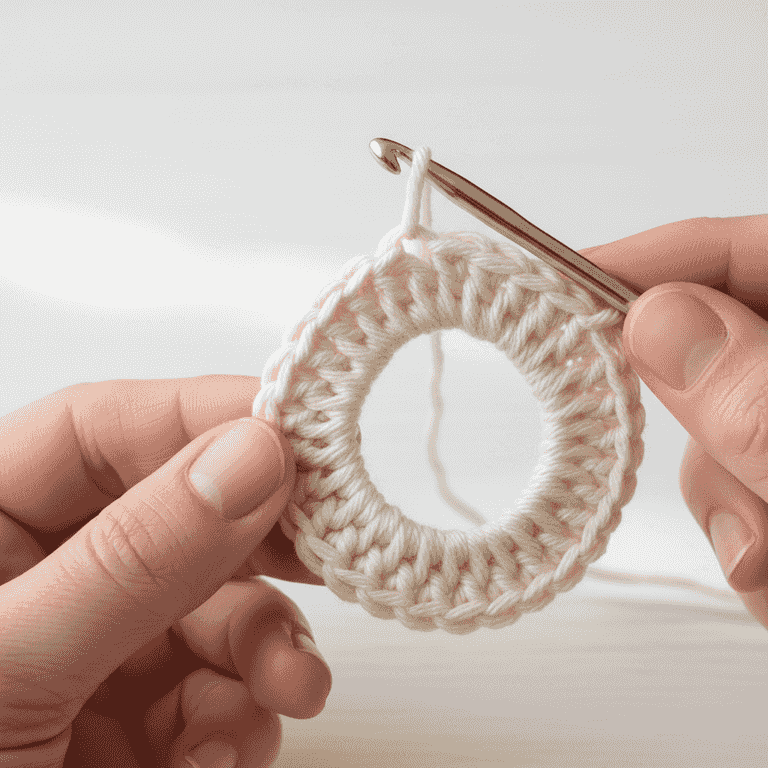
Work the foundation round
10 minutesCrochet 10 double crochet stitches into the center of the magic ring.
Yarn over, insert hook into the ring, pull up a loop, yarn over, pull through two loops, yarn over, pull through remaining two loops. Repeat until you have 10 stitches.
Place a stitch marker in the first stitch so you can easily identify the start of the round.
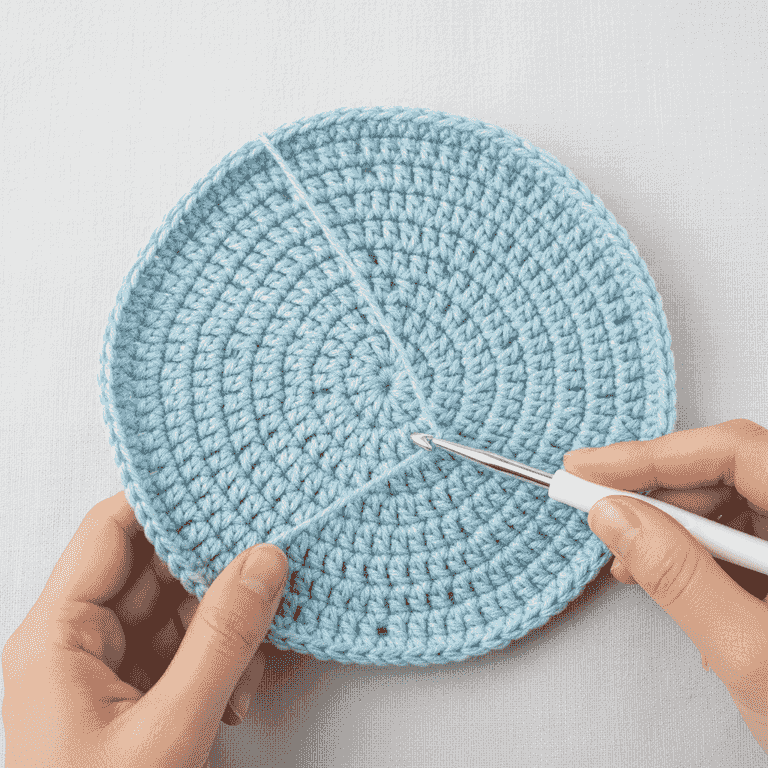
Increase the diameter
30 minutesIncrease stitches in the second and third rounds to expand the circle to the desired crown size.
Work two double crochet stitches into each stitch around. This creates the flat disc shape required for the top of the beanie.
Ensure your circle stays flat; if it starts to cup, you are not increasing enough.
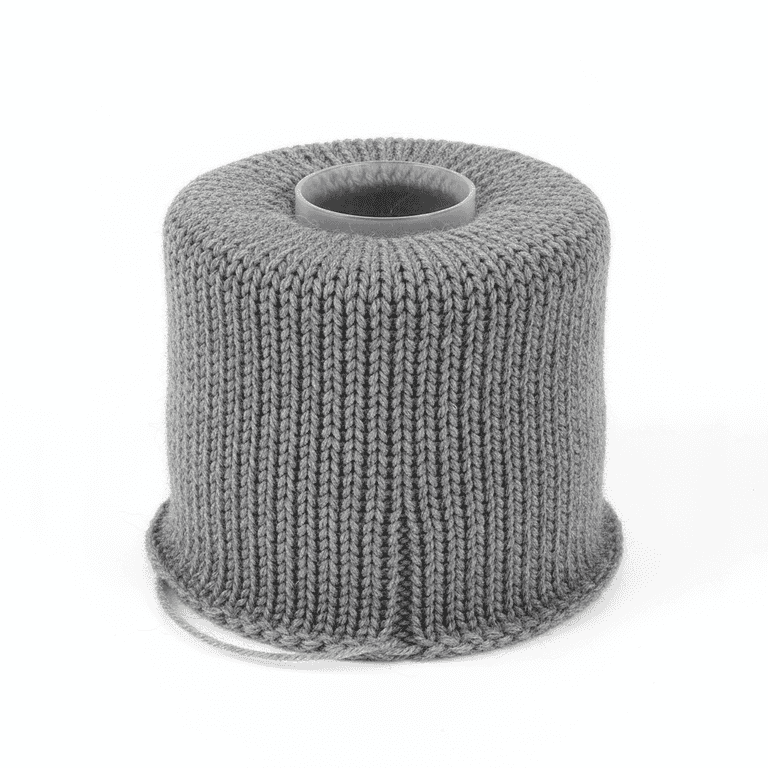
Work the body of the beanie
2 hoursStop increasing and work even rounds until the beanie reaches the desired length.
Work one double crochet in each stitch around without adding extra stitches. Continue this until the piece measures about 7 inches from the center.
Try the beanie on periodically to check the fit against your head.
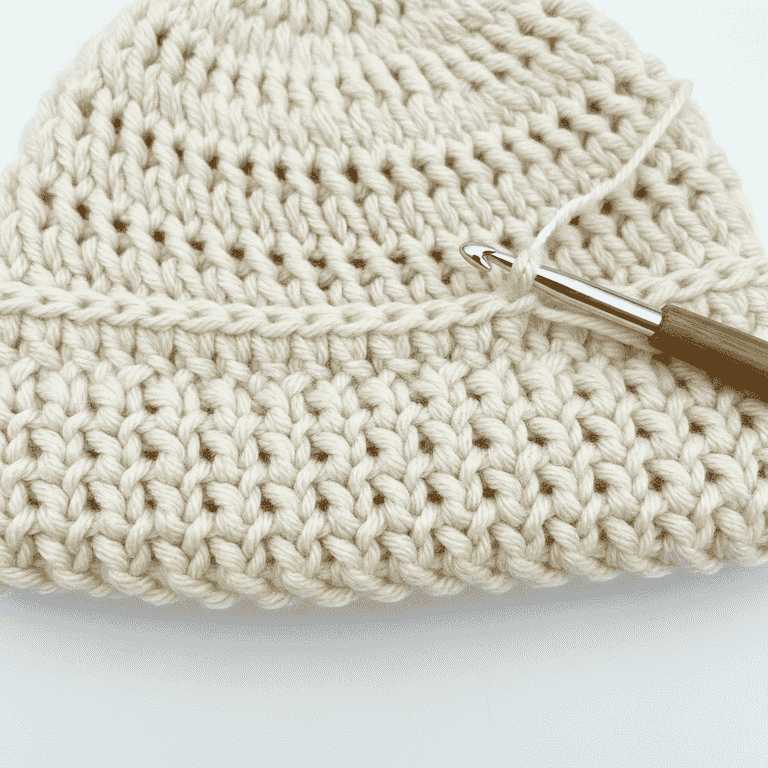
Finish with a brim
20 minutesSwitch to single crochet stitches for the final two rounds to create a tighter brim.
Single crochet into each stitch around to create a snug fit at the base of the beanie. This prevents the edge from flaring out.
Use a slightly smaller hook size for the brim if you want it extra snug.
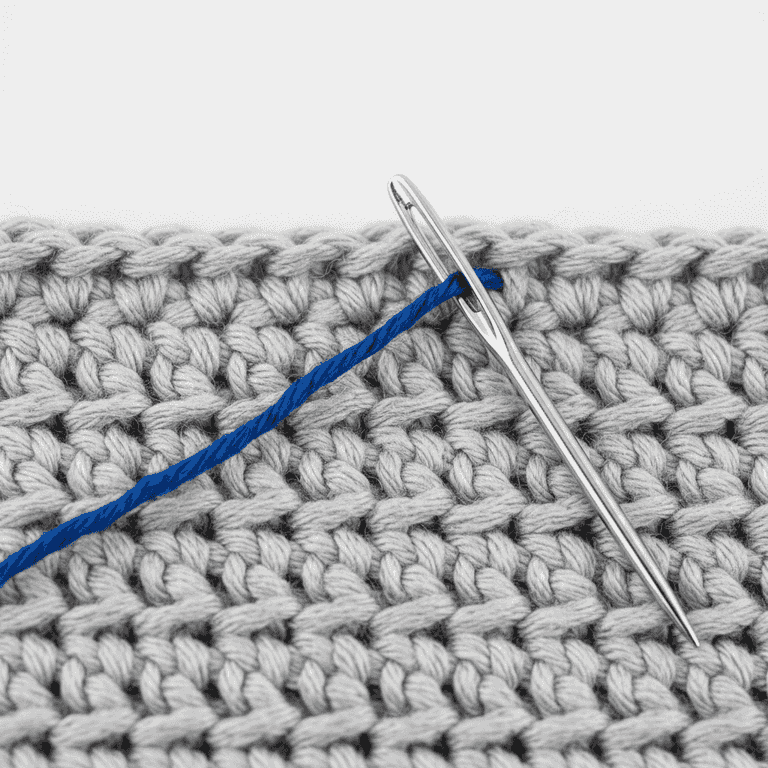
Secure and weave ends
10 minutesCut the yarn, pull the tail through the final loop, and weave in all loose ends.
Use a tapestry needle to thread the yarn tail through the back of the stitches to hide it securely. Trim any excess yarn.
Weave the yarn in different directions to ensure it doesn't pull out over time.
Pro Tips
- ●Always count your stitches at the end of every round to ensure consistency.
- ●Choose a light-colored yarn for your first project so you can easily see your stitches.
- ●Maintain consistent tension by holding the yarn firmly but comfortably.
- ●Blocking your finished beanie with steam can help even out the stitches for a professional look.