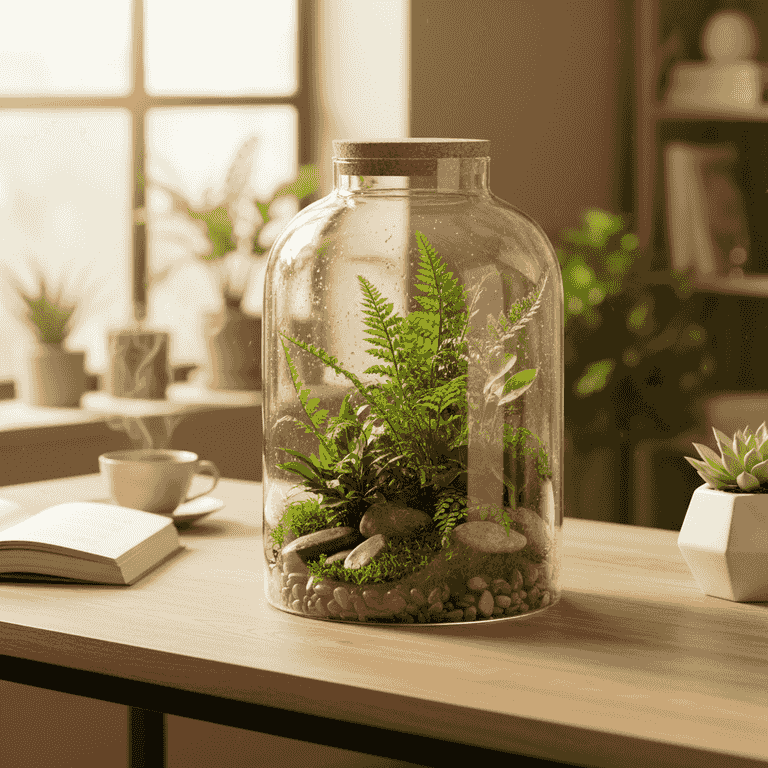
How to Create a Self-Sustaining Glass Terrarium
Build your own miniature indoor ecosystem with this step-by-step guide. A terrarium is a low-maintenance, beautiful way to bring nature into your home.
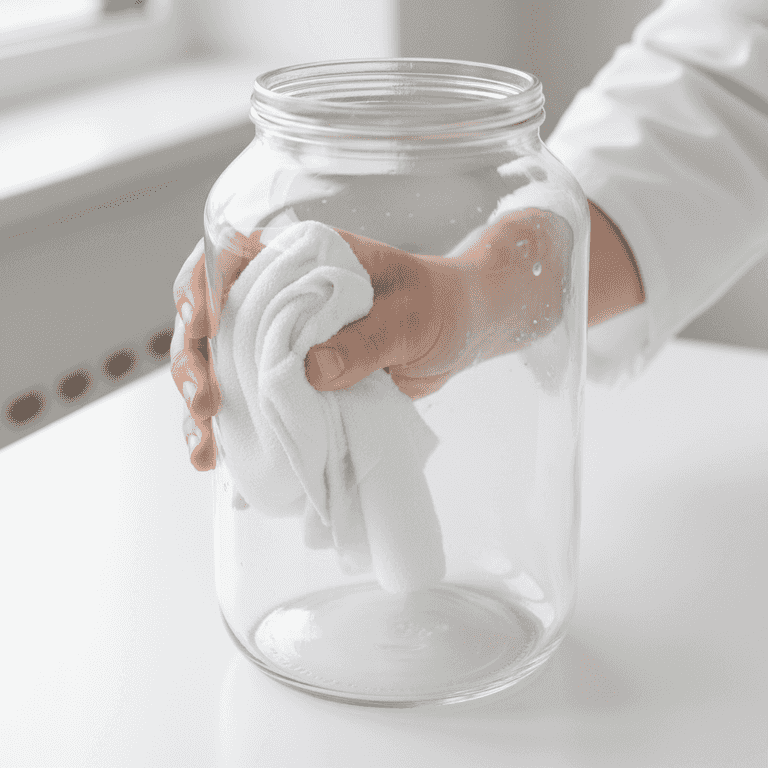
Prepare your glass container
5 minutesClean your glass container thoroughly with soap and water, then dry it completely.
A clean container prevents mold and bacterial growth, which is essential for a healthy closed ecosystem. Ensure no soap residue remains as it can harm your plants.
Do not use harsh chemicals to clean the glass as they can leave toxic residues.
Use a wide-mouthed jar if you are a beginner to make planting easier.
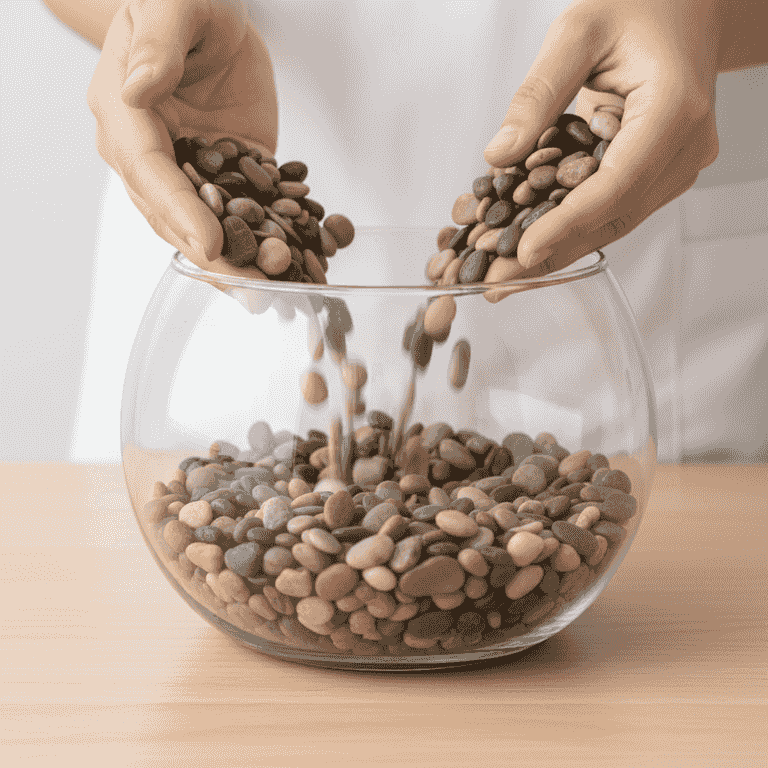
Add a drainage layer
5 minutesPour a one-inch layer of small pebbles or gravel into the bottom of the container.
Since most terrarium containers lack drainage holes, this layer prevents water from pooling at the bottom and causing root rot. Pea gravel or expanded clay pebbles work best.
Adding a thin layer of activated charcoal on top of the pebbles helps keep the water fresh.
Add a layer of potting soil
5 minutesSpread a two-inch layer of high-quality potting soil over the drainage layer.
Choose a soil mix appropriate for the plants you have selected, such as a succulent mix for cacti or a tropical mix for ferns. Do not pack the soil too tightly; keep it aerated.
Use a small shovel to smooth out the soil surface for a professional look.
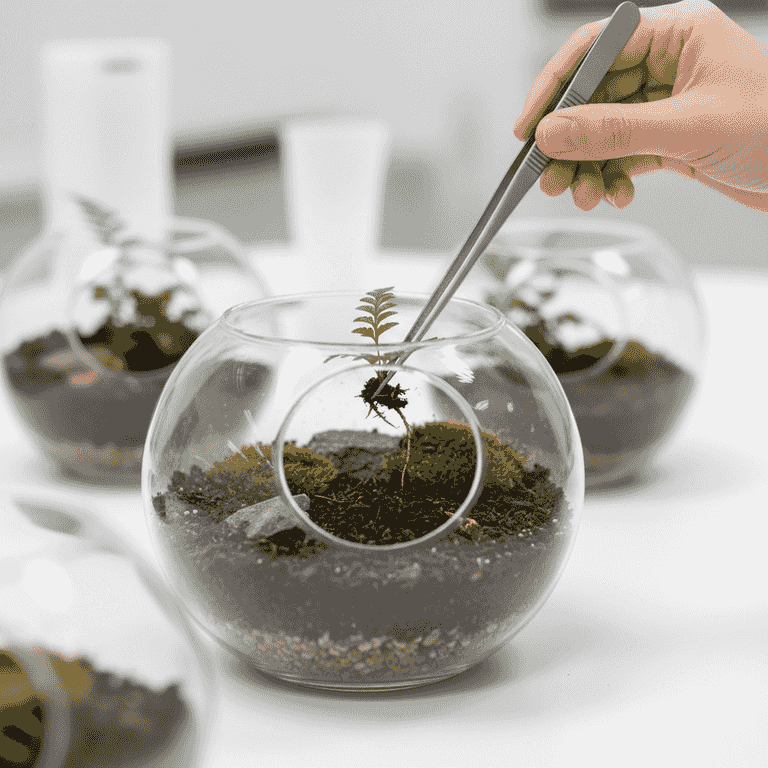
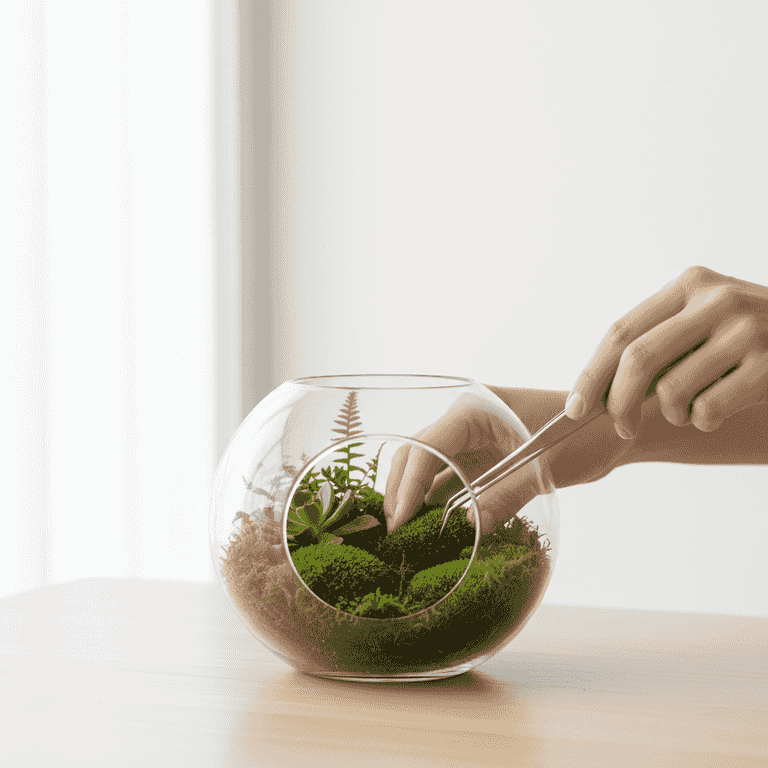
Plant your chosen greenery
15 minutesCreate small holes in the soil and tuck your plants in, ensuring the roots are fully covered.
Arrange your plants by height, placing larger ones in the back or center. Gently firm the soil around the base of each plant to secure them in place.
Avoid overcrowding the plants to allow room for growth and air circulation.
Use long tweezers to reach into deep jars to position plants without disturbing the surrounding soil.
Decorate the terrarium
10 minutesAdd decorative elements like moss, stones, or miniature figurines on top of the soil.
This step adds personal flair and helps retain moisture. Moss acts as a living mulch, while stones or wood pieces add structural interest to your miniature landscape.
Keep decorations away from the glass walls to maintain a clean appearance.
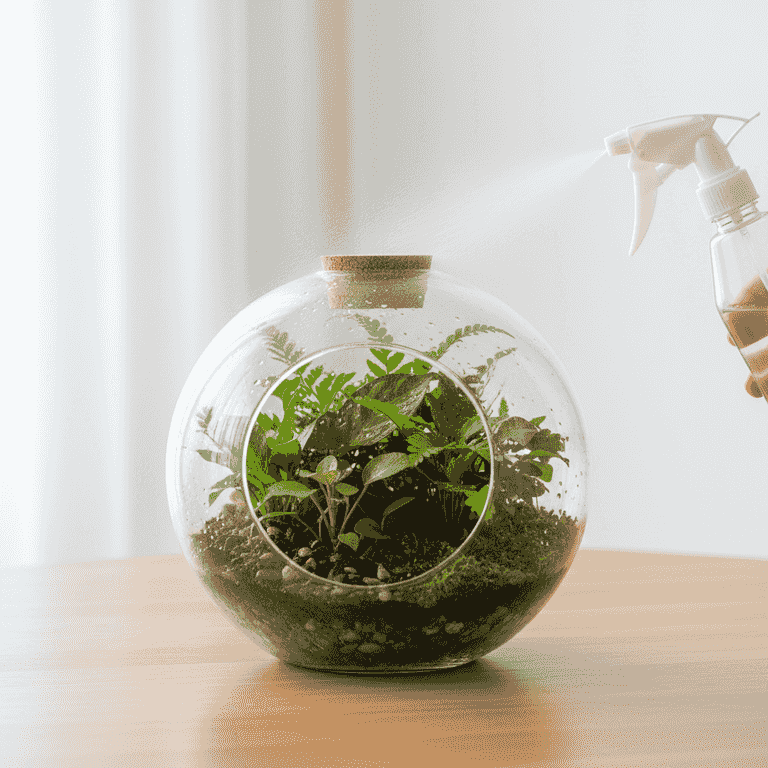
Water and seal the container
5 minutesLightly mist the plants with a spray bottle and place the lid on the container.
Only a small amount of water is needed. If you see heavy condensation, open the lid for a few hours to allow excess moisture to escape.
Do not overwater; the soil should be moist but never soggy.
If the jar is closed, the terrarium will recycle its own water, requiring very little maintenance.
Pro Tips
- ●Choose plants with similar light and moisture requirements to ensure they thrive together.
- ●Place your terrarium in bright, indirect light; direct sunlight will cook the plants through the glass.
- ●If the leaves turn yellow, you are likely overwatering.
- ●Prune your plants occasionally if they start touching the glass to keep the terrarium looking neat.