
How to Change Wiper Blades
Replacing your wiper blades is a simple and essential maintenance task that ensures clear visibility during inclement weather. This guide walks you through the process of safely removing old blades and installing new ones to keep your windshield streak-free.

Lift the wiper arm
1 minuteLift the wiper arm away from the windshield until it locks into a perpendicular position.
Most wiper arms are spring-loaded. Pull firmly but gently until you feel the hinge lock into place, holding the arm securely away from the glass.
Be careful not to let the bare metal arm snap back against the windshield, as the force can easily shatter the glass.
Place a folded towel or piece of cardboard on the windshield beneath the arm as a safety buffer.
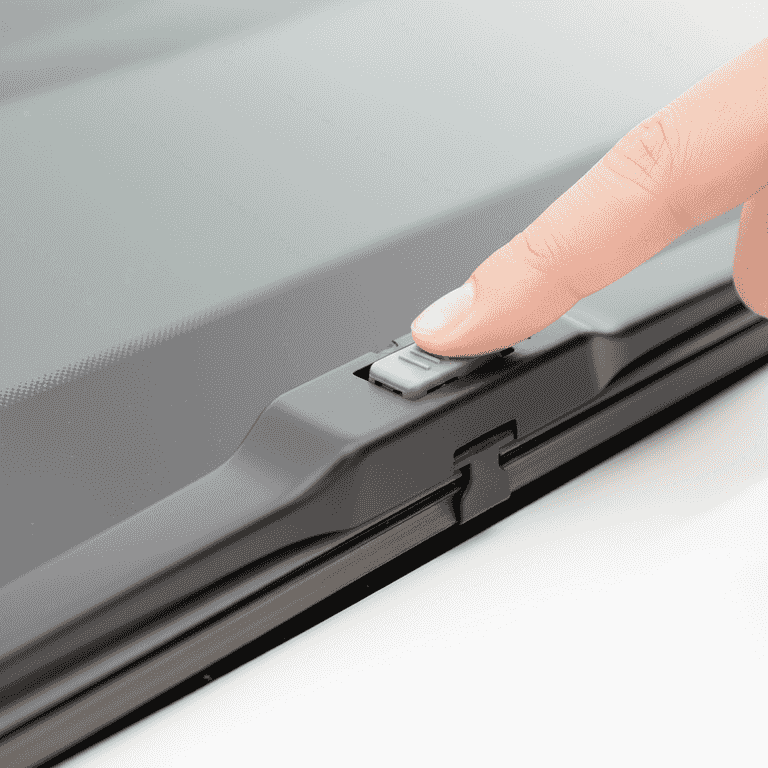
Identify the release tab
2 minutesLocate the small locking tab or button where the blade connects to the arm.
The connection point usually features a plastic clip or a lever that secures the blade to the J-hook or pin of the arm.
Consult your owner's manual if the mechanism is not immediately obvious, as some vehicles use specialized connectors.
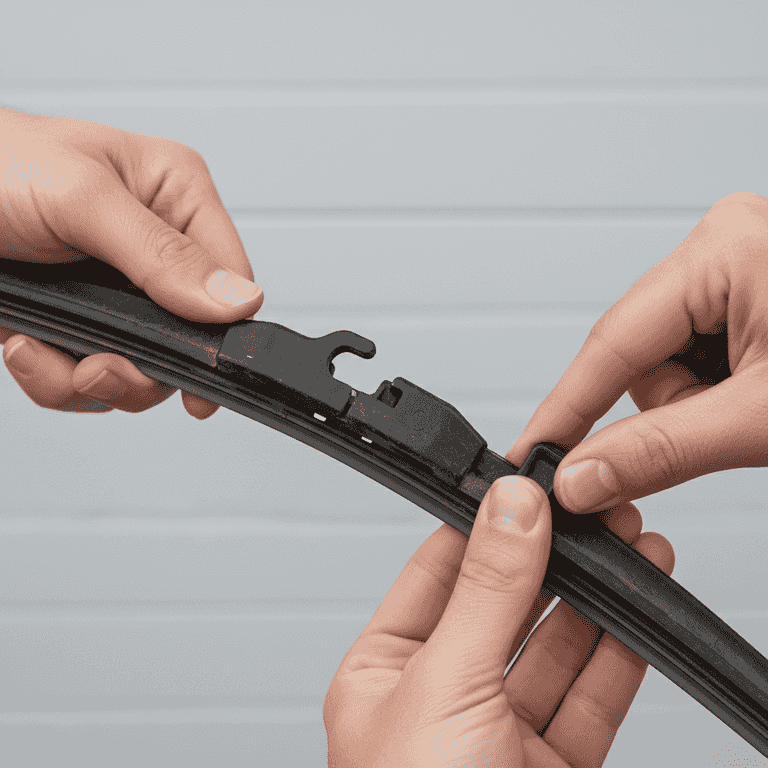
Remove the old blade
2 minutesPress the release tab and slide the old wiper blade downward away from the hook or mount.
Once the tab is depressed, the blade should slide off the arm with minimal resistance. If it is stuck, ensure the tab is fully depressed.
Do not use excessive force, as you may bend the wiper arm.
Wiggle the blade gently if it has become stuck due to debris or corrosion.

Clean the windshield
2 minutesWipe the area of the windshield where the old blade sat using a microfiber cloth.
Removing grit and grime ensures the new blade makes full contact with the glass and prevents premature wear of the rubber edge.
Use a small amount of glass cleaner if the area is particularly dirty.
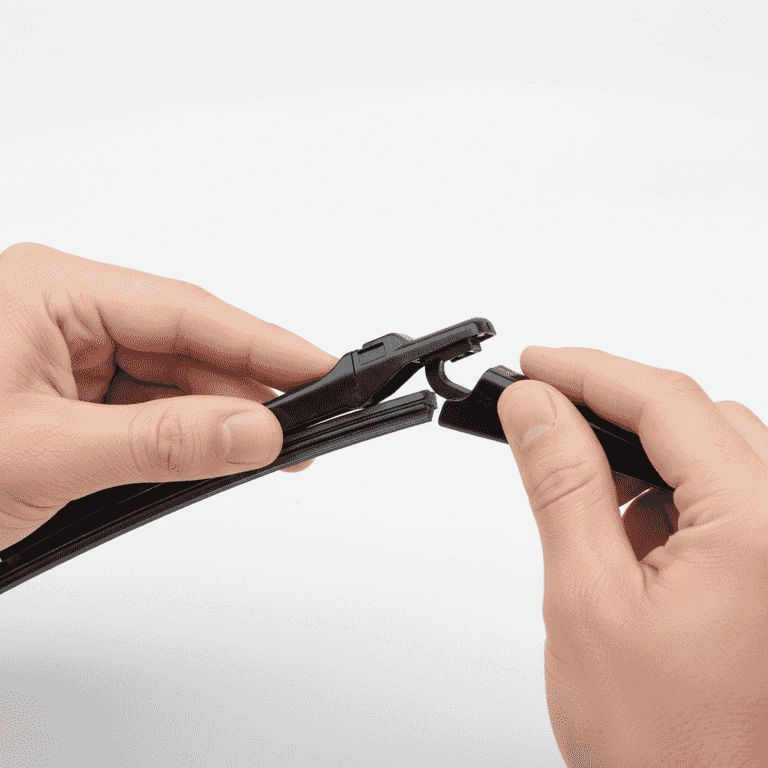
Install the new blade
2 minutesSlide the new blade onto the wiper arm until you hear or feel a distinct click.
Align the attachment point of the new blade with the arm's hook or pin and pull upward until the locking tab snaps into place.
Verify the connection is secure by giving the blade a gentle tug.

Lower the wiper arm
1 minuteGently lower the wiper arm back down onto the windshield.
Guide the arm down slowly to ensure the new blade sits flat and even against the glass surface.
Ensure the arm is lowered slowly; do not let it drop freely.
Remove the protective towel or cardboard from step 1 before lowering the arm.
Pro Tips
- ●Replace your wiper blades every 6 to 12 months for optimal performance.
- ●Check your owner's manual to ensure you purchase the correct blade length, as the driver and passenger sides are often different sizes.
- ●Avoid using your wipers to clear ice; use an ice scraper instead to prevent damaging the rubber blades.
- ●Clean your wiper blades with a damp cloth periodically to remove road film and extend their lifespan.