
How to Change Transmission Fluid
Regular transmission fluid changes are essential for maintaining smooth gear shifts and extending the life of your vehicle's transmission. This guide walks you through the process of draining old fluid and replacing it with fresh fluid to ensure optimal performance.
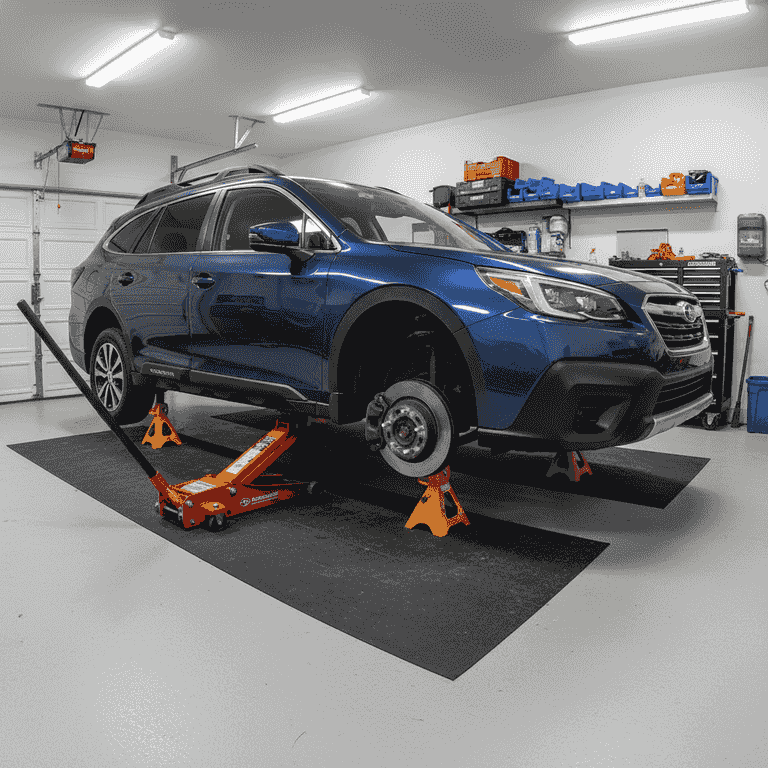
Lift and secure the vehicle
10 minutesRaise the vehicle using a jack and place it securely on jack stands.
Ensure the vehicle is on a level surface. Position the jack stands at the manufacturer-recommended lift points to prevent damage to the chassis.
Ensure the car is stable and cannot move before crawling underneath.
Check your owner's manual for specific lift point locations.
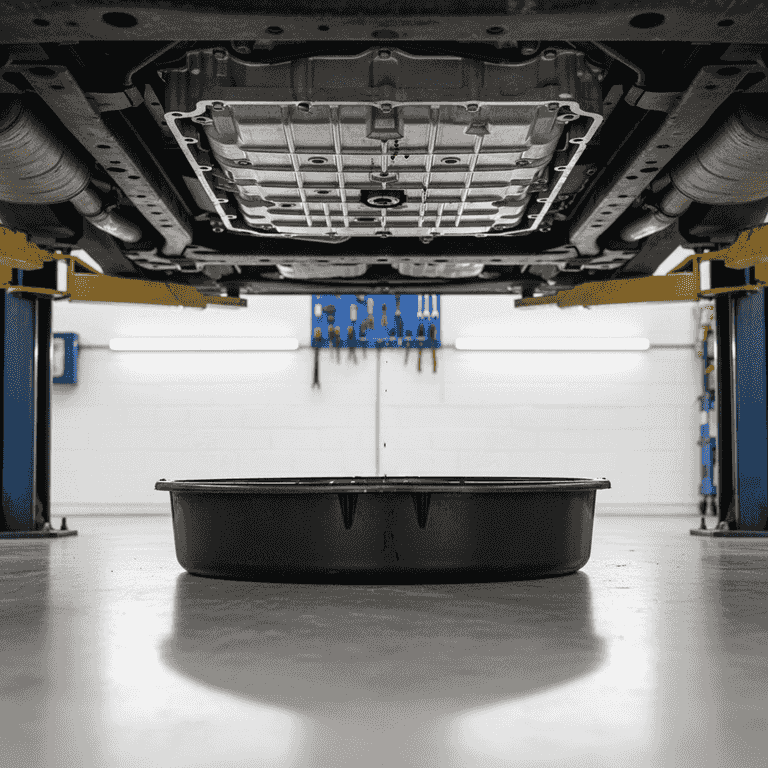
Position the drain pan
2 minutesPlace the drain pan directly underneath the transmission drain plug or pan.
Transmission fluid can splash, so ensure the pan is wide enough to catch the initial flow. Position it to account for the angle of the fluid stream as it exits.
Place cardboard under the pan to protect your garage floor from accidental drips.
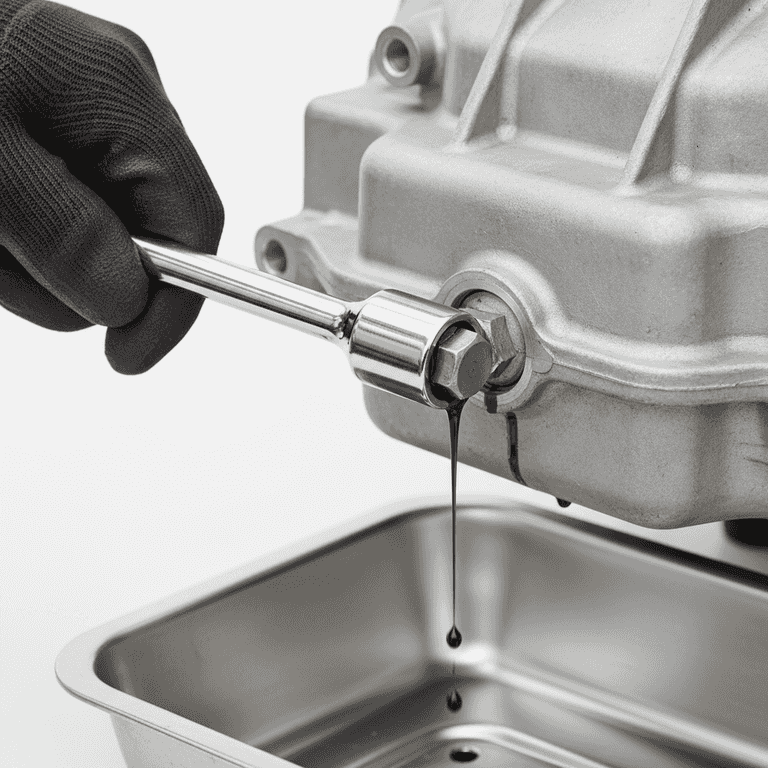
Drain the old fluid
20 minutesRemove the drain plug or loosen the pan bolts to allow the fluid to drain completely.
If your vehicle has a drain plug, simply unscrew it. If not, carefully loosen the pan bolts in a cross pattern to break the seal and drain the fluid.
Fluid may still be warm; use caution when removing the plug.
Wear latex or nitrile gloves to keep your hands clean.
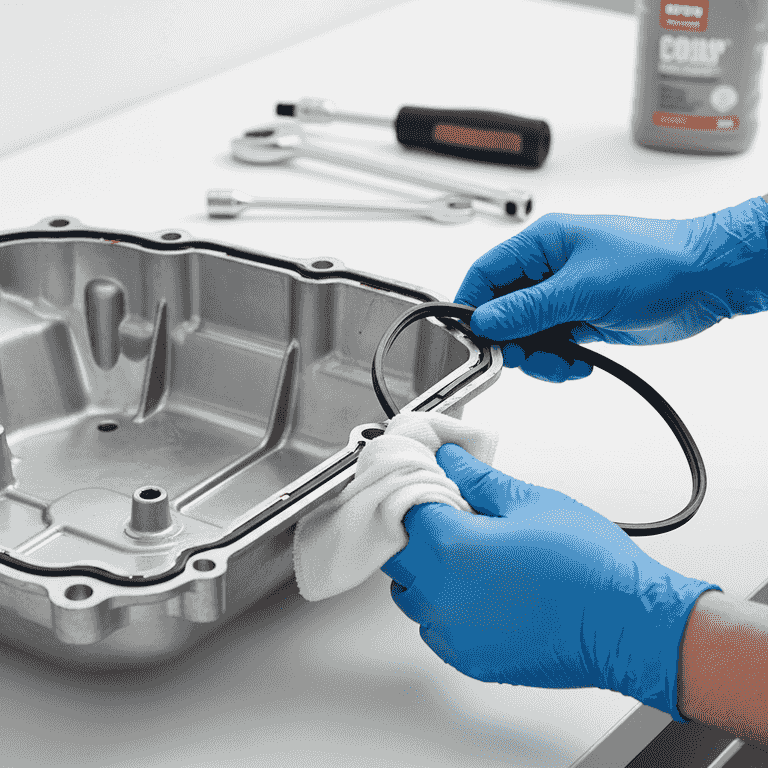
Clean the area and replace the plug/gasket
10 minutesClean the drain plug or pan surface and install a new gasket or O-ring.
Wipe away all old fluid residue from the mating surfaces. Using a new gasket or crush washer prevents leaks after reassembly.
Do not overtighten the plug or bolts as this can strip the threads.
Inspect the drain plug magnet for metal shavings, which can indicate internal wear.
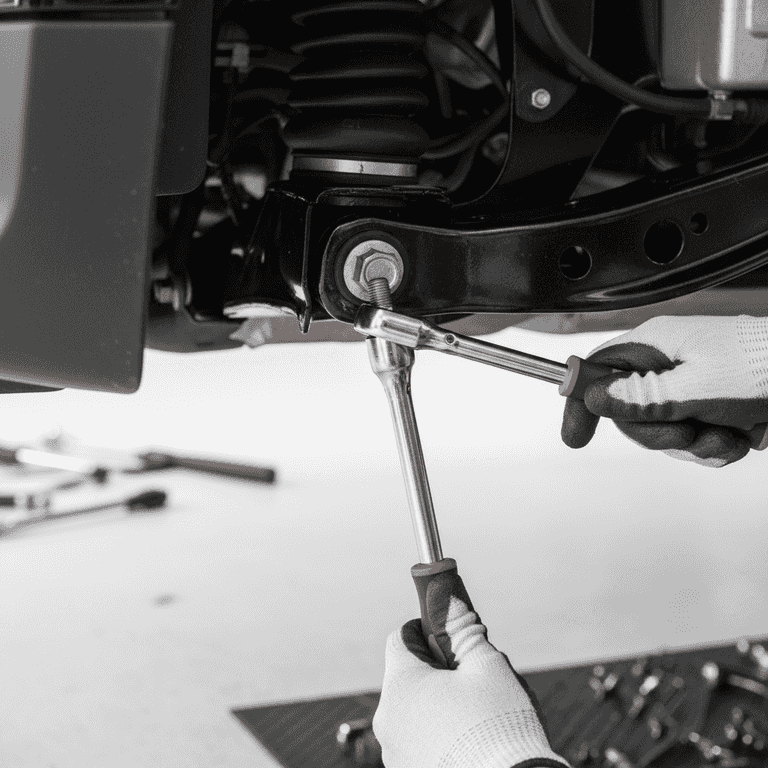
Tighten to specifications
5 minutesReinstall the drain plug or transmission pan and torque the bolts to the manufacturer's specification.
Use a torque wrench to ensure even pressure across the pan seal. Refer to your vehicle service manual for the exact torque setting.
Overtightening can crack the transmission pan or damage the gasket.
Tighten bolts in a star pattern to ensure an even seal.
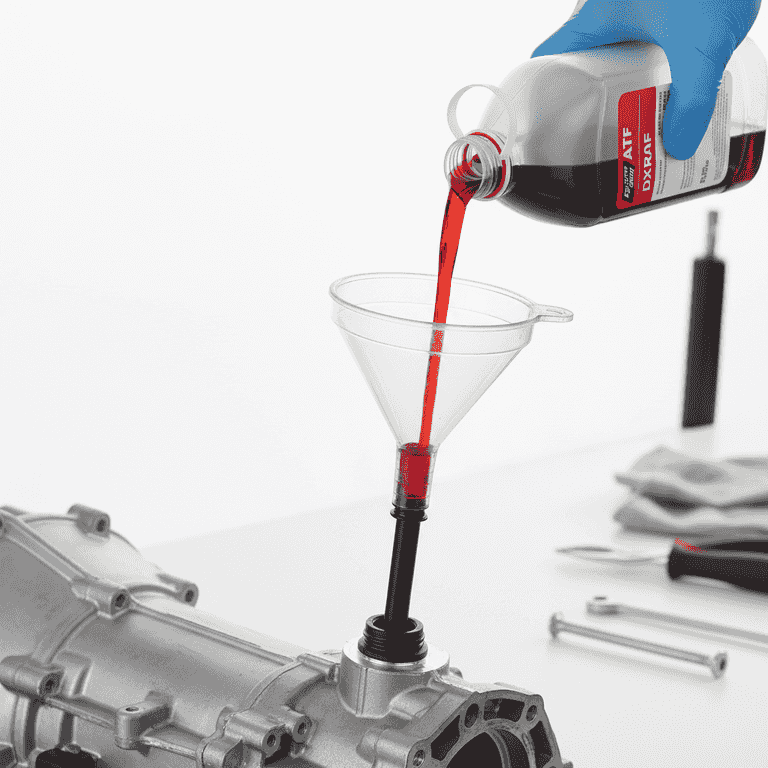
Refill with new fluid
15 minutesLocate the transmission dipstick tube or fill port and add the correct amount of fresh fluid.
Insert your funnel into the fill port. Pour in the fluid slowly to avoid overflowing the tube, checking the level frequently if your car has a dipstick.
Adding the wrong type of fluid can cause catastrophic transmission failure.
Use the exact type of transmission fluid specified in your owner's manual.
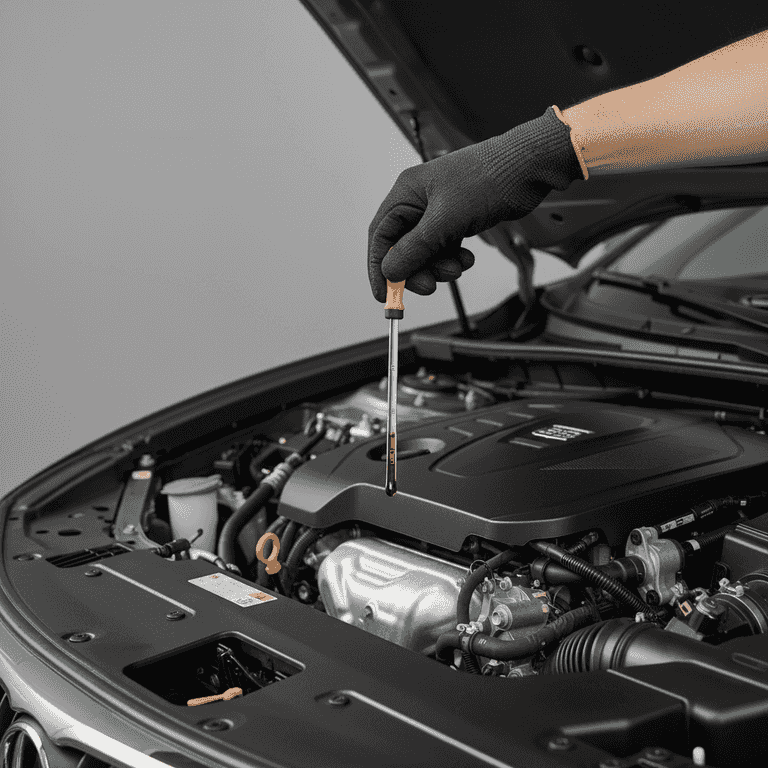
Check levels and test
15 minutesStart the engine, cycle through the gears, and verify the fluid level.
With the engine running and the parking brake engaged, move the shifter through all gears (P, R, N, D) to circulate the fluid. Re-check the level using the dipstick and top off if necessary.
Keep your foot firmly on the brake pedal while cycling through the gears.
Check for any leaks under the car after the test drive.
Pro Tips
- ●Always use the exact fluid type specified by the manufacturer; universal fluids may not meet your car's requirements.
- ●If your transmission has a replaceable filter, always change it while the pan is off.
- ●Perform this maintenance on a slightly warm engine to ensure the fluid flows easily, but not so hot that it causes burns.
- ●Keep a record of the mileage when the fluid was changed to track your service intervals.