How to Change Brake Pads
Replacing your brake pads is a fundamental automotive skill that ensures your vehicle stops safely and efficiently. This guide walks you through the process of removing worn pads and installing fresh ones using standard hand tools.
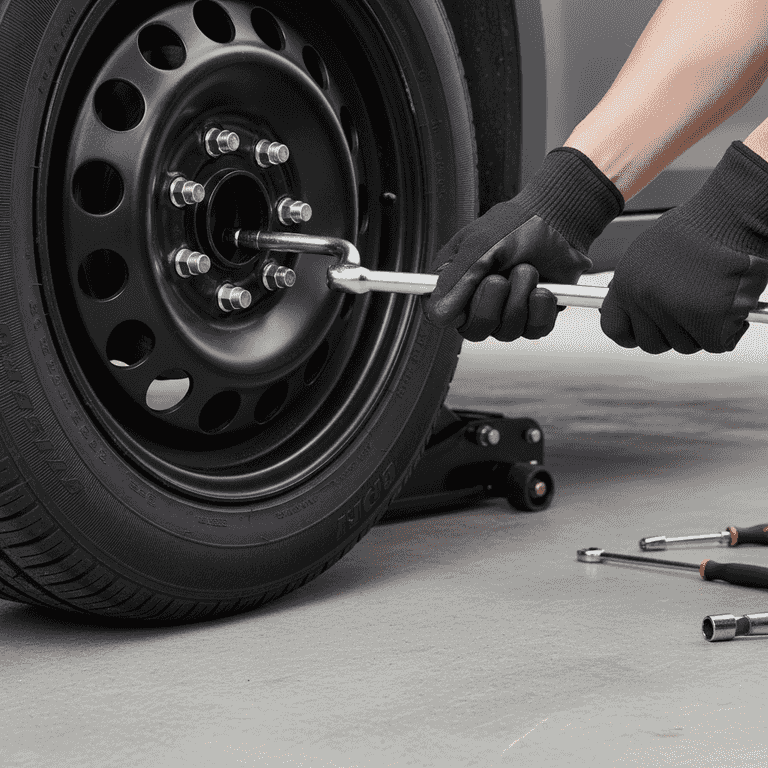
Prepare the vehicle
10 minutesPark on a flat, level surface and engage the parking brake.
Loosen the lug nuts on the wheels you are servicing before lifting the car, as the resistance from the ground prevents the wheel from spinning.
Ensure the car is completely stable before proceeding.
Place wheel chocks behind the opposite wheels to prevent rolling.

Lift and secure the vehicle
10 minutesUse the floor jack to raise the vehicle and secure it firmly on jack stands.
Consult your owner's manual for the correct jacking points. Once the vehicle is at the desired height, lower it slowly onto the jack stands.
Never rely solely on the hydraulic jack.
Give the car a firm shake to ensure it is stable on the stands before crawling underneath.
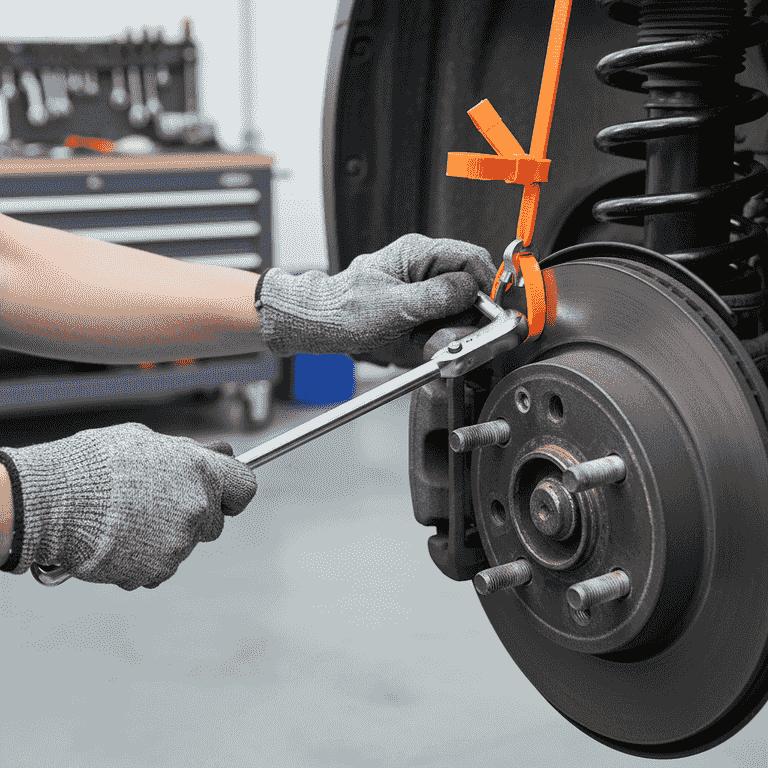
Remove the brake caliper
15 minutesUnbolt the caliper from the mounting bracket using your socket wrench.
Once removed, hang the caliper from the suspension coil using a bungee cord or wire. Do not let it hang by the brake hose, as this can damage the line.
Do not let the caliper hang by the rubber brake line.
Use a bungee cord to keep the caliper out of the way.
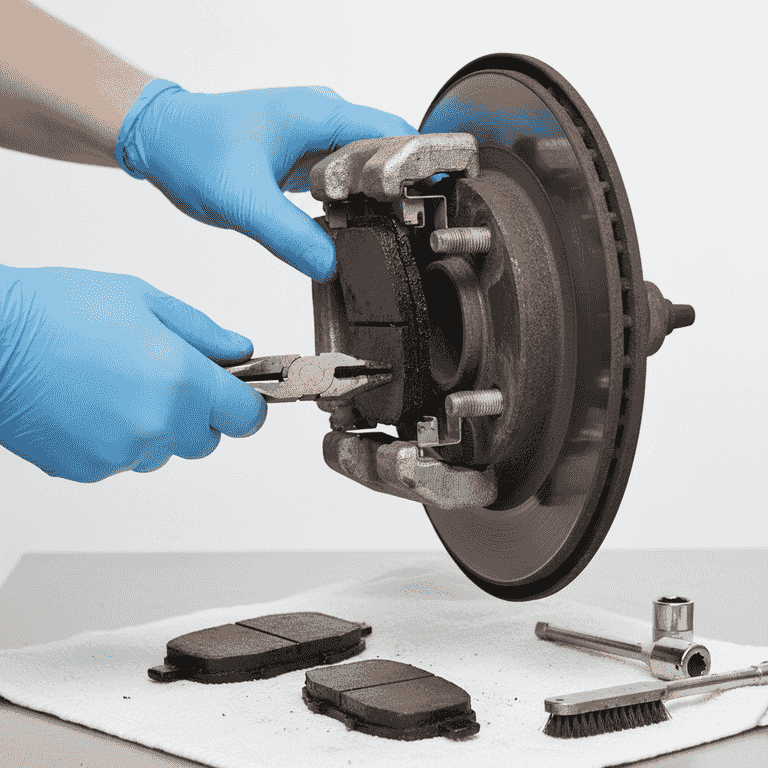
Extract the old brake pads
5 minutesSlide the old brake pads out of the caliper bracket.
Note the orientation of the pads and any anti-rattle clips so you can replicate the setup with the new parts.
Brake dust may be present; avoid blowing it off with compressed air.
Take a photo of the assembly before disassembly for reference.
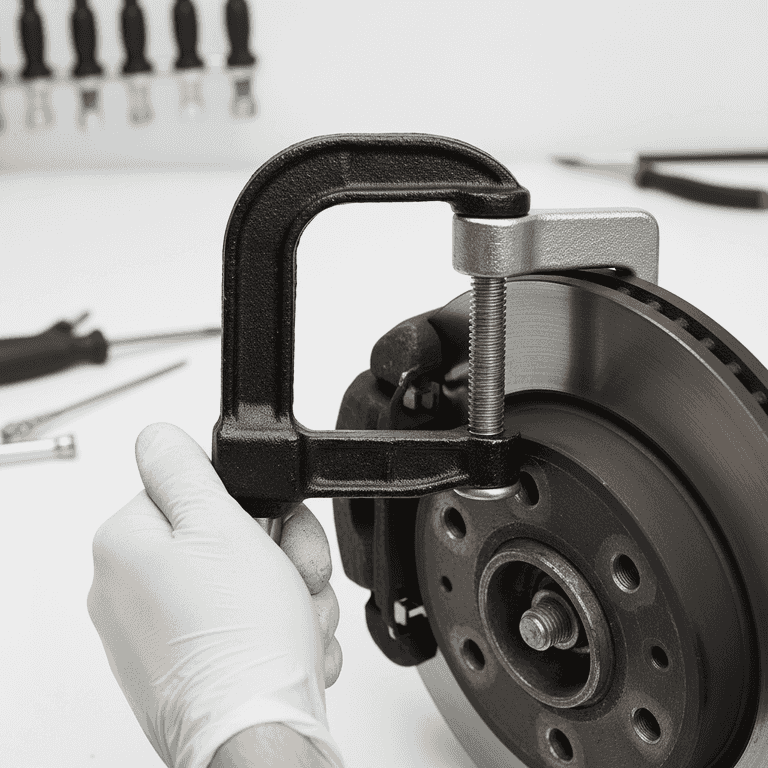
Compress the caliper piston
10 minutesUse a C-clamp or brake piston tool to push the piston fully back into the caliper housing.
The piston must be retracted to make room for the thickness of the new, unworn brake pads. Check the brake fluid reservoir to ensure it does not overflow.
If the reservoir is full, siphon some fluid out before compressing to prevent spills.
Place one of the old pads against the piston to distribute pressure evenly while compressing.
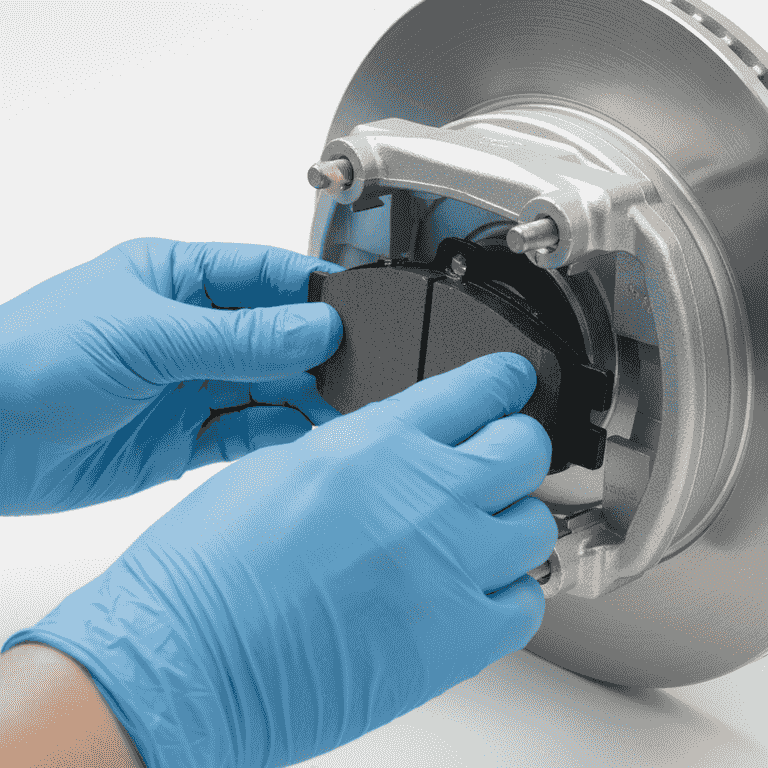
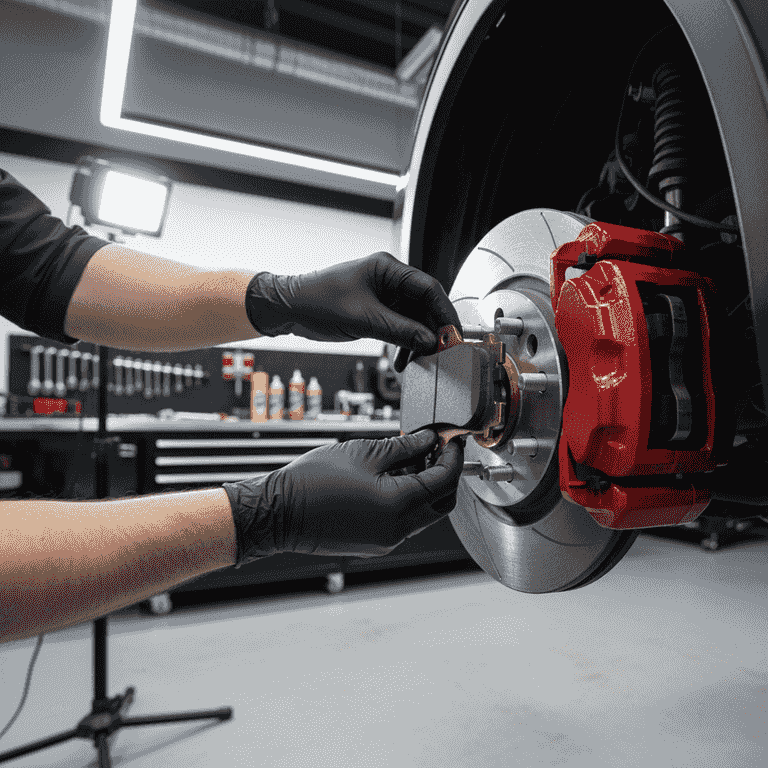
Install new pads and reassemble
15 minutesSlide the new brake pads into the bracket and reattach the caliper.
Ensure the pads are seated correctly and the anti-rattle clips are in place. Tighten the caliper bolts to the manufacturer's specified torque.
Ensure no grease touches the pad friction surface or the rotor.
Apply a thin layer of brake grease to the back of the pads to prevent squeaking.
Pro Tips
- ●Always replace brake pads in pairs across the same axle.
- ●Check your rotors for grooves or warping; if damaged, they may need to be resurfaced or replaced.
- ●Pump the brake pedal several times after installation until firm before starting the engine.
- ●Perform a 'bed-in' procedure according to the pad manufacturer's instructions for optimal performance.