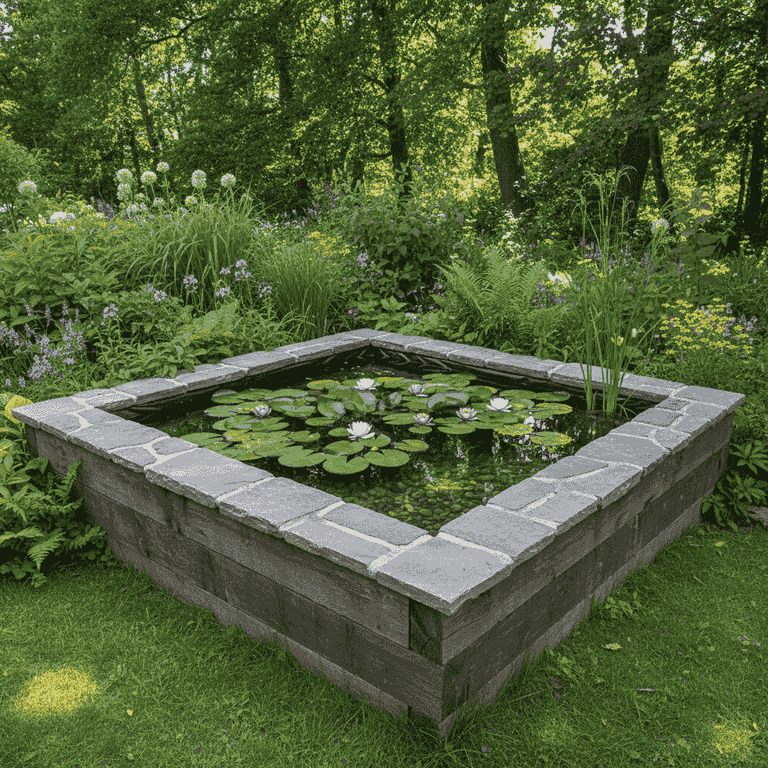
How to Build a Raised Pond
Construct a stunning raised pond to add a peaceful water feature to your garden. This project uses modular materials to create a durable, self-contained aquatic habitat that is easy to maintain.
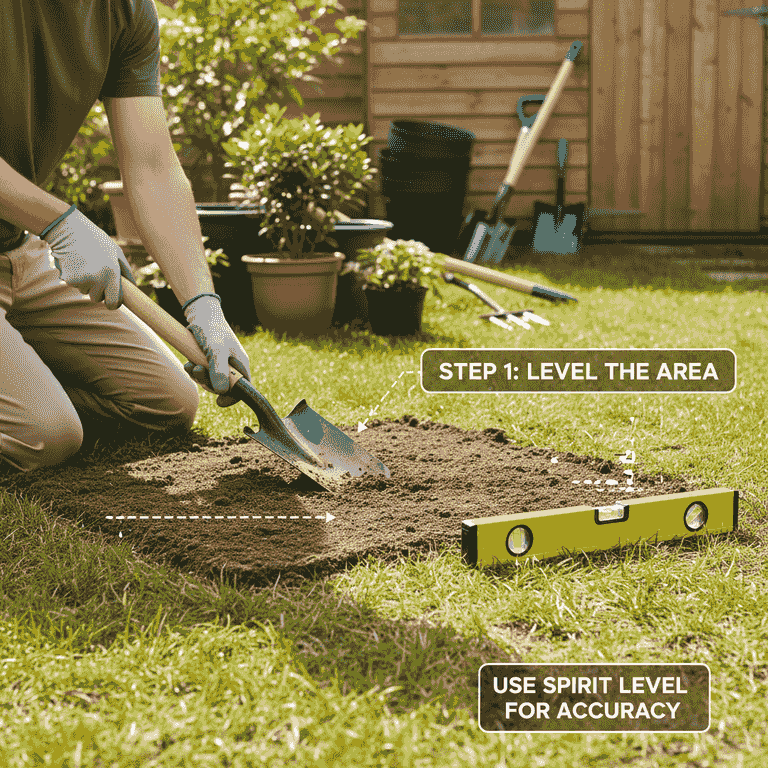
Prepare the site
2 hoursClear the ground of debris and level the area where the pond will sit.
Use a shovel to remove grass and topsoil until you reach firm, level ground. Check the flatness using a spirit level to ensure the structure won't lean once filled with heavy water.
An unlevel base will cause uneven pressure on the pond walls, leading to cracks or leaks.
Lay down a layer of sand or gravel to make leveling easier.
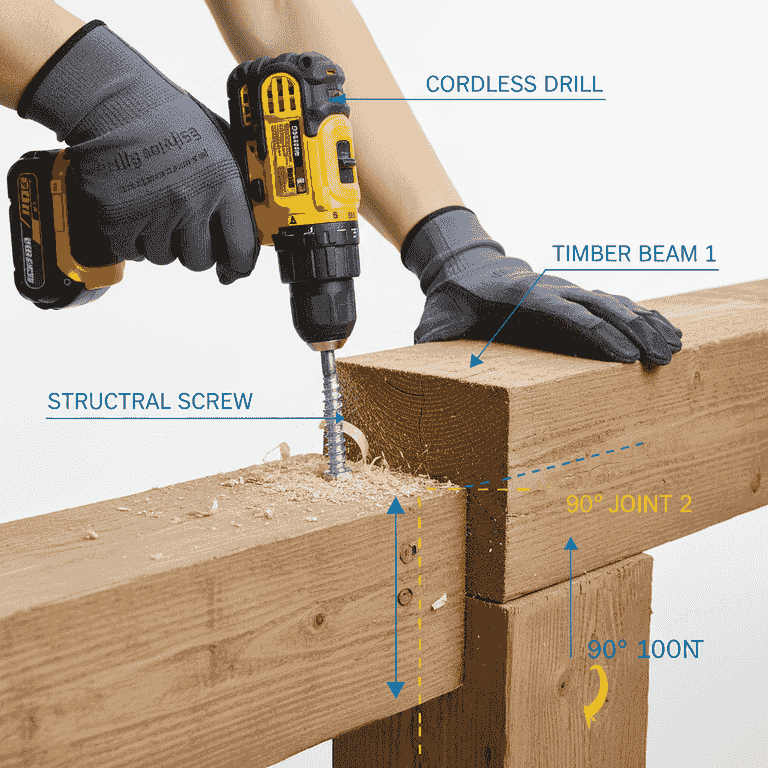
Construct the frame
4 hoursAssemble the perimeter frame using pressure-treated timber.
Stack the timbers and secure them at the corners using long exterior-grade screws. Ensure each layer is square and level before moving to the next.
Always use pressure-treated wood suitable for outdoor ground contact.
Pre-drill pilot holes to prevent the wood from splitting.
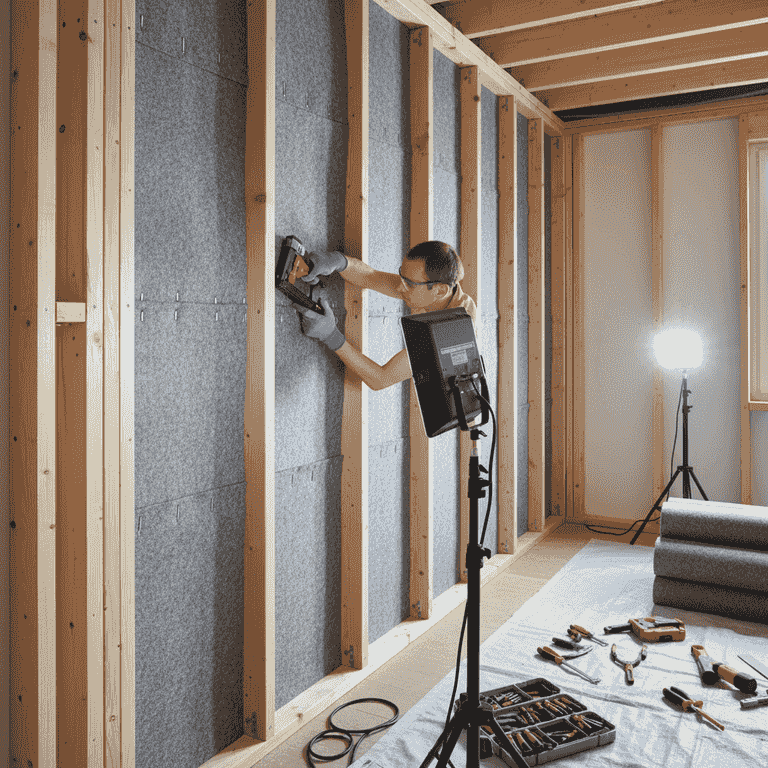
Install protective underlayment
1 hourLine the interior of the frame with a geotextile pond underlayment.
This layer protects the rubber liner from punctures caused by rough timber splinters or stones. Staple the fabric securely to the top edges of the inner frame.
Overlap the seams by at least 6 inches for maximum protection.
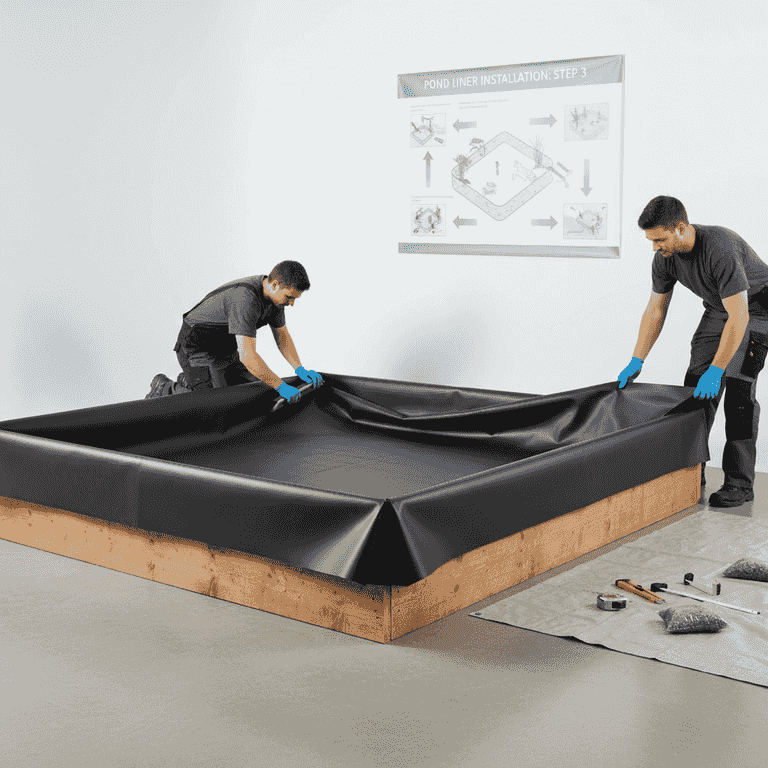
Position the pond liner
1 hourLay the EPDM pond liner into the frame, ensuring it reaches all corners.
Unfold the liner inside the structure, pressing it firmly into the corners and against the sides. Leave enough excess material to fold over the top edges.
Work on a warm day, as the liner will be more pliable and easier to stretch.

Secure and fill the pond
3 hoursFasten the liner at the top and slowly begin filling the pond with water.
Use a staple gun to secure the liner to the top edge of the frame, then trim the excess with a utility knife. Fill slowly to allow the liner to settle against the frame walls.
Do not overfill; leave a few inches of space from the top to prevent overflow.
Place a decorative cap rail over the top of the liner to hide the staples and frame edge.
Pro Tips
- ●Add a fountain or aeration pump to keep water oxygenated for future fish.
- ●Install a bottom drain during construction if you plan to keep koi.
- ●Use a pond test kit to monitor water quality before adding any plants or fish.
- ●Consider adding a UV clarifier to prevent green water algae blooms.