
How to Build a Freestanding Pergola
Transform your backyard into a shaded oasis by constructing a sturdy, classic wooden pergola. This guide walks you through the essential structural steps to create a beautiful and functional outdoor living space.
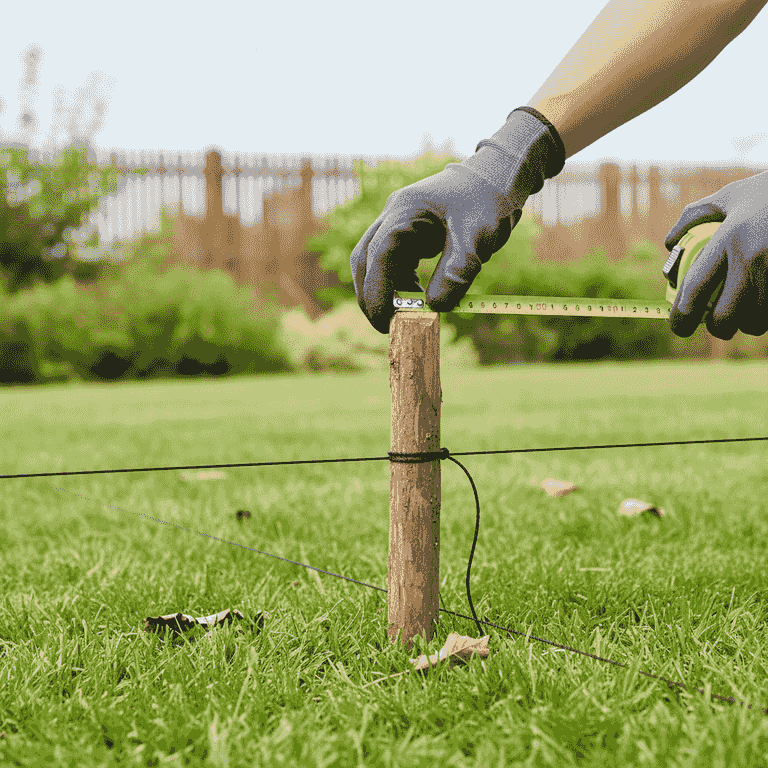
Layout and mark the post locations
1 hourMeasure and stake out the four corners of your pergola using string lines to ensure a perfect rectangle.
Use a tape measure to ensure the diagonals are equal, which confirms the layout is square. Mark the center of each hole clearly on the ground.
Check for underground utilities before breaking ground.
Use the 3-4-5 triangle method to verify your corners are perfectly square.
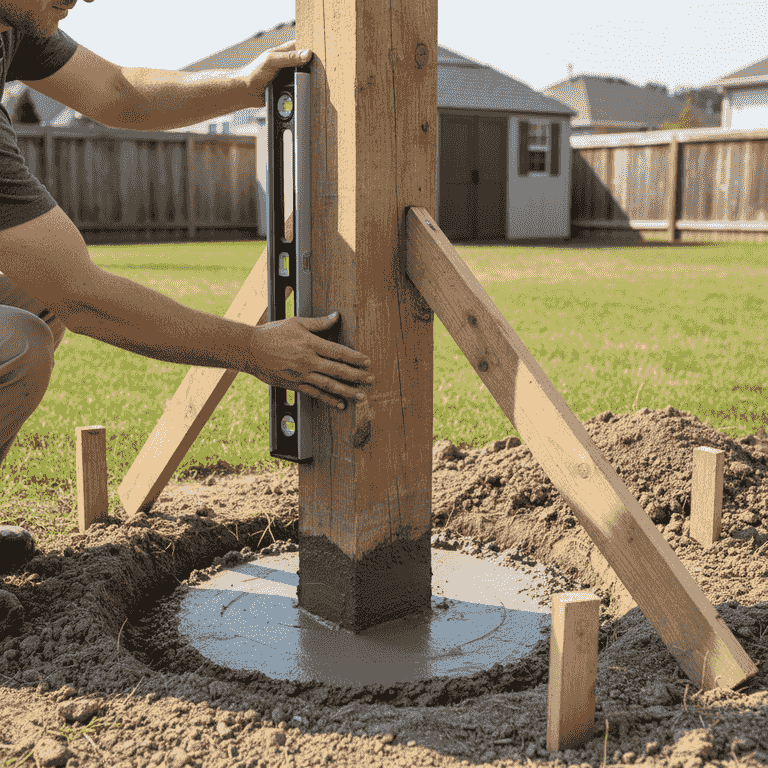
Dig and set the posts
4 hoursDig holes at your marked locations and install pressure-treated 6x6 posts using concrete.
Ensure the posts are plumb by checking them with a level on two adjacent sides. Allow the concrete to cure for at least 24-48 hours before adding weight.
Ensure the concrete is fully cured before continuing to avoid shifting posts.
Use temporary braces to hold the posts perfectly vertical while the concrete sets.
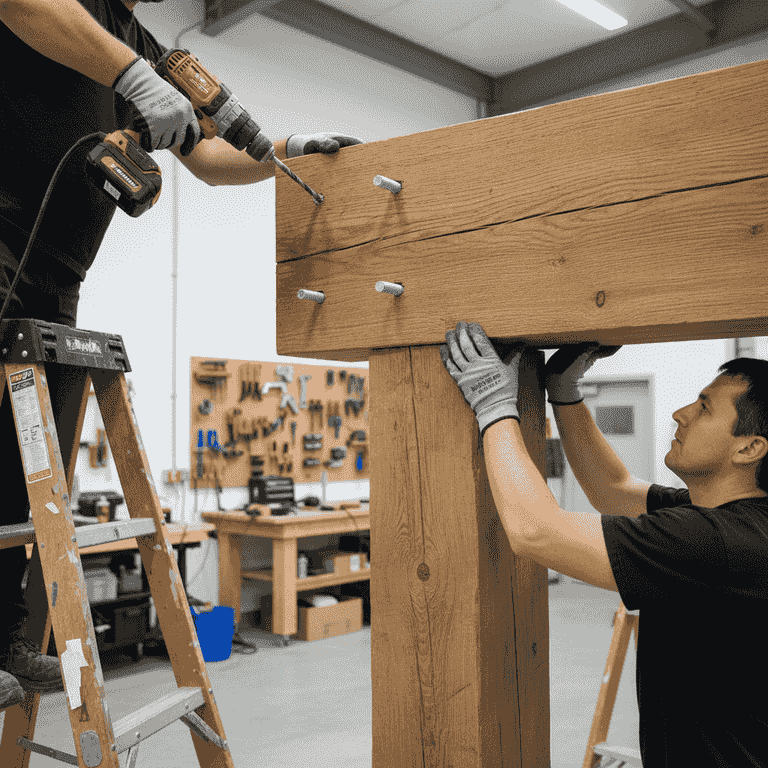
Install the support beams
3 hoursAttach the main support beams to the top of the posts using structural bolts.
Use a level to ensure the beams are perfectly horizontal. Pre-drill your holes to prevent the wood from splitting when driving the carriage bolts.
Use structural-grade galvanized bolts to prevent rust and ensure safety.
Use a helper to hold the heavy beam in place while you secure the initial fasteners.
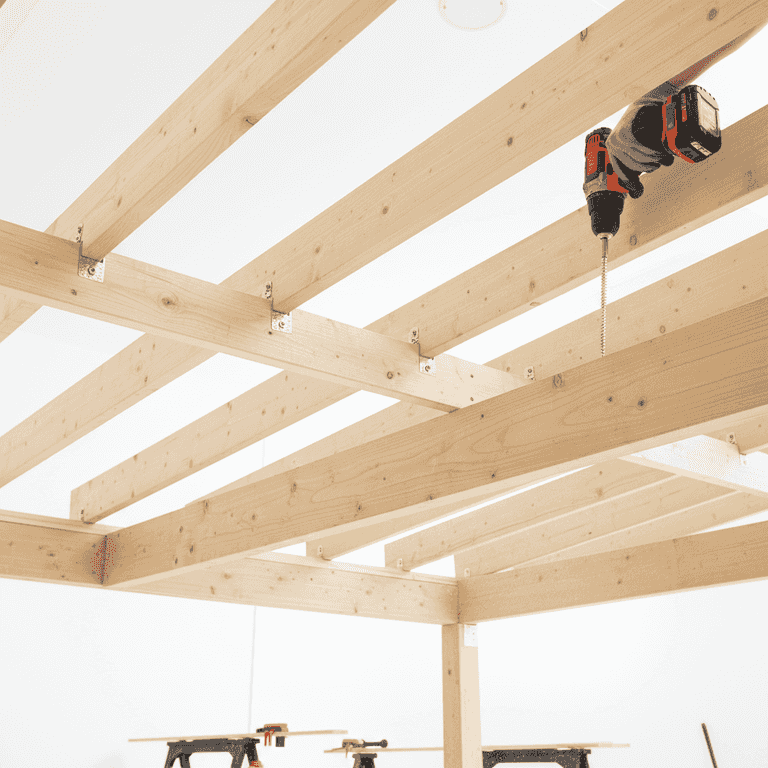
Attach the rafters
4 hoursSpace and mount the rafters across the top of your support beams.
Space rafters evenly across the beams for a balanced look. Use metal rafter ties or structural screws to lock them securely into place.
Ensure you are using a stable ladder when working at height.
Cut decorative notches or 'tails' into the ends of the rafters before installation for a professional finish.
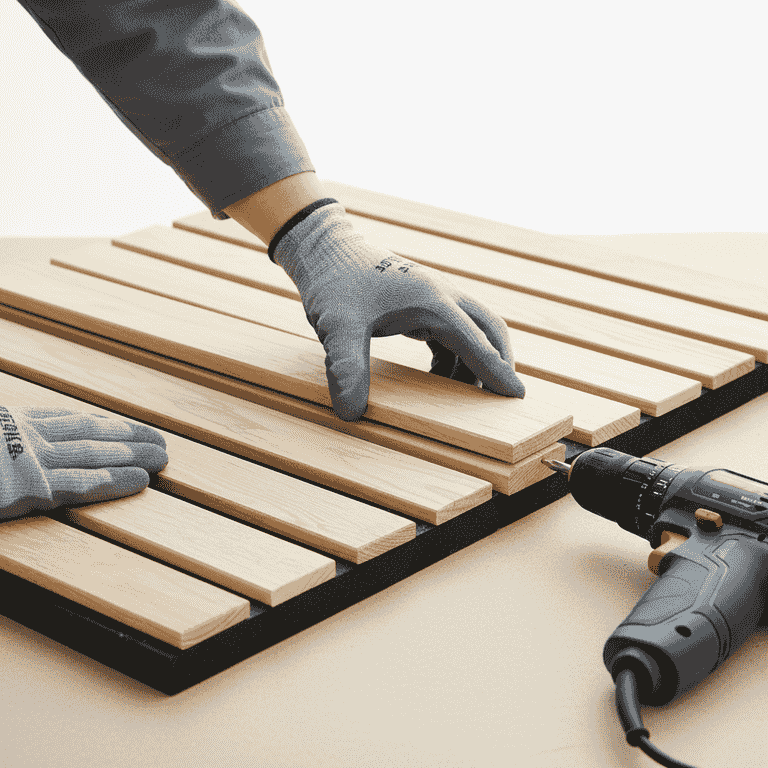
Install the top slats
3 hoursLay smaller slats perpendicular to the rafters to create shade.
Attach the slats to the rafters using exterior-grade screws. These provide the final aesthetic touch and help define the shade pattern.
Do not stand on the rafters; work from a ladder or scaffolding.
Use a spacer block to ensure the gaps between slats are identical.
Pro Tips
- ●Always use pressure-treated lumber rated for ground contact for your posts.
- ●Apply a high-quality wood stain or sealant immediately after construction to protect against UV damage and moisture.
- ●Use stainless steel or hot-dipped galvanized hardware to prevent unsightly rust streaks on your wood.
- ●Check local building codes, as some municipalities require permits for structures of a certain height or size.